Installing Ubuntu Desktop 26.04 on a Raspberry Pi: Flashing, First Boot and Setup
- Published
- Author
- Patrick Fromaget
- Reads
- 421
Ubuntu Desktop 26.04 installs through Raspberry Pi Imager on a Pi 4-class board or newer with at least 4GB of RAM. Here's the flash, first-boot and setup process.
Raspberry Pi OS is still my default for most projects because it's simple and predictable. But when a Pi needs to behave more like a regular desktop machine, Ubuntu Desktop is the option I reach for. If you already know Ubuntu on a PC, you'll find the same environment on the Pi, with the trade-off that the hardware has to work harder to keep up.
Ubuntu Desktop 26.04 is listed in Raspberry Pi Imager under "Other general-purpose OS," and the Desktop build is aimed at the Raspberry Pi 5, 500, 4 and 400 with at least 4GB of RAM. Here's how to flash it, get through the first-boot wizard and set up a comfortable working system.
What You Need Before You Start
Ubuntu Desktop is heavier than Raspberry Pi OS and less tuned for Pi hardware, so the model you pick matters more here than it does for a headless project. A Raspberry Pi 5 is the recommended board. A Raspberry Pi 4 or a Raspberry Pi 400 should also work. The 4GB minimum is firm, because Ubuntu uses more memory than Raspberry Pi OS does at idle.
If you have less RAM or you're working with a Raspberry Pi 3B+, start with Ubuntu Server or Ubuntu Core instead. You can then add only the desktop components you need. The same logic applies if you want to move a Raspberry Pi OS Lite install to a desktop: the steps for adding a desktop environment to that base are largely the same.
Storage needs more care than it might seem. The minimum is a 16GB microSD card, but 32GB gives you room for updates and applications. A fast card makes a noticeable difference in boot time and in how responsive the desktop feels. An SSD or USB stick can also work, but those drives draw more power than an SD card. Use a power supply that matches the board's official specification, or a powered USB hub if you're going that route. A random phone charger is a poor choice here, and it's a common source of instability on Pi systems running a desktop.
You'll also need a keyboard and a mouse. A headless setup or a compact keyboard with a touchpad can handle a Raspberry Pi OS install, but a full desktop environment is much easier to work with when you have proper input devices. Any standard PC keyboard and mouse will do.
You can flash the card from a PC, a Mac or another Raspberry Pi running Raspberry Pi Imager. The Raspberry Pi network boot feature is another option if you don't have a second computer at all.
Flashing Ubuntu Desktop with Raspberry Pi Imager
Raspberry Pi Imager is the simplest route, and it's what the Raspberry Pi software page recommends for most installs. Download it from raspberrypi.com/software and install it like any other application. It runs on Windows, macOS and Linux, and it's also available on Raspberry Pi hardware.
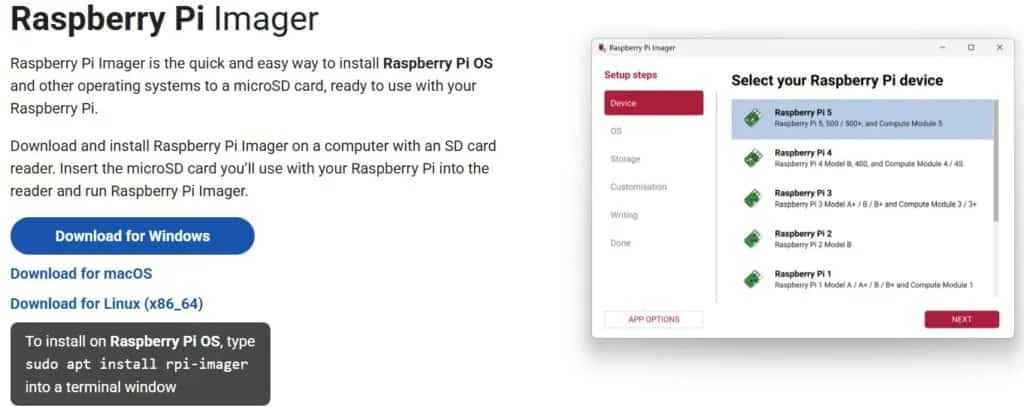
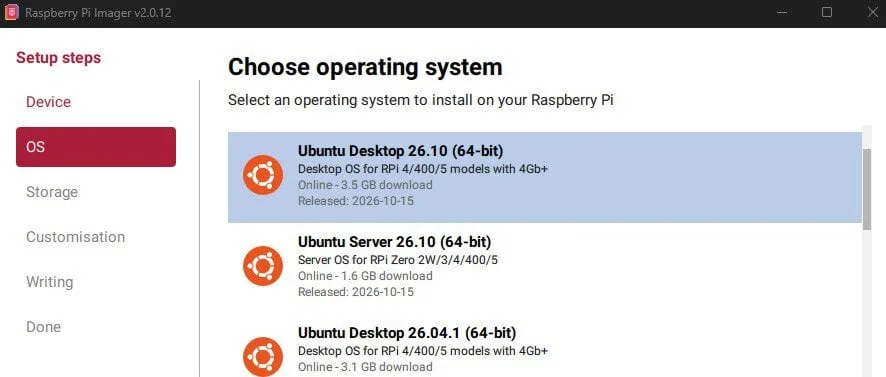
Once the Imager is open, work through the four selections in order:
- Device: Choose your Raspberry Pi model.
- OS: Scroll to "Other general-purpose OS," then select Ubuntu and open the list of versions. Choose Ubuntu Desktop. Each version shows its recommended hardware, so follow those notes. Pick the 64-bit Ubuntu Desktop build only if you're on a Pi 5, 500, 4 or 400.
- Storage: Select your SD card. A USB drive or NVMe drive also appears here if you're booting from one of those.
- Writing: Review the summary, then click WRITE and confirm that you want to erase the target drive.
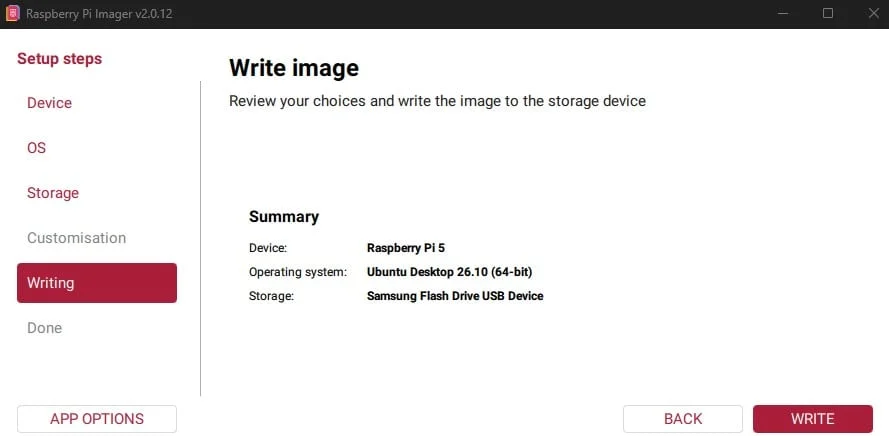
That confirmation is the step to slow down on. The card's existing contents are gone once you accept, so check that you've picked the right drive before you click.
The Imager downloads the image and writes it to the card. Ubuntu Desktop is a large image, so expect the whole process to take somewhere between 15 and 30 minutes, depending on your connection and the speed of the storage. Once the file copy finishes, the Imager verifies the written files and reports when the card is ready. At that point you can eject the card and move it to the Raspberry Pi.
The First Boot Wizard
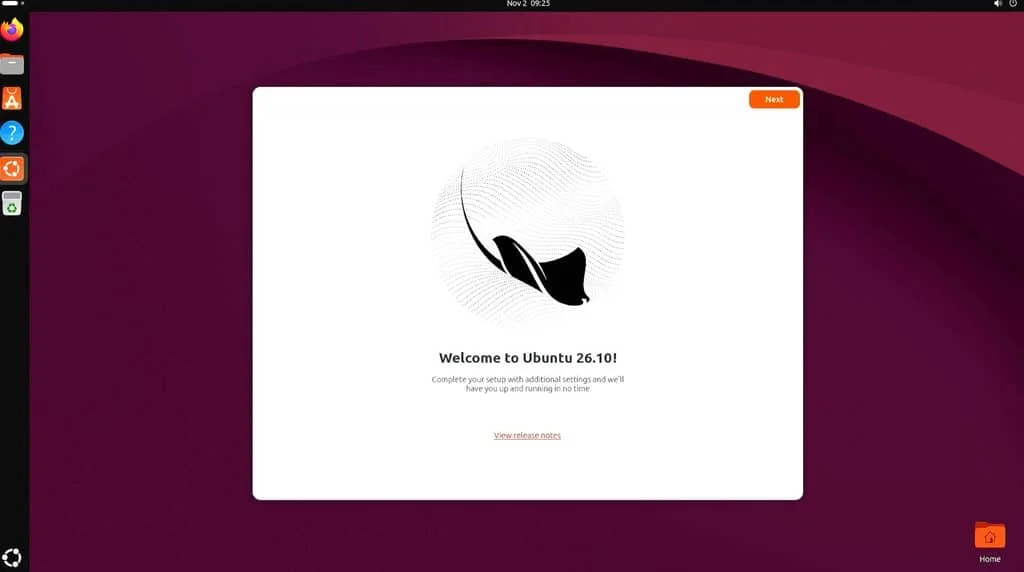
The thing that trips people up is that Ubuntu isn't fully installed when the flash completes. The first boot runs a system configuration wizard, and the installation only finishes after you've been through it. Don't pull the power while the setup is running.
Insert the card and power on the Pi. After a few seconds you should see the Ubuntu wallpaper, followed by the welcome wizard. The steps are:
- Language: Pick your language and click Continue.
- Keyboard layout: Select a layout, then type a few characters in the test field to confirm it matches your keyboard. Click Continue.
- Network: If there's no Ethernet cable connected, the wizard may ask you to set up Wi-Fi. Do it at this stage. Updates during installation and any applications you add afterward both need a connection.
- Account: Enter a username, a password and a computer name, then click Next to start the configuration.
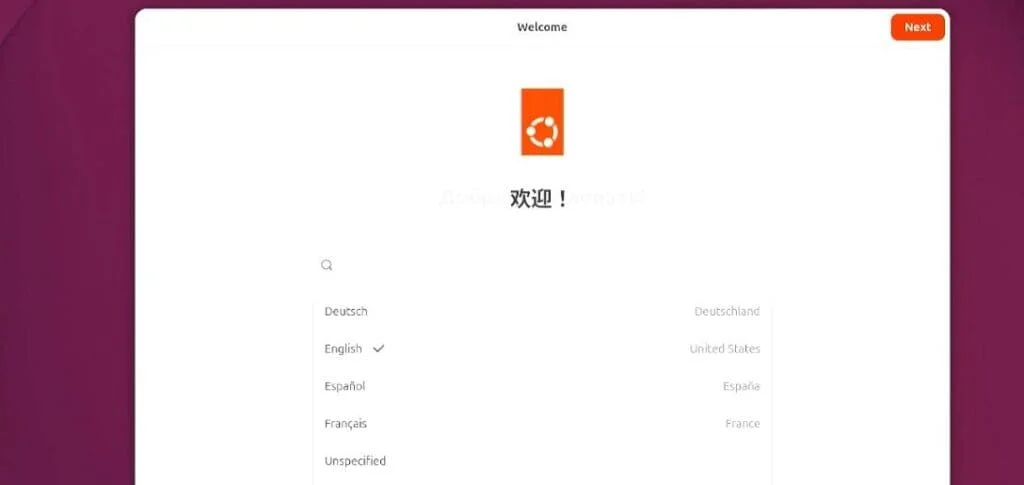
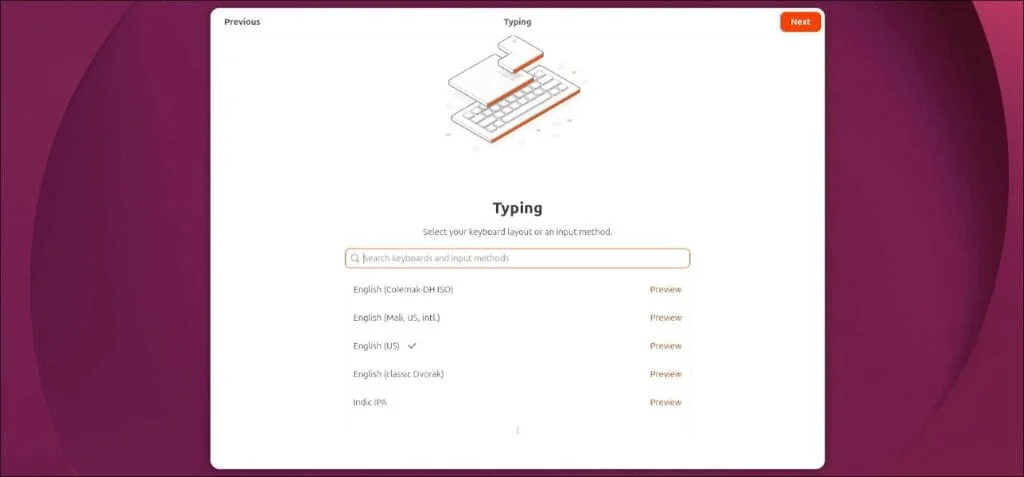
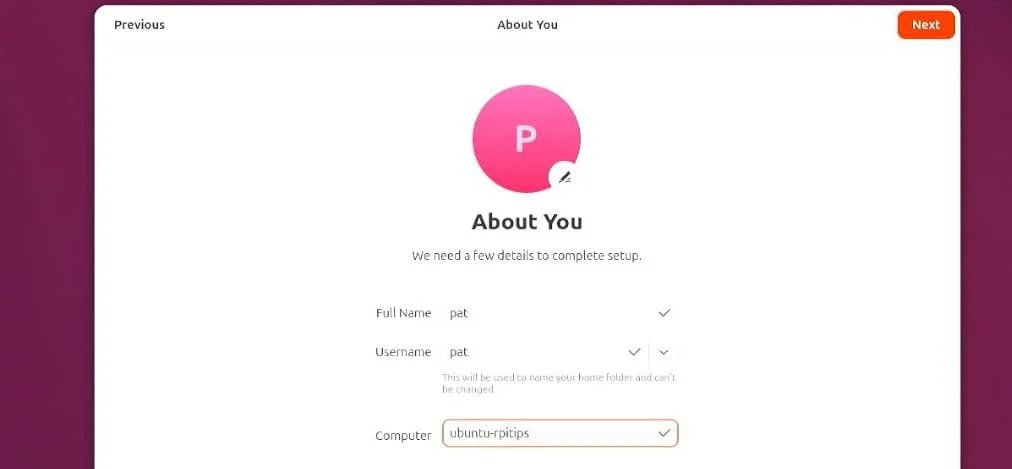
Ubuntu then works in the background for a few more minutes. During this period a pop-up asks you to connect online accounts for calendar and document sync, and to help improve Ubuntu. You can skip all of that. None of it is required, and you can set it up later from Settings.
The timezone usually gets picked automatically. If it's wrong, change it in the wizard's timezone step. You can also adjust it later through the system clock settings.
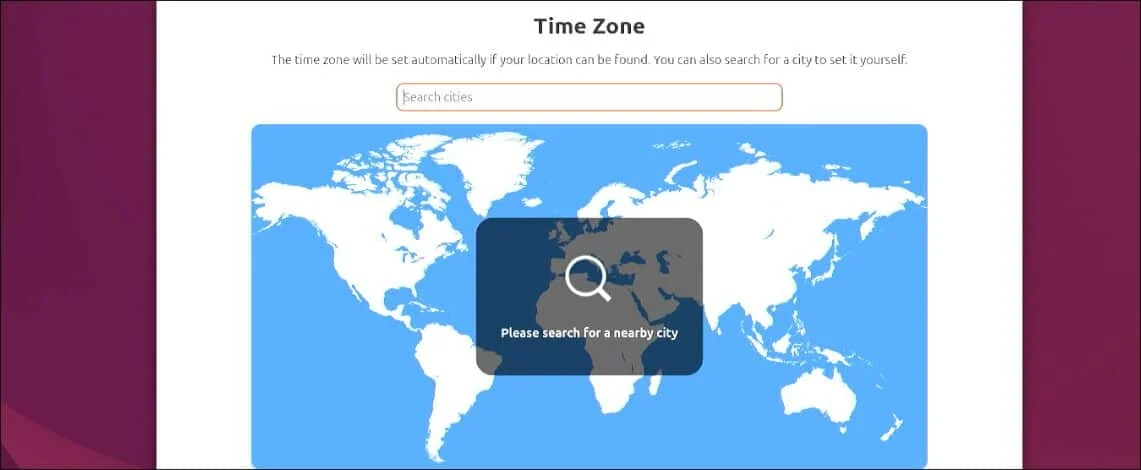
When the setup finishes, you get the desktop. That's the point where the installation is complete, and the rest of the work is configuring the system to suit how you use it.
Getting Around the Desktop
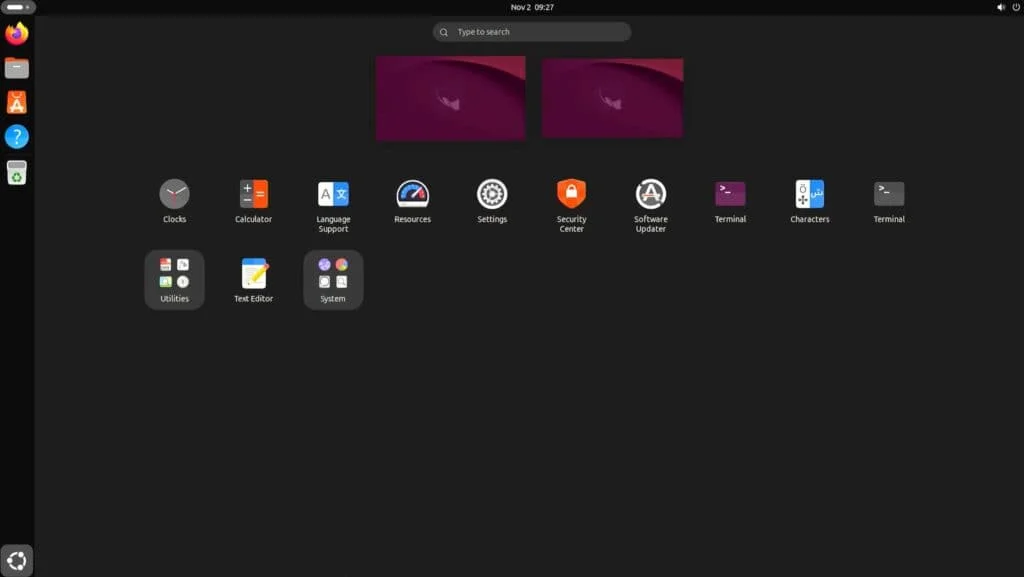
Ubuntu's interface is more modern than Raspberry Pi OS's, and it's also less familiar. Give it a few hours of use and it becomes second nature. The layout has four main parts.
The dock runs down the left edge of the screen and holds shortcuts to the applications you use most. It works like the taskbar on Windows or the dock on macOS, just turned sideways. You can remove the shortcuts you don't need and add your own.
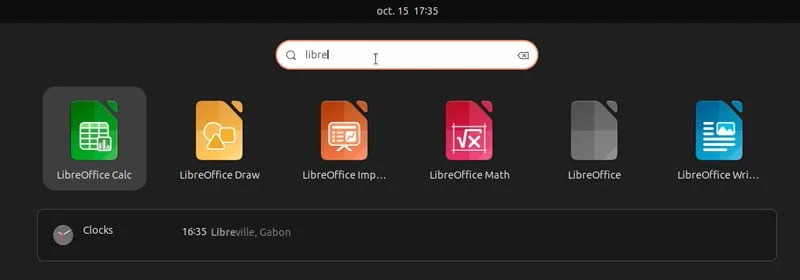
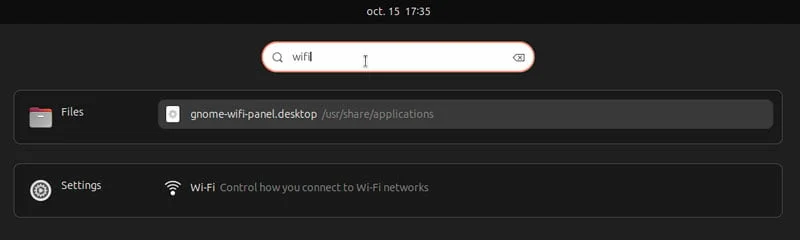
At the bottom of the dock is a grid icon that opens the application view. It replaces the classic main menu. Frequently used applications appear first, and you can browse by page or search. The search also covers files and system settings, which makes it the quickest way to find something when you're not sure where it lives.
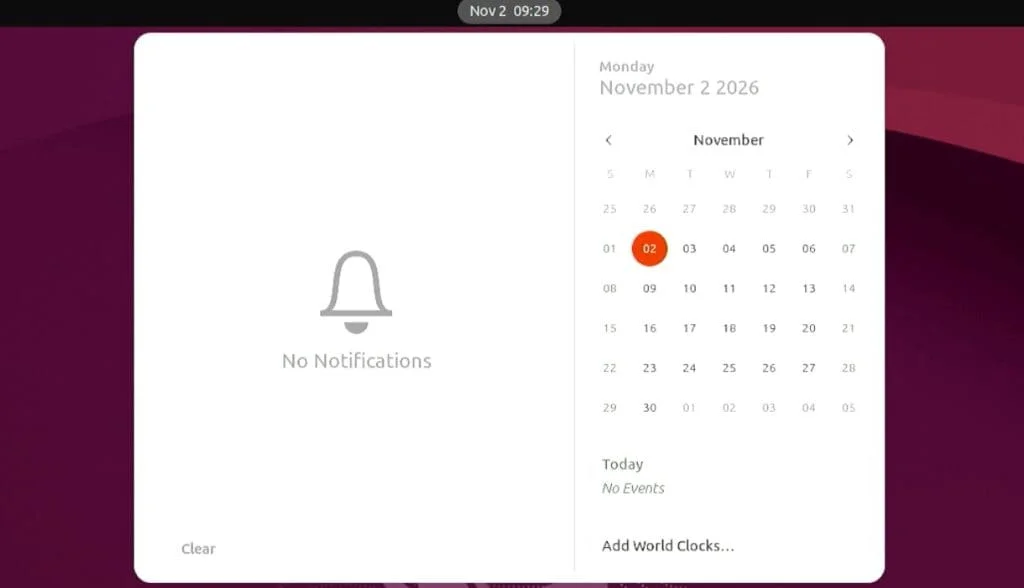
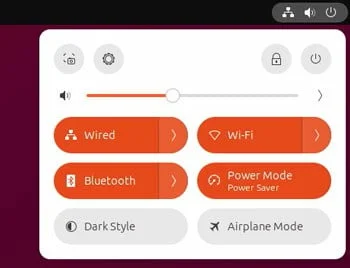
The top bar has the clock in the middle. Clicking it opens a calendar and your notifications. Unless you've linked online accounts such as Google Calendar, that calendar stays empty. The top-right corner gives you quick access to volume, network connections, sign-out and reboot.
If the default shell doesn't suit you, you can install a different desktop environment on Ubuntu. Many people who prefer a more traditional layout make that switch early on.
Settings and Updates
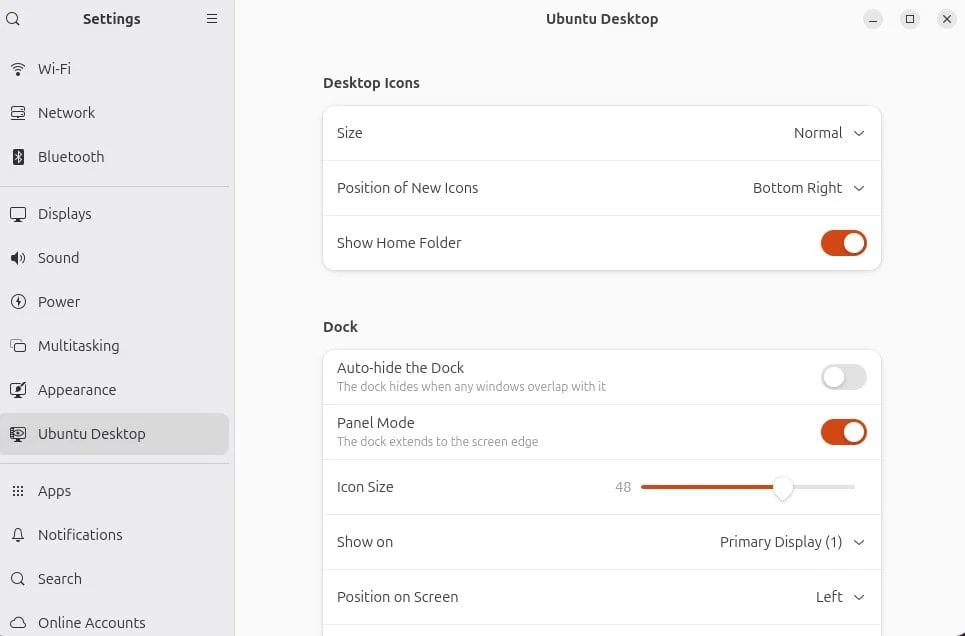
Ubuntu puts nearly all system configuration into one Settings app, the same approach most modern distributions use. Open the wheel icon in the top-right menu or find Settings in the application view. Browse the categories on the left, or search for the setting you need.
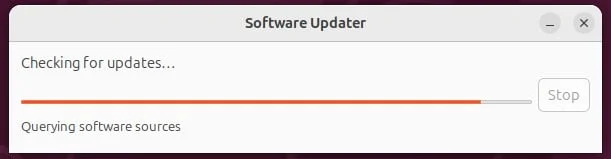
Updates are the first thing to deal with. If you're online when the session opens, you'll probably see a prompt to install system updates. If you're not, search for Software Update in the application view. Ubuntu also checks for updates on a schedule and shows the prompt again from time to time. My rule of thumb is to install updates at least once a month, and more often if you can. Click "Install now," enter your password, and wait a few minutes.
Default Applications
Ubuntu ships with a small set of essentials. Firefox is the default browser. It's not the fastest option on a Raspberry Pi, so if pages feel sluggish, Chromium is a practical alternative. Nautilus is the file manager, and the system utilities include a terminal, a disk usage analyser, a backup tool and a text editor.
If you want the fuller set that Ubuntu installs on a PC, run the following in a terminal:
sudo apt install --install-recommends ubuntu-desktop
That brings in Thunderbird for mail, LibreOffice for documents and spreadsheets, Rhythmbox for music, Shotwell for photos and Transmission for torrents. Remmina is already preinstalled for remote desktop access over VNC or XRDP. The extra packages take up space on a 16GB or 32GB card, so check your free space before you run the command.
Installing Software on Ubuntu
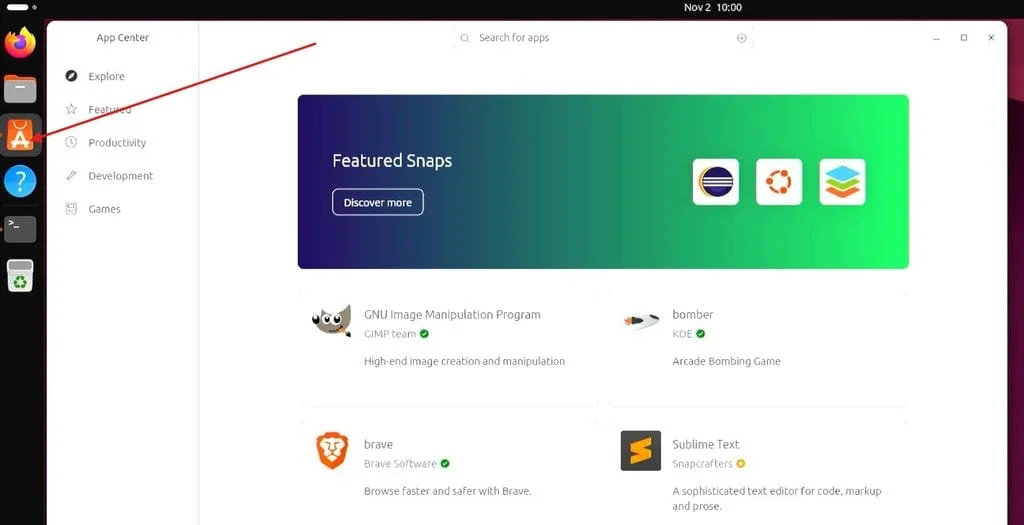
Installing applications is where Ubuntu is easier than Raspberry Pi OS, at least for common tasks. Raspberry Pi OS leaves you with a fairly messy Add/Remove Software tool or the command line. Ubuntu gives you a proper app store.
Ubuntu Software
Open Ubuntu Software from the dock. It shows suggestions and categories, and its search box works on descriptions, so you don't need to know an application's exact name. Searching for "image editor" returns a list of options with descriptions and screenshots. Click Install, enter your password, and the application appears in the application view when it's done.
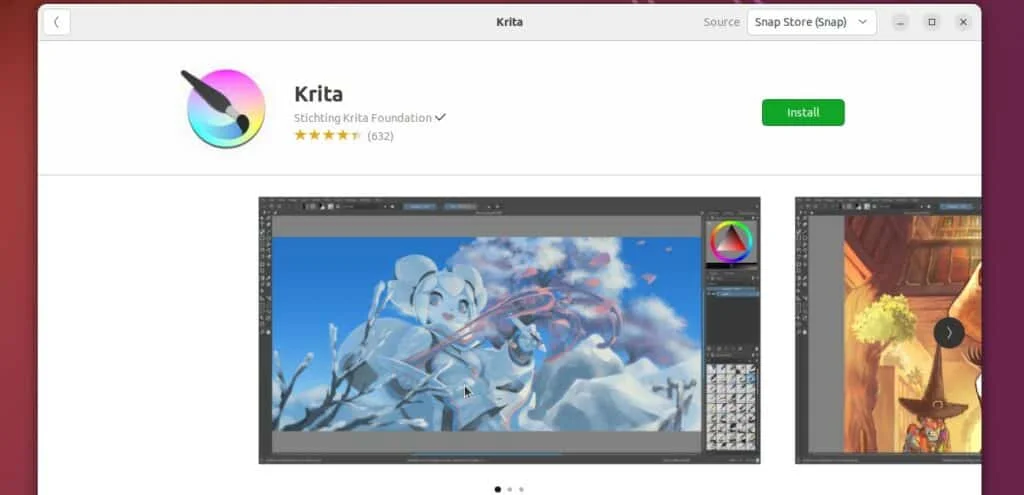
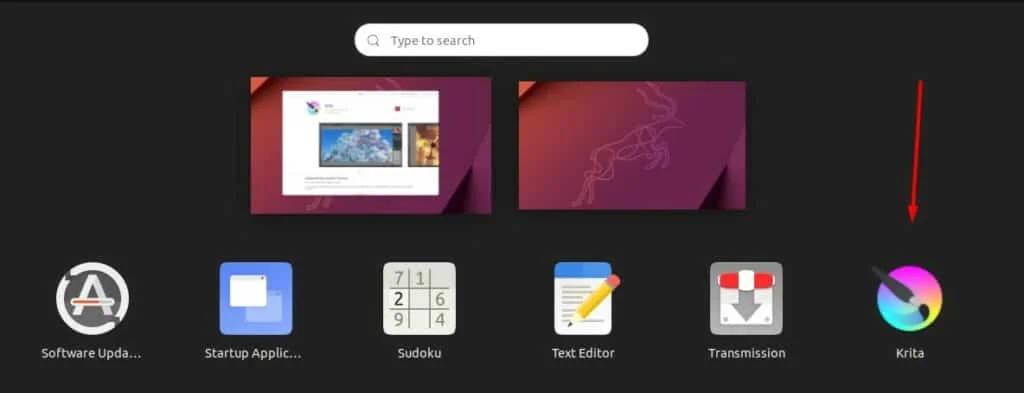
Krita, a painting and image editing program, runs on Ubuntu and is a good test of what the Pi can handle. Expect limits, though. The Pi has modest CPU and memory resources, so heavier applications can be slow to start and may prompt you with "wait or quit" dialogs. Some software also won't install or run because it doesn't support the Pi's architecture. The only way to know is to try it.
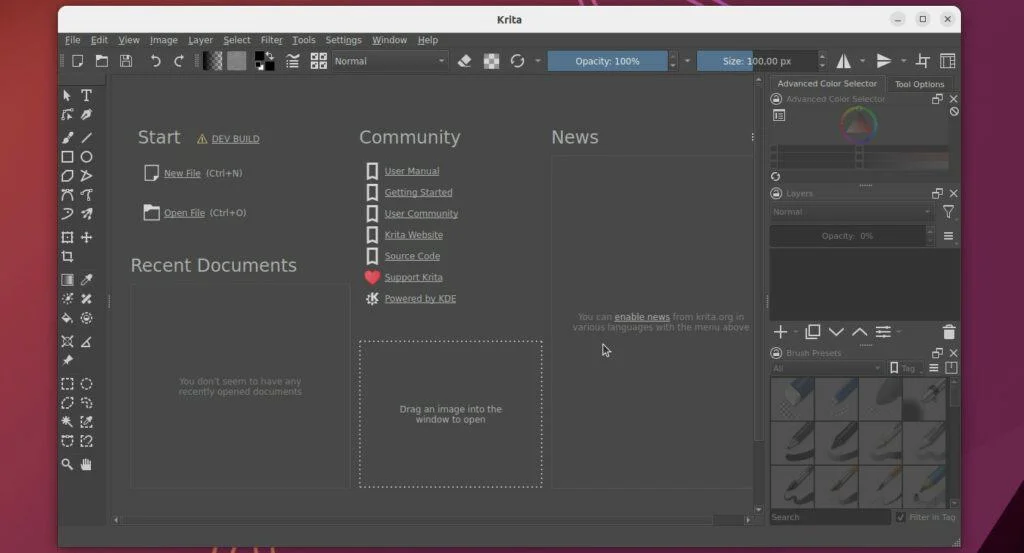
I'd like to see the Raspberry Pi Foundation build a comparable app store into Raspberry Pi OS. It would lower the barrier for new users considerably.
APT on the Command Line
Ubuntu is based on Debian, so it uses the same APT package manager as Raspberry Pi OS. Refresh the package list first:
sudo apt update
Then install a package by name. VLC isn't included by default, so the install looks like this:
sudo apt install vlc
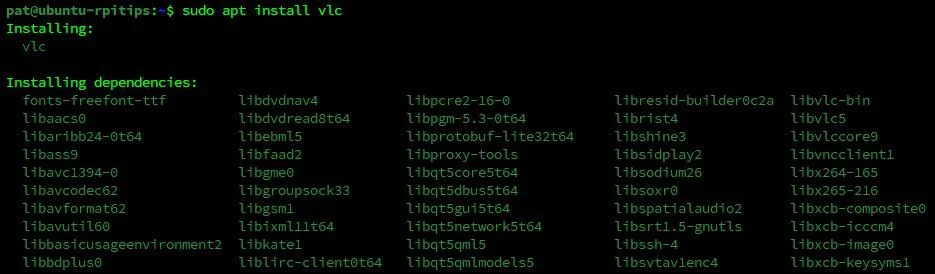
The command line is faster when you already know the package name. It goes further than most desktop users need, but it's the route you'll take for anything the app store doesn't list.
Where This Setup Fits, and What to Watch
The real question is whether a Pi running Ubuntu Desktop makes sense for your work. It's a good fit for a kiosk-style desktop, a learning machine for someone coming from Ubuntu on a PC, or a compact workstation for light office and browsing tasks. It's a weaker fit when you need a lean, single-purpose device, because Ubuntu's extra memory footprint leaves less room for your own software. Ubuntu also doesn't have the same depth of Pi-specific tuning that Raspberry Pi OS receives.
The 4GB RAM minimum and the recommendation for a Pi 5 both reflect that trade-off. If you're running on an older Pi with 2GB, or a Pi 3B+, the Ubuntu Server or Ubuntu Core route will serve you better.
Start with the hardware and the flash, then take your time with the first boot. Once the wizard is finished, update the system, decide which applications you actually need and choose a desktop layout that suits your habits. The installation itself takes an hour or so. Getting the system set up the way you want it takes a little longer, and that's where the value is.