Setting Up Kodi on a Raspberry Pi with OSMC: Flashing, Media Sources and Add-ons
- Published
- Author
- Patrick Fromaget
- Reads
- 584
Set up Kodi on a Raspberry Pi with OSMC: flashing options, first-boot setup, media sources over USB, network or SFTP, and how to install add-ons safely.
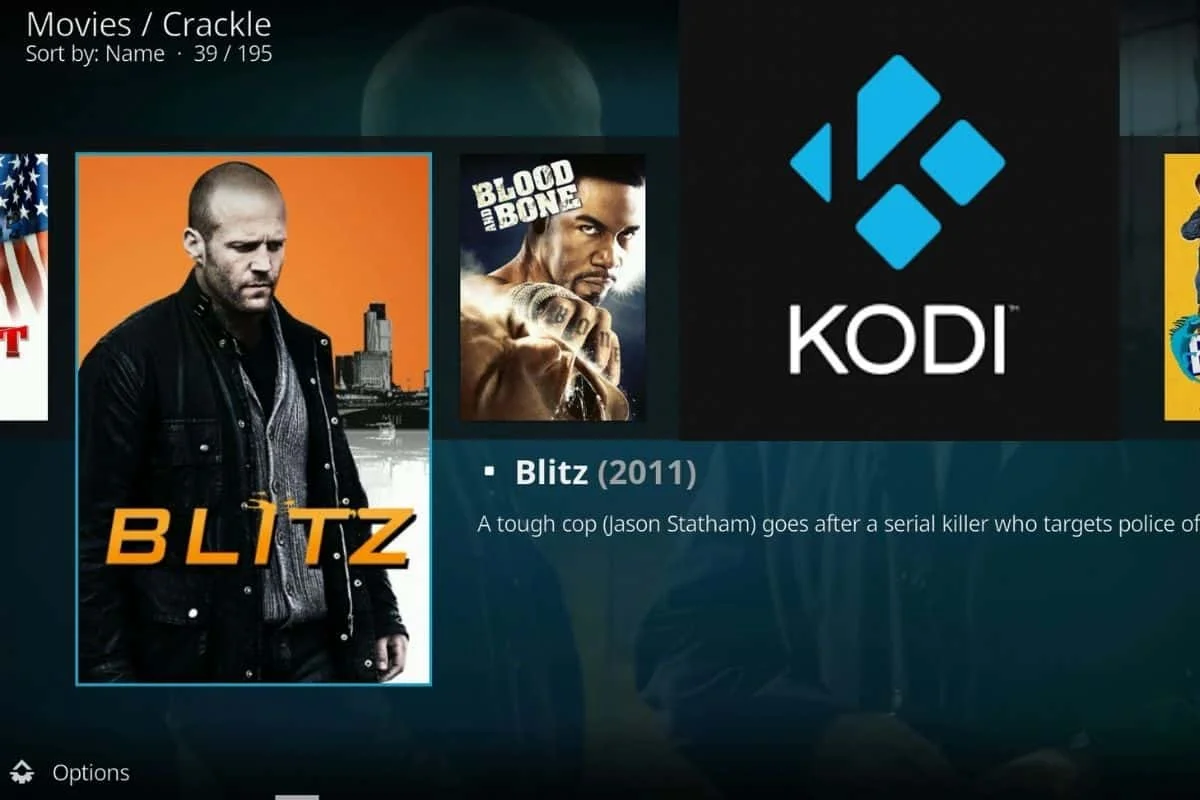
A Raspberry Pi media center makes sense for the same reason a lot of small embedded projects do. The board is small, it draws little power, and it doesn't need a noisy PC sitting next to the TV. Kodi is the software that turns that board into something you can actually browse and play from the couch. The question is which operating system to put under it, and how to get your media in without a lot of fiddling.
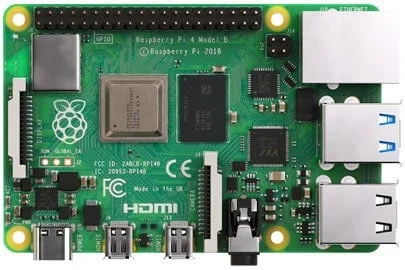
OSMC is a lightweight Linux distribution built specifically to run Kodi on Raspberry Pi hardware. It's written to a microSD card, either with the OSMC installer or by flashing a disk image yourself. Once it's running, you get a set-top-box style interface, with Kodi as the front end and a Debian-based system underneath. This guide walks through the hardware I'd pick, the three installation routes, the first-boot wizard, how to load media, and how add-ons work, including where the risks are.
Why OSMC rather than Kodi on Raspberry Pi OS
You can run Kodi on a Raspberry Pi that already has Raspberry Pi OS. Install it with sudo apt install kodi from the default repository and you're away. That's a reasonable route if the Pi is doing other jobs and Kodi is a side feature.

For a dedicated TV box, though, a purpose-built image makes more sense. OSMC and LibreELEC both aim for a polished set-top-box experience, so the Pi boots straight into Kodi and the desktop plumbing stays out of the way. If the goal is to turn an older, dumb TV into something that behaves like a smart TV, that's the case for a dedicated OS. The trade-off is that you're working within that distribution's choices about updates, packages and configuration, which is usually what you want on an appliance.
If you're deciding between the two, our comparison of OSMC and LibreELEC covers the differences in more depth. This guide sticks with OSMC.
Hardware choices
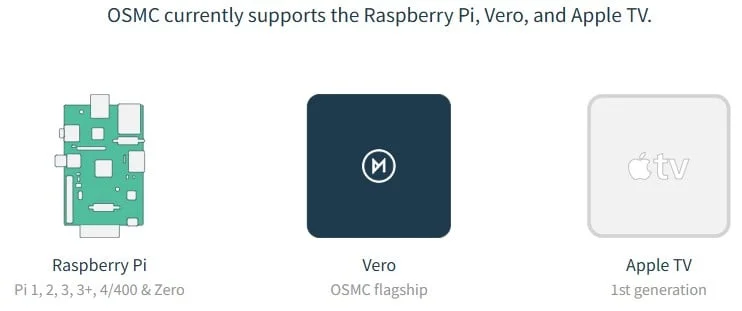
The hardware list here is short, and the main decision is the board. The source's pick is the Raspberry Pi 4, on the reasoning that Kodi playback doesn't need more power and the Pi 4 keeps cost and complexity down. It's a sensible default for a TV that stays plugged in. If you're planning heavier workloads on the same box, check the requirements before assuming an older or cheaper board will keep up.
Storage is the other variable. If you keep your media on the card itself rather than streaming it, the card has to be large. The source recommends a high-capacity microSD card in the 32GB to 1TB range for that use. If you'd rather hold media on a USB drive or a network share, a smaller card is fine, since OSMC itself is modest in size.
On input, the source makes a practical point that deserves repeating. Kodi is built around a remote, not a keyboard. A USB IR receiver such as the Flirc lets a universal remote drive the Pi, and a multi-device remote paired with that receiver covers the rest. Keyboard arrow keys work, but they're not a good living-room experience. A Bluetooth keyboard with a touchpad was the source author's fallback during setup, and it helped with the timezone menu, which the author found unintuitive when navigated with arrows.
Three ways to get OSMC onto the card
OSMC can be installed in three ways, and the source describes two of them in practice. The end result is the same. The choice comes down to whether you want the network configured up front and whether you want to avoid installing anything new on your PC.
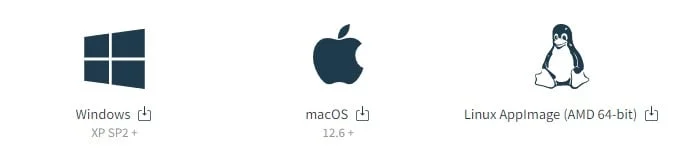
The official OSMC installer runs on Windows, macOS and Linux. It walks you through creating the SD card and offers a few extra options for the initial configuration. It's also the only route that currently works with a USB stick as the install target, according to the source. If you're on Wi-Fi only, or you need a static IP address from the start, the installer is probably the best option, because it lets you set the network before the first boot.
The second route is the manual one. Download the image file for your board from the OSMC downloads page, then flash it with Raspberry Pi Imager or another tool. Raspberry Pi Imager is probably the easiest option for most people, since it may already be on your machine. Get it from the Raspberry Pi website if you don't have it. The source calls it a must-have tool for anyone working with the Pi, which is hard to argue with.
Using the OSMC installer
Download the installer from the OSMC download page and pick the version for your PC's operating system. Running the file opens a wizard. The steps, as the source lays them out, are:
- Welcome: select your language, then your device (Raspberry Pi) and model.
- Select version: choose the latest available.
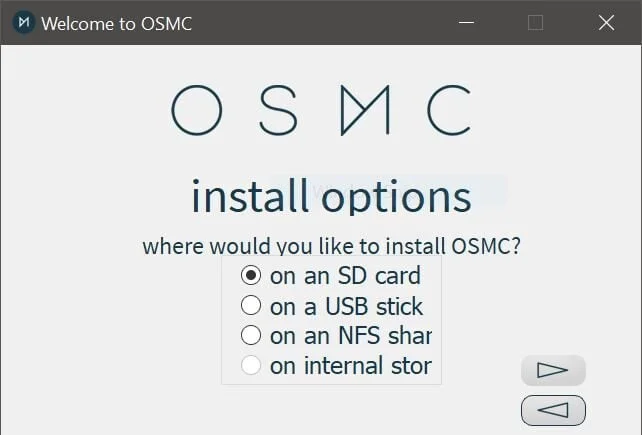
- Install options: pick SD card or USB stick. The source suggests the card for a first attempt.
- Networking: choose the connection method. If you're using Wi-Fi or don't have DHCP, tick "configure network manually" and enter the details, such as the Wi-Fi SSID and the IP address.
- Media selection: insert the card or stick and select it from the list.
- License agreement: accept the license.
The installer then downloads and writes OSMC to the media. When it finishes, you skip ahead to the first-boot section.
Flashing the image with Raspberry Pi Imager
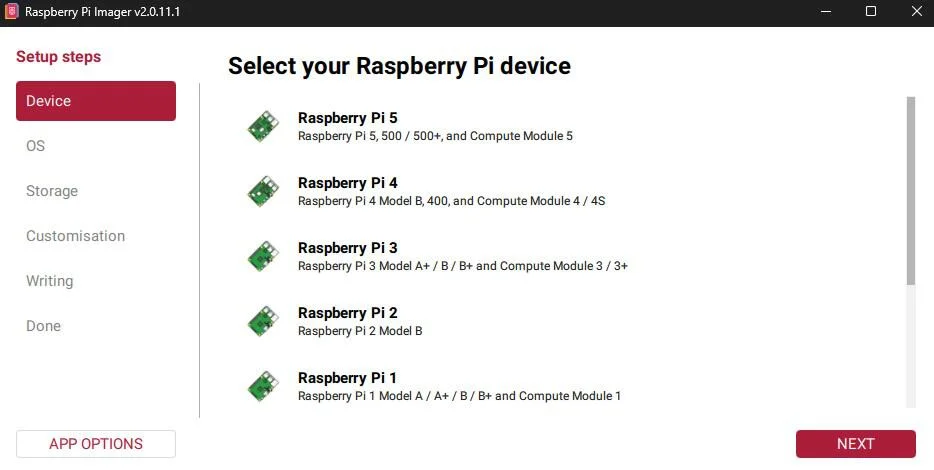
For the manual route, go to the OSMC downloads page, expand the Disk images list and choose the latest image for your Raspberry Pi model. Then open Raspberry Pi Imager and work through four selections:
- Device: choose your Pi model.
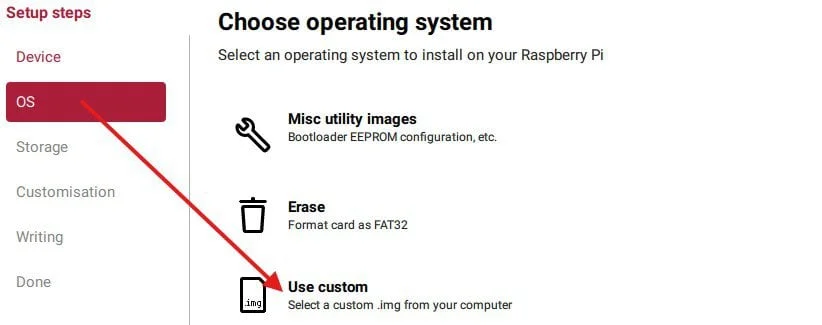
- OS: scroll to "Use custom" at the bottom, then select the image file you downloaded.
- Storage: select the SD card. Check you've picked the right drive, because the write will overwrite whatever is on it.
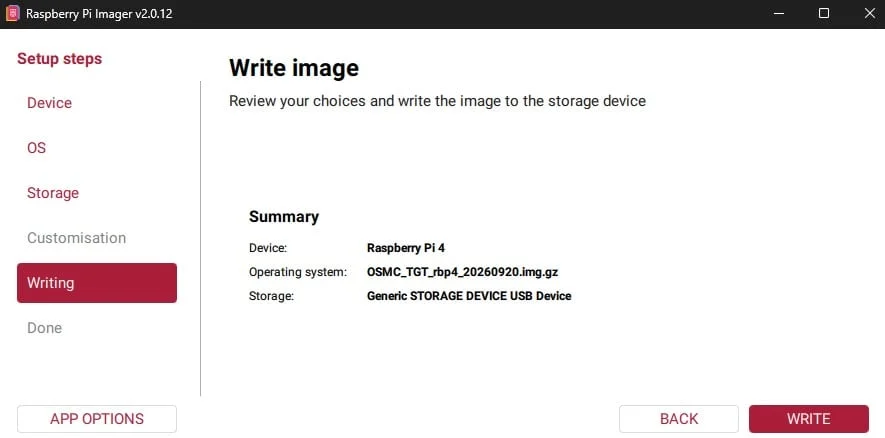
- Writing: review the summary, then click WRITE.
Once the write completes, the card is ready. The source notes that the manual route doesn't let you pre-configure the network, so Wi-Fi and static addressing have to be handled later, in the wizard or after boot.

First boot and the setup wizard
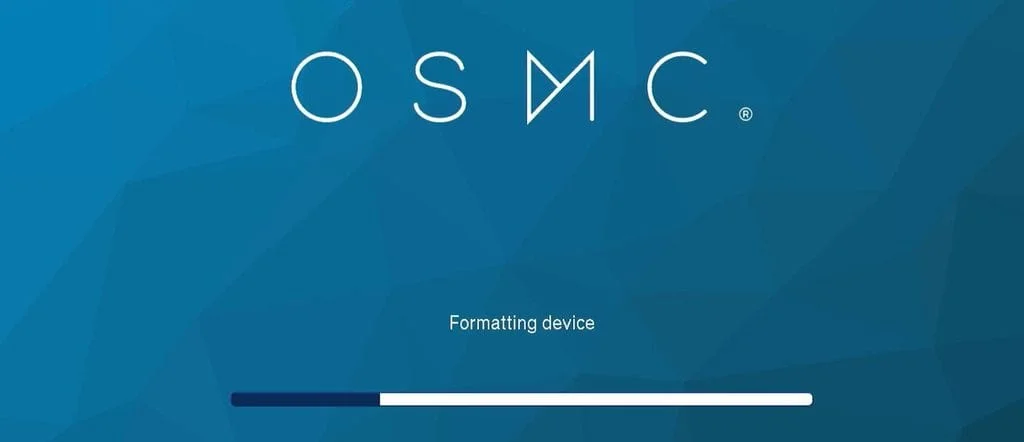
Insert the card, or the USB stick if you used one, and power up the Pi. The first stage is automatic. OSMC formats the storage, copies its files and shows a progress bar. When the bar finishes, you get a success message and the Pi reboots. You don't need to do anything during this stage.
After a few minutes, the welcome menu appears. It asks for several settings, and most of them are quick:
- Language: sets the language of the Kodi interface.
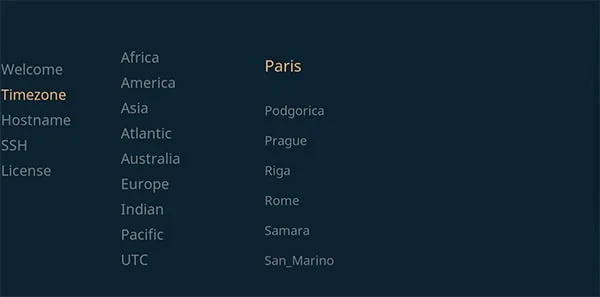
- Timezone: pick the continent and then the city. This is the menu the source author found least intuitive, so a mouse or touchpad is faster than arrow keys here.
- Hostname: keep the default or choose your own. A custom name helps when you're finding the device on your network later.
- SSH: enabled by default. The source recommends keeping it on, since it makes file transfer and remote administration easier. You can turn it off later if you don't need it.
- License: accept and continue.
- Look: choose one of two themes. The source uses "Classic", and you can change the theme later.
- Sign Up: optional. Skip it and exit the wizard.
When the wizard is done, the Kodi interface takes over the screen. The source's point here is worth taking on board: the boundary between OSMC and Kodi is blurry, and you don't need to know which layer a given menu belongs to in order to use it.
Getting media onto the Pi
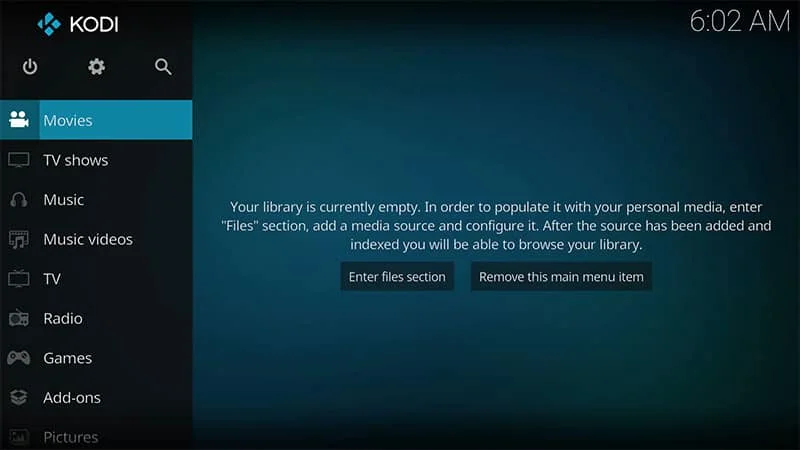
Right after installation, the Movies, Music and other media entries are empty. There are four main ways to fill them, and they suit different setups. The source treats USB and network shares as the most common, with SFTP as its favorite for a Pi that holds its own library.
USB drive
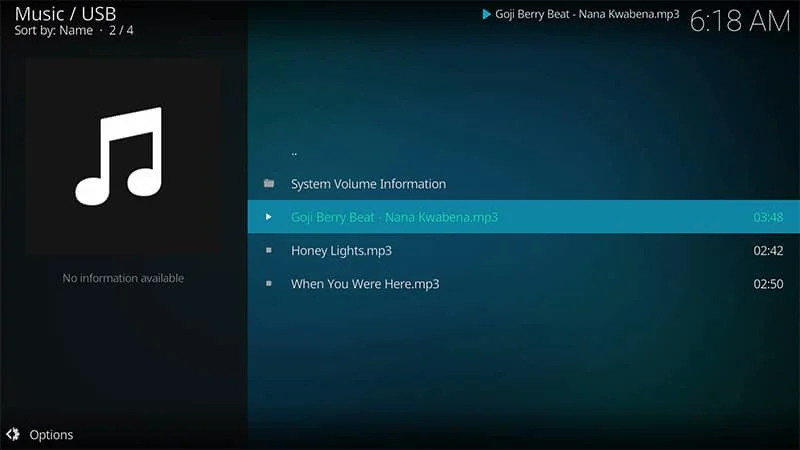
This is the simplest route. Plug a USB drive into the Pi and OSMC mounts it automatically. Your files then appear in Kodi. For example, going to Music, then Files, then USB shows the MP3s on the drive, and you can play them directly. This works well if your photos or films already live on an external disk.
If you want to copy files from the drive onto the card, Kodi's file handling is less obvious. You can't copy directly from the files menus. Instead, open Settings, then File Manager. Select the file in the left panel and pick a destination folder in the right panel. The first time, you may need to click "Add source" and add a folder such as Home, then Music. Right-click the file and choose Copy. The source leaves the other File Manager options for you to explore.
Network share
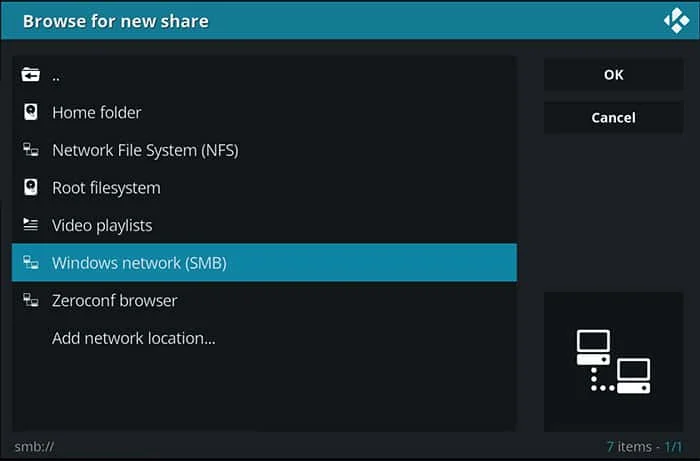
If you have a NAS or a shared folder on another PC, Kodi can read media from it over the network. Go to Movies, then Add videos (or the equivalent for other media types). Click Browse, find your share and follow the wizard. Kodi supports several server types, including SMB, NFS and HTTP. If guest access isn't allowed on your share, entering the network location directly is probably the only way to connect. Syntax for each type is on the Kodi wiki.
Once the source is added, you can browse the server from the Kodi interface, or from the web interface covered below.
SFTP to the SD card
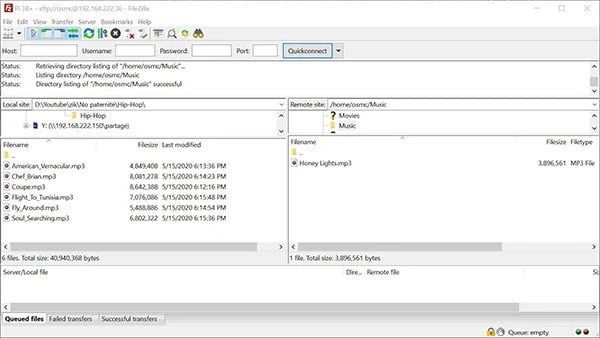
The source's preferred approach is to put a large card in the Pi and transfer files to it over SFTP. SFTP runs over SSH, so if SSH is enabled, the transfer channel already exists. You don't need another service. Tools like Termius, WinSCP, FileZilla, or rsync and scp on Linux and macOS will all work. You can also open a port on your router with NAT to reach the Pi from another network, though that adds exposure you should weigh carefully.
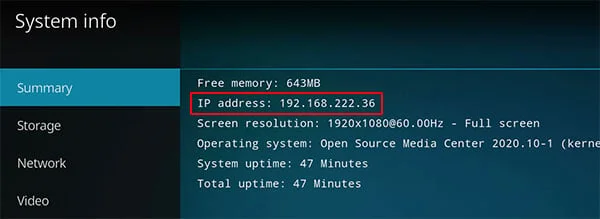
To connect, you need the Pi's address, which you can find under Settings, then System information. The default username and password are both osmc. Change that password as soon as you log in, using the passwd command. A Pi on a home network with a known default login is a common target, so treat this step as mandatory rather than optional.
Once connected, transfer files into the matching folder: Movies, Music, Pictures or TV Shows. These folders sit in /home/osmc. Here's the part that trips people up. If you copy files into the right folder but Kodi doesn't show them, the library needs a source pointing at your home folder. Go to Videos, then Files, then Add videos. Click Browse, choose Home folder, then Movies, and submit. Adjust the defaults if needed, exit, and return to Videos, then Files. Your new Movies source will list the videos on the card. Repeat the process for Pictures and Music if you use them.
The web interface
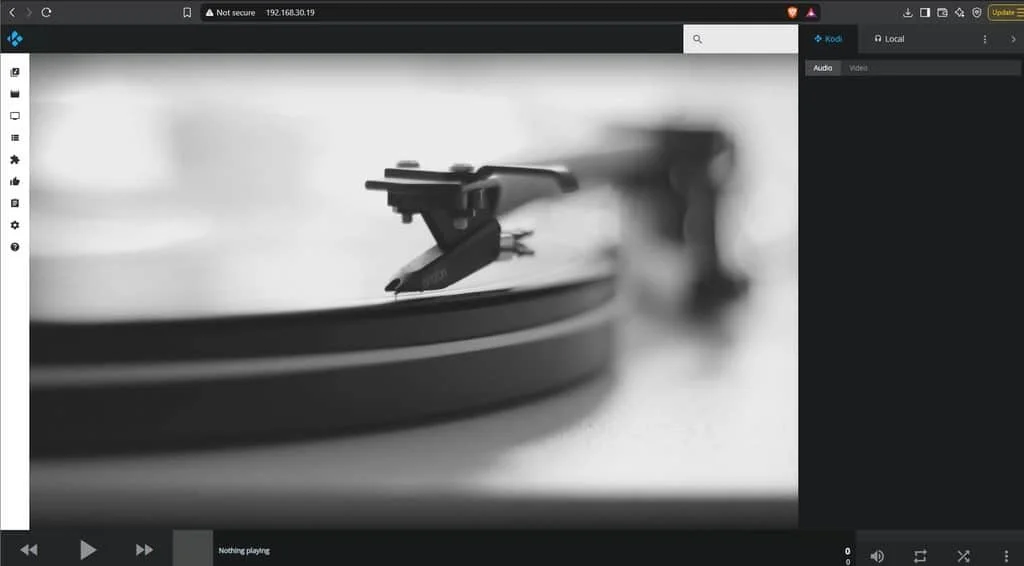
After installation, Kodi also exposes a web interface, and it's easy to miss. Type the Pi's IP address into a browser, in the form http://X.X.X.X, and the interface loads. It's responsive, so a tablet or phone works. Finding the address is simple. If you set a static address in the OSMC installer wizard, that's the one you entered. Otherwise, open Settings, then System information, and it's listed there. From another computer on the network, check your router's admin page for connected devices, or use a network scanner.
SSH access
Because the wizard left SSH enabled, you can log in with a terminal. On Windows, Termius or PuTTY will do the job. Linux and macOS include the ssh command. Connect with the Pi's IP address and the default credentials, then run passwd to change the password. Once you're in, you're on a Debian-like system, so the usual Debian tools apply.
Add-ons: where the value is, and where the risk sits
Playing local files is only part of the picture. What makes Kodi popular is its add-on system. The source compares add-ons to apps on a phone, and that's a fair comparison. An add-on adds a service, a playback source or an interface to Kodi, and the question that matters is where each add-on comes from.
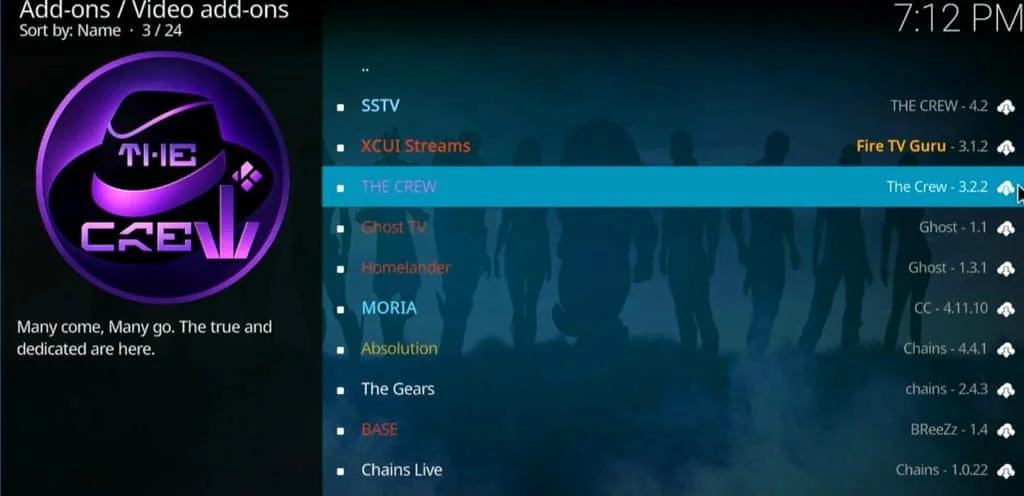
The source sorts add-ons into three groups, and I'll follow the same logic.
Official repository add-ons
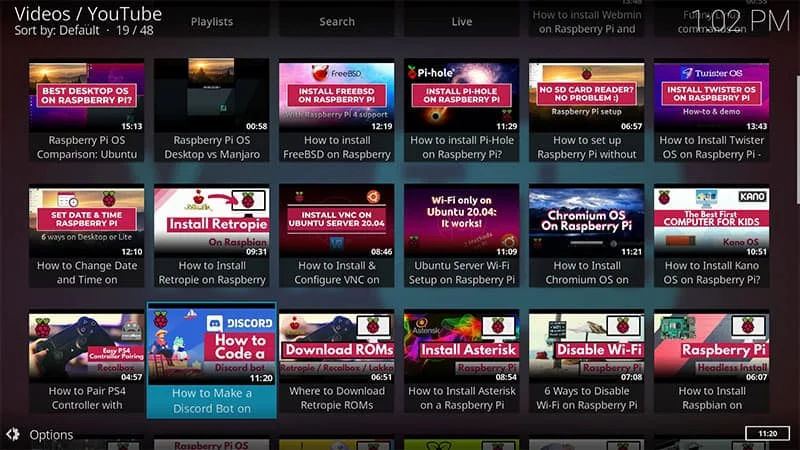
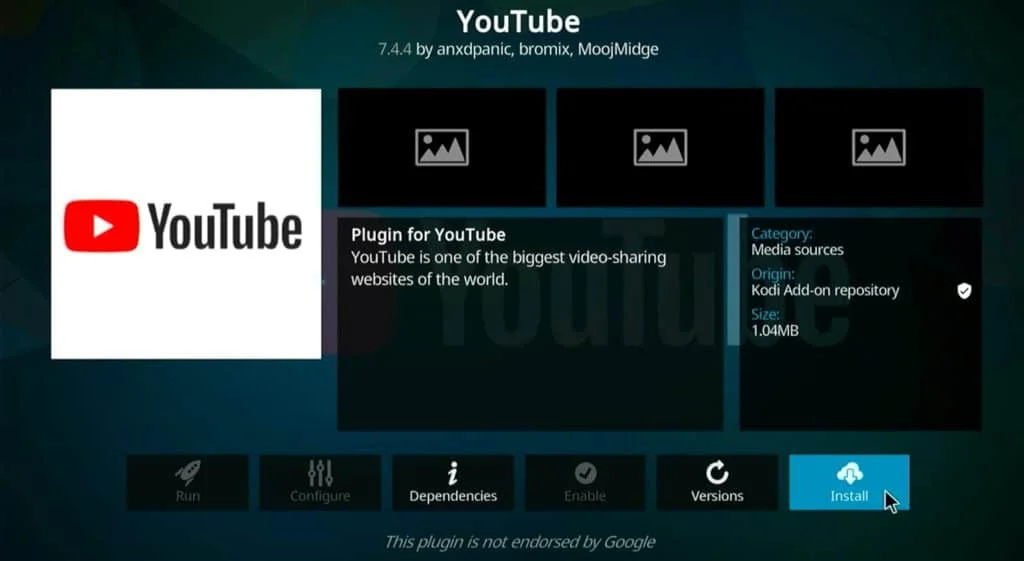
These are in the default Kodi repository and are the cleanest starting point. Install YouTube from Settings, then Add-ons, then Install from repository, then Video Add-ons. Find YouTube (the UP arrow jumps to the bottom of the list quickly), select it, choose Install and confirm.
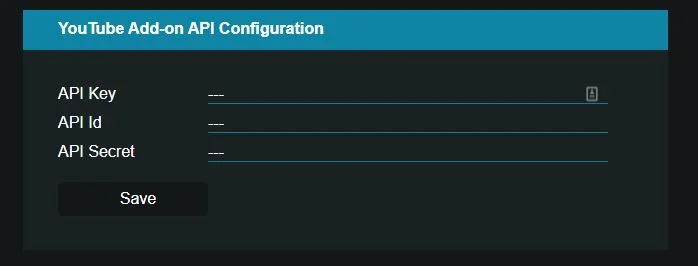
YouTube won't work until you supply an API key. Getting one means creating a project in the Google developer console. The source calls this a long process and points to an external tutorial rather than repeating it. The source's tip is worth keeping: don't type credentials on the Pi using the remote. Enable the web configuration page and enter the details at http://IP:50152/api from a browser. The first run also asks for language and country, and you can sign in to your account if you want to.
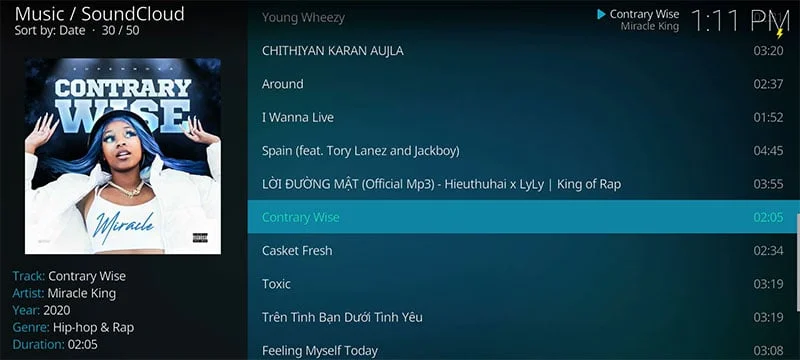
SoundCloud is the second example. It installs the same way from Music Add-ons, and it needs no API key. It appears under Add-ons, then Music add-ons.
Add-ons from zip files and third-party repositories
Some popular services aren't in the default repository. In those cases, you add a repository or install a package from a zip file. The source covers two examples, and the steps are similar.
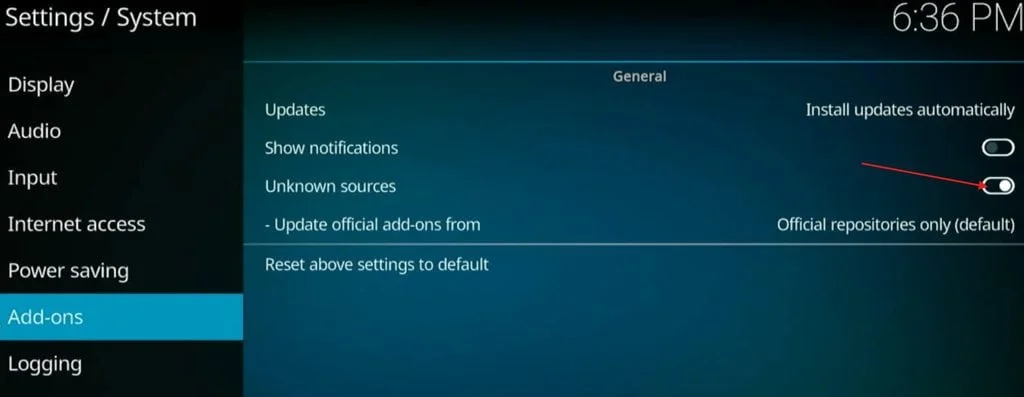
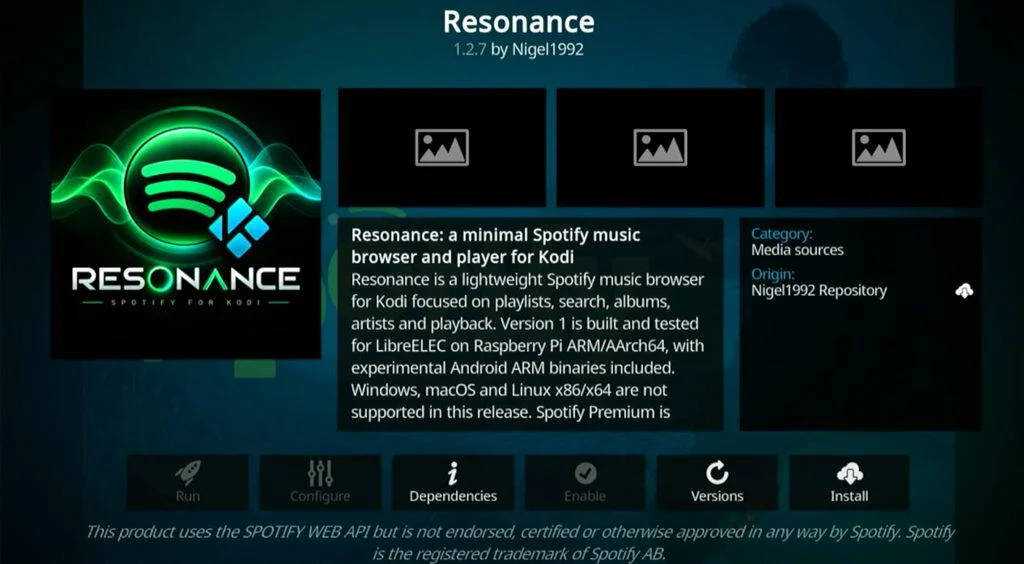
For Spotify, the source uses an add-on called Resonance from a third-party repository. You download the repository zip, either by copying it to the Pi with an SFTP client or by running wget over SSH against the repository's zip URL. Keep it in a folder you can find later, such as a Downloads folder in your home directory. Then, in Kodi, go to Settings, then Add-ons, then Install from zip file. If Kodi refuses, the zip installation option is disabled by default, so enable Unknown sources first. Browse to the file and install it. Kodi then makes the repository available, and you install Resonance from Add-ons, then Install from repository, then the repository's Music Add-ons folder.
On first run, Resonance may ask you to finish its setup. Follow the prompts and restart the Pi afterwards. A premium Spotify account is required for third-party apps like this, according to the source. Plan on that before you start.
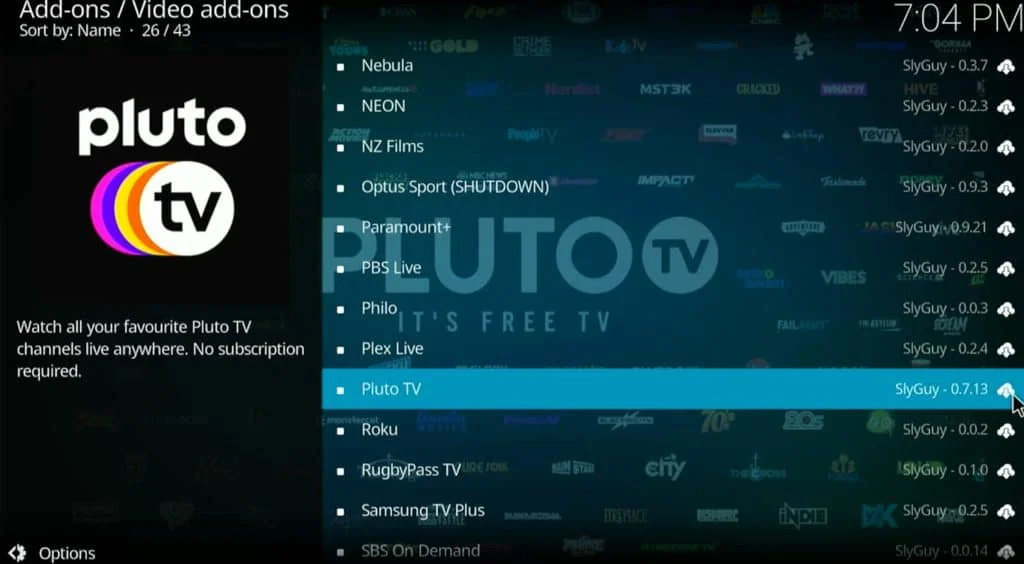
Pluto TV follows a similar path. Download the repository zip from the SlyGuy site, transfer it to the Pi, install it from zip in Kodi, then open Install from repository. The SlyGuy Repository lists its packages in subfolders. Pluto TV sits in the Video add-ons folder, and you install it, accepting any dependencies Kodi asks for. Pluto TV is described in the source as a free streaming service, owned by Paramount, that offers popular TV series and movies.

Choosing add-ons with care
This is where the source is most direct, and I'd say it matters more than the installation steps. Third-party add-ons are easy to install, and that ease is exactly the risk. The same mechanism that installs a free Spotify client can install something you shouldn't trust. The source's test is a useful one to keep in mind. If a service is free on a PC too, or you don't pay for it anywhere else, ask yourself where the content is coming from and whether that source is one you'd rely on.
The source specifically warns against a set of add-ons that offer free movies and TV shows, naming TheCrew, Umbrella and Elementum. Its view is that free access to that kind of content is rarely a free lunch. I'd treat that as a caution on its own terms. Beyond it, the source's argument about the Kodi software itself is fair: it's the add-on sources that deserve scrutiny, not the core application.
The source also recommends a VPN when using Kodi, mainly for encrypting traffic from the Pi and reaching content that's restricted by region. It describes the VPN as optional but useful, and notes that many providers are roughly comparable in function. Whatever you choose, check the provider's reputation and privacy record rather than relying on rankings, since the source flags that some providers have faced questions about the logs they keep.
What to do next
If you follow this path, you end up with a Pi that boots straight into Kodi, plays local and network media, and streams from a handful of services. A few habits will keep it in good shape. Change the default password on day one. Keep SSH on only while you need it, or make sure the network is trusted if you leave it on. Pick add-ons from the official repository first, and treat anything from outside it as a separate decision.
The OSMC Wiki and the Kodi Wiki cover the detail that a guide can't. The OSMC Wiki is the place for distribution-specific settings, and the Kodi Wiki covers the application itself. Both are worth reading once the basics are working, especially if you start building a larger library or a multi-room setup.