So, you’re staring down that plain ol’ chicken breast like it’s a mystery box, huh? Don’t sweat it. We’re about to turn that somewhat-boring blank canvas into a culinary rockstar without breaking a sweat (or a plate, hopefully). Get ready for some seriously good eats with minimal effort. Your taste buds (and your inner lazy chef) are gonna thank you!
Why This Recipe is Awesome
Okay, real talk: this isn’t some Michelin-star-level sorcery. This is the “I need food *now* and it needs to taste good” kind of magic. It’s **foolproof**, even if your past cooking experiments involved setting off the smoke alarm. Seriously, it’s so easy, even my cat could almost follow along. Plus, it makes a chicken breast actually *exciting*, which, let’s be honest, is a monumental achievement in itself. Juicy, flavorful, and ready in a flash? Yes, please!
Ingredients You’ll Need
Gather ’round, my fellow food adventurer! Here’s what you’ll need to transform that humble chicken breast into a masterpiece. Most of these are probably chilling in your pantry already.
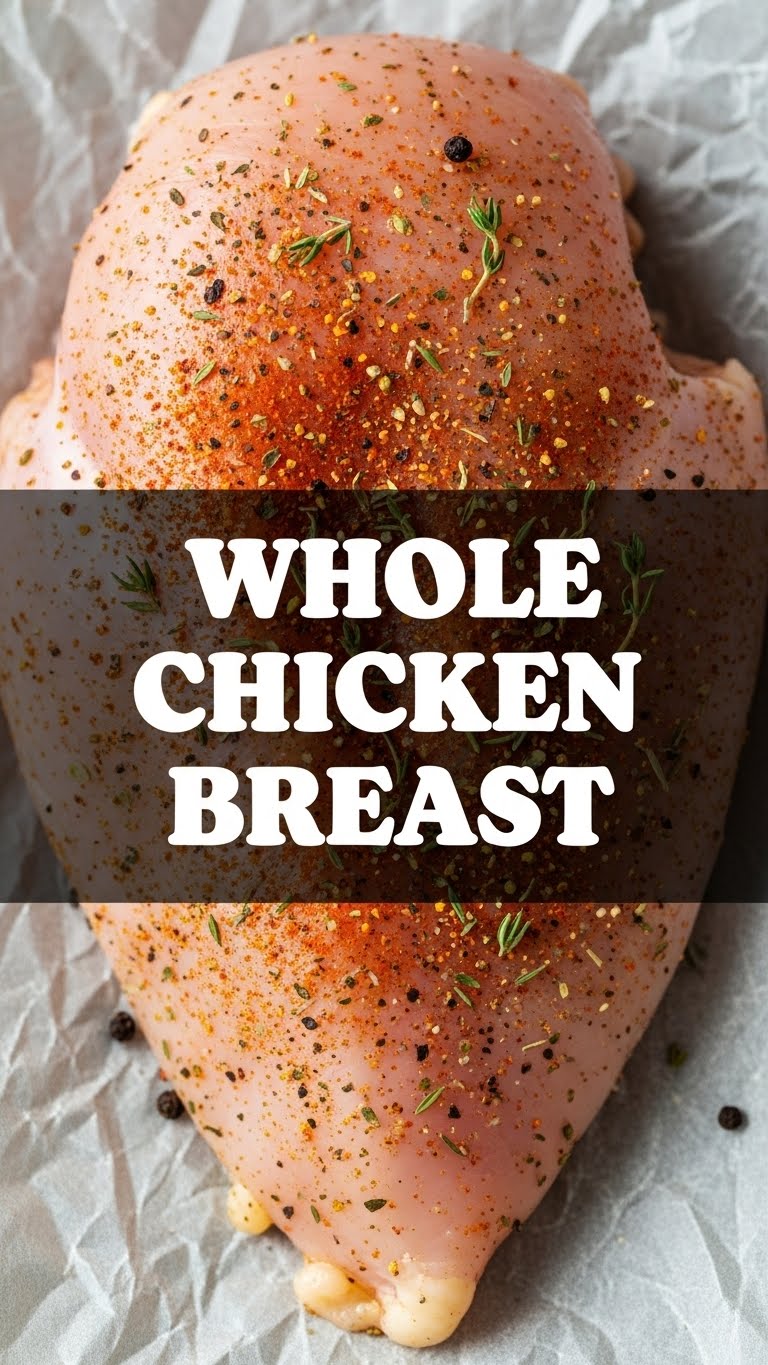
- 2 Boneless, Skinless Whole Chicken Breasts: The undeniable stars of our show, probably looking a little bland right now, but not for long!
- 1-2 Tablespoons Olive Oil: Your trusty sidekick for all things searing. Good quality makes a difference, but don’t go bankrupt over it.
- 1 Teaspoon Kosher Salt: Don’t be shy! Salt is flavor’s best friend.
- ½ Teaspoon Black Pepper: Freshly ground if you’re feeling fancy, but pre-ground works just fine.
- ½ Teaspoon Garlic Powder: Because everything is better with a little allium love.
- ½ Teaspoon Onion Powder: Garlic’s equally amazing sibling.
- ½ Teaspoon Paprika (Smoked or Sweet): For that *oomph* and a gorgeous color. Smoked adds a nice depth, but sweet is totally fine too.
- Optional: ½ Teaspoon Dried Herbs (Thyme, Oregano, or Rosemary): Want to elevate your game without even trying? These are your secret weapons.
- Optional: Lemon Wedge for Serving: A final squeeze at the end? Chef’s kiss! (And makes you look like you know what you’re doing.)
Step-by-Step Instructions
-
Prep Time, Baby!
First things first: pat those chicken breasts super, super dry with paper towels. This is **CRUCIAL** for getting that beautiful golden-brown crust we all crave. Don’t skip it, seriously. Moisture is the enemy of crispy!
-
Season Like a Pro (ish)
Drizzle a little olive oil over the chicken breasts. Now, sprinkle generously with the salt, pepper, garlic powder, onion powder, and paprika. If you’re using dried herbs, add them now too. Rub all that deliciousness into every nook and cranny like you’re giving it a spa treatment. Get hands-on!
-
Heat Things Up
Grab your trusty skillet (cast iron is my fave for searing, but any oven-safe heavy-bottomed pan works wonders) and place it over medium-high heat. Add another drizzle of olive oil. We want it hot enough to make the chicken sizzle when it hits, but not so hot that it’s smoking like a bad rock concert.
-
Sizzle & Sear
Carefully place the seasoned chicken breasts into the hot skillet. Don’t crowd the pan! If you’re cooking more than two, do them in batches. Sear for **5-7 minutes per side**, or until they develop a gorgeous, golden-brown crust. We’re building serious flavor here, people!
-
Oven Time (Optional but Recommended)
If your chicken breasts are particularly thick, or you just want that extra guarantee of juicy perfection, transfer the skillet to a preheated oven at 375°F (190°C). Bake for another **8-12 minutes**, or until the internal temperature reaches **165°F (74°C)**. If they’re thinner, you might be totally done on the stovetop after searing!
-
Rest, You Deserve It (and so does the chicken)
This step is non-negotiable! Take the chicken out of the pan and let it rest on a cutting board for at least **5 minutes** before slicing. This magical resting period allows the juices to redistribute throughout the meat, keeping it incredibly tender and moist. Trust me, patience is a virtue here.
-
Serve & Devour
Slice your perfectly cooked chicken against the grain. Add a squeeze of lemon if you’re feeling zesty, and prepare for compliments. Or just eat it all yourself while standing over the counter. No judgment from this corner!
Common Mistakes to Avoid
We’ve all been there – kitchen mishaps are part of the learning curve! But here are a few rookie errors you can easily sidestep to ensure chicken perfection every single time:
- Skipping the Pat Dry: If your chicken is wet, it’s going to steam, not sear. Say goodbye to that delicious golden crust and hello to sad, grey chicken. **Always pat it dry!**
- Crowding the Pan: Too many chickens in one pan equals a drastic drop in temperature, less browning, and unevenly cooked, pale chicken. If you have more than two, cook them in batches. Give ’em space!
- Underseasoning: Bland chicken is a tragedy. Don’t be afraid of a little salt and pepper (and all those other spices!). **Pro tip:** You can taste a tiny pinch of your seasoning blend on its own to get a feel for the flavor.
- Not Letting It Rest: Impatiently slicing into hot chicken means all those glorious juices run out onto your cutting board, leaving you with dry, sad meat. Let it chill! It’s earned its break.
- Overcooking: The ultimate sin when it comes to chicken breast! It dries out faster than a bad joke. **Use a meat thermometer** for peace of mind – 165°F (74°C) is your magic number. Pull it off the heat *just before* it hits 165°F, as it will continue to cook a bit while resting.
Alternatives & Substitutions
Feeling adventurous? Or maybe you just don’t have exactly what I listed? No worries! This recipe is super flexible. Think of it as a canvas for your culinary creativity.
- Spice it Up: Not feeling the basic seasoning? Try chili powder, cumin, or a pre-made taco seasoning for a Tex-Mex vibe. Or go full-on Italian with dried basil, oregano, and a pinch of red pepper flakes. **Your kitchen, your rules!**
- Fresh Herbs: Instead of dried, chopped fresh herbs like rosemary, thyme, or parsley can be added towards the end of cooking or as a vibrant garnish for extra freshness and aroma.
- Fats: Butter is a delicious alternative to olive oil for searing, adding a rich, nutty flavor. Just be careful not to burn it at high heat. Avocado oil also works great for its high smoke point.
- Lemon: No fresh lemon for that finishing squeeze? A splash of white wine, apple cider vinegar, or chicken broth can deglaze the pan after cooking and add a nice touch of moisture and acidity.
FAQ (Frequently Asked Questions)
Got questions? I’ve got (casual and hopefully helpful) answers!
- Can I use bone-in chicken breast? Totally! Just know it’ll take a bit longer to cook through because of the bone, so adjust your timing and **always aim for that 165°F internal temperature**.
- What if I don’t have an oven-safe skillet? No problem! Sear your chicken on the stovetop as instructed, then simply transfer the seared breasts to a regular baking dish to finish cooking in the oven. Easy peasy.
- How do I know if it’s cooked through without a thermometer? Look, an internal thermometer is your absolute best friend here. But generally, the juices should run clear when you poke it with a knife, and the meat should be opaque all the way through. Still, **IMO, get a thermometer, seriously.**
- Can I marinate the chicken beforehand? Absolutely! A quick marinade (30 mins to 2 hours) with lemon juice, garlic, herbs, and oil can add even more flavor and tenderness. Just make sure to still pat it dry before searing.
- My chicken always comes out dry. Help! You’re probably overcooking it. Remember that magical **165°F mark** and the **resting period**. These two steps are non-negotiable for juicy chicken.
- Can I meal prep this? Heck yes! Cook a few breasts, slice them up, and store them in airtight containers. They’re perfect for salads, sandwiches, or quick dinners throughout the week. Future you will definitely thank current you.
- Can I use a different cut of chicken? While this recipe is optimized for whole chicken breasts, you can adapt it for thighs or tenders. Just remember cooking times will vary; thighs take longer, tenders cook much faster.
Final Thoughts
See? You’re practically a culinary wizard now! Who knew a humble chicken breast could be this glorious? You’ve just mastered a ridiculously easy, yet incredibly delicious, meal that’s perfect for a weeknight, a lunch prep, or when you just want to feel like a fancy chef without all the fuss.
Go on, strut your stuff. Impress your roommates, your cat, or just yourself with your newfound skills. You’ve officially conquered the chicken breast, and that, my friend, is a victory worth celebrating. Now go eat!