So you’re craving something tasty but too lazy to spend forever in the kitchen, huh? Same. We’ve all been there: staring into the fridge, dreaming of restaurant-quality deliciousness without, you know, leaving the house or putting on real pants. Good news, my friend! We’re about to make some seriously satisfying, ‘grilled’ chicken right on your stovetop. No outdoor grill required, just your trusty pan and a little bit of culinary swagger.
Why This Recipe is Awesome
Because it’s practically idiot-proof, even I didn’t mess it up! This isn’t just a recipe; it’s a life hack for busy humans who still want to eat well and feel like a kitchen wizard. We’re talking juicy, flavorful chicken breast with those irresistible grill marks, all done in under 20 minutes (prep included, if you’re quick). It’s healthy-ish, versatile, and requires minimal cleanup compared to, say, deep-frying anything. Plus, you get to skip the charcoal, the propane, and the anxiety of wondering if you remembered to turn off the gas. You’re welcome.
Ingredients You’ll Need
- 2 Boneless, Skinless Chicken Breasts: The stars of our show. Pick some good-looking ones, ideally around 6-8 oz each.
- 1-2 Tablespoons Olive Oil: Your pan’s best friend and the secret to a good sear.
- 1 Teaspoon Salt: Don’t skimp on this. Flavor, baby!
- 1/2 Teaspoon Black Pepper: The perfect partner in crime for salt.
- 1/2 Teaspoon Garlic Powder: Because everything’s better with garlic, right?
- 1/2 Teaspoon Smoked Paprika: This gives us that lovely “grilled” flavor without the actual grill. Don’t skip it if you can help it!
- 1/4 Teaspoon Onion Powder (Optional): Adds another layer of yum.
Step-by-Step Instructions
- Pound it Out: Place each chicken breast between two pieces of plastic wrap (or in a large Ziploc bag). Grab a rolling pin, a meat mallet, or even a heavy pan, and pound those breasts until they’re about 1/2 to 3/4 inch thick and even. This ensures even cooking and prevents dry edges and raw centers. Trust me, it’s worth the aggression release.
- Season Like a Pro: Drizzle the chicken breasts with about a tablespoon of olive oil. In a small bowl, mix together the salt, pepper, garlic powder, smoked paprika, and onion powder. Sprinkle this magical mix generously over both sides of the chicken, rubbing it in gently.
- Heat Things Up: Place a heavy-bottomed pan (cast iron is my MVP here, FYI) over medium-high heat. Let it get HOT for 2-3 minutes. You want that sizzle when the chicken hits the pan. Add the remaining olive oil and swirl it around to coat the bottom.
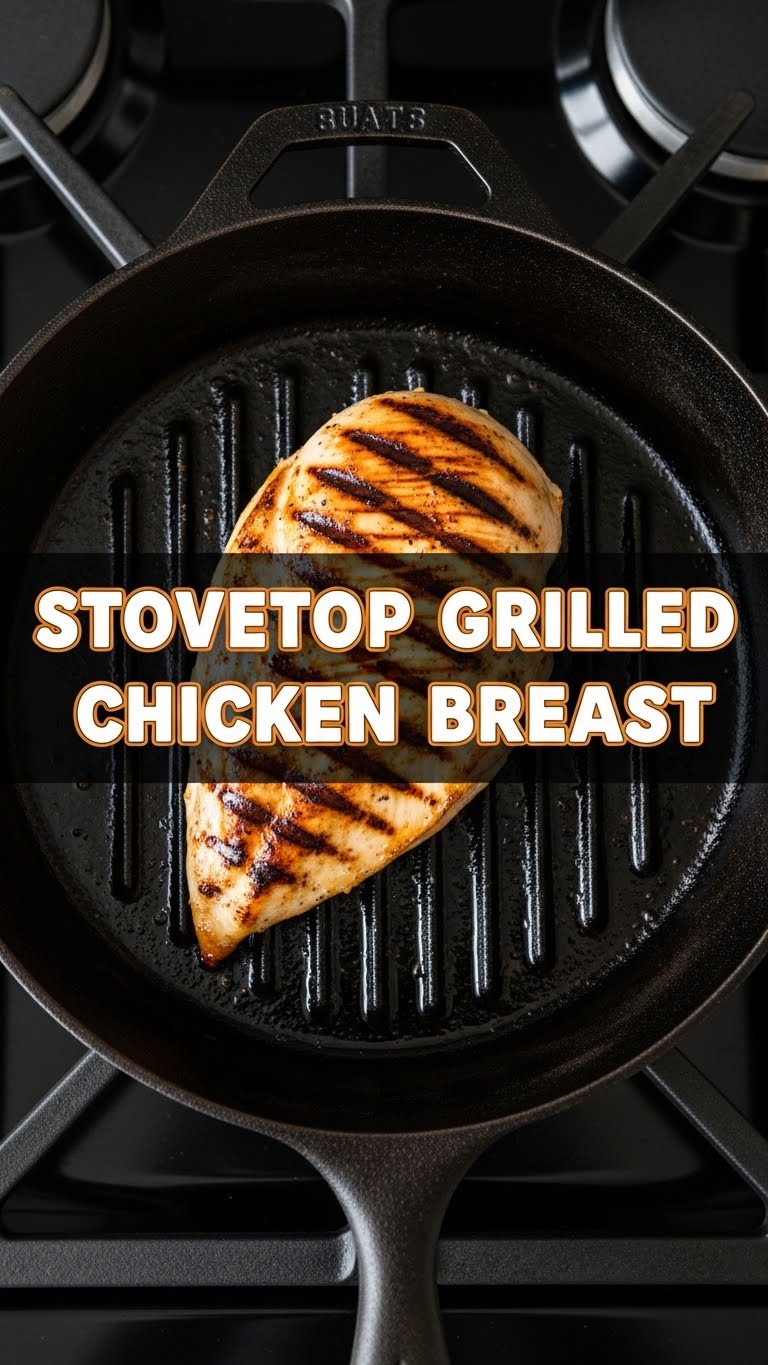
- Get Your Grill On (Stovetop Style): Carefully place the seasoned chicken breasts in the hot pan. Don’t overcrowd the pan; cook one or two at a time if necessary. Let them sear undisturbed for 4-6 minutes, or until you see those beautiful golden-brown grill marks and the edges start to look cooked.
- Flip & Finish: Flip the chicken breasts and cook on the other side for another 4-6 minutes, or until they’re cooked through. The internal temperature should reach 165°F (74°C). If you don’t have a thermometer, cut into the thickest part—the juices should run clear.
- Let It Chill: Transfer the cooked chicken to a plate or cutting board. **This is crucial!** Tent it loosely with foil and let it rest for 5 minutes. This allows the juices to redistribute, ensuring super tender and juicy chicken. Don’t skip this, seriously.
- Slice & Serve: Slice your perfectly ‘grilled’ chicken against the grain and serve immediately. Go on, bask in your glory!
Common Mistakes to Avoid
- Skipping the Pounding: Uneven chicken = uneven cooking = dry chicken. Don’t do it!
- Not Preheating the Pan: Cold pan = sad, pale chicken with no sear. Rookie mistake.
- Overcrowding the Pan: This lowers the pan temperature, steaming your chicken instead of searing it. Cook in batches if needed.
- Overcooking: Dry chicken is the saddest chicken. Keep an eye on it!
- Forgetting to Rest: Cutting into chicken immediately after cooking is a one-way ticket to dry-ville. Patience, young padawan.
Alternatives & Substitutions
This recipe is super flexible, so feel free to experiment! Instead of olive oil, you could use avocado oil. For the spices, feel free to swap in chili powder, Italian seasoning, or a store-bought chicken rub. If you’re feeling fancy, a quick 30-minute marinade (lemon herb, teriyaki, or buffalo sauce) before cooking will elevate the flavor even further. Serve it with a fresh salad, roasted veggies, in a sandwich, or sliced over pasta. Your kitchen, your rules!
FAQ (Frequently Asked Questions)
Do I *really* need to pound the chicken?
Yes, my friend, **you really do!** It’s the secret sauce (pun intended) to evenly cooked, tender chicken. Otherwise, the thinner parts will be dry while the thicker parts are still undercooked. No fun, IMO.
How do I know when the chicken is truly cooked through?
The safest bet is a meat thermometer reading 165°F (74°C) in the thickest part. If you’re old-school, cut into it—the juices should run clear, and the meat should be opaque all the way through.
Can I use a different kind of pan?
Absolutely! While cast iron is king for that even heat and sear, any heavy-bottomed skillet (stainless steel, non-stick) will work. Just ensure it gets nice and hot!
I don’t have smoked paprika. Can I just use regular?
You can, but it won’t have that lovely smoky depth that really sells the “grilled” illusion. If you don’t have it, a pinch of chili powder can add a little warmth, or just omit it. It’ll still be tasty!
My chicken is sticking to the pan. What went wrong?
A few culprits! Either your pan wasn’t hot enough, or you didn’t use enough oil. Sometimes, if you try to flip too early, it will stick. Let it sear longer; it should release naturally when it’s ready.
Can I marinate the chicken beforehand?
**Please do!** A good marinade (even 30 minutes) can add incredible flavor and moisture. Just pat the chicken dry before cooking to ensure a good sear.
Final Thoughts
And there you have it! Delicious, ‘grilled’ chicken without the hassle of firing up the outdoor grill. You’ve just mastered a quick, easy, and super versatile meal that’ll make you feel like a culinary rockstar. Now go impress someone—or yourself, which is arguably more important—with your new stovetop grilling skills. You’ve earned it!