So you’re craving something tasty but too lazy to spend forever in the kitchen? Same. We’ve all been there, staring into the fridge like it’s a black hole of culinary indecision. But fear not, my friend, because today we’re tackling the humble (yet mighty) split chicken breast in the oven. It’s so easy, your pet hamster could probably do it. (Disclaimer: Do not let your hamster operate an oven.)
Why This Recipe is Awesome
Okay, let’s be real. This isn’t gourmet, Michelin-star stuff. This is “I need delicious food in my belly ASAP without a culinary degree” stuff. And guess what? It delivers! This recipe is basically your culinary wingman: always there, always reliable, and makes you look good. It’s idiot-proof – even I, someone who once tried to microwave a metal spoon (don’t ask), managed not to mess this up. Plus, it’s versatile, healthy-ish, and leaves your house smelling like a fancy restaurant (without the crippling bill). Win-win-win, if you ask me.
Ingredients You’ll Need
- Split Chicken Breasts: The stars of our show! Grab about 2-4, depending on how hungry you (and any lucky recipients) are. Bone-in and skin-on is where the flavor party’s at, trust me.
- Olive Oil: About 2 tablespoons. Or whatever healthy-ish oil you have lying around. It’s our flavor glue!
- Salt & Black Pepper: To taste, obviously. Don’t be shy, chicken loves seasoning!
- Your Favorite Herbs/Spices: This is where you get creative! Think garlic powder, onion powder, paprika, dried thyme, oregano, rosemary. Maybe a pinch of cayenne if you’re feeling spicy. Don’t overthink it, just grab what smells good.
- Optional: Lemon or Butter: A couple of lemon slices or a pat of butter per breast can elevate things. Because butter makes everything better.
Step-by-Step Instructions
- Preheat Your Oven (Seriously!): Crank that oven up to 400°F (200°C). This isn’t a suggestion, it’s a command. A hot oven means crispy skin and juicy chicken. While it’s heating, grab a baking sheet.
- Prep the Chicken: Take your chicken breasts out of their packaging. Pat them super dry with paper towels. This step is crucial for crispy skin, folks! No one wants soggy skin. Place them on your baking sheet.
- Get Your Seasoning On: Drizzle the olive oil all over the chicken breasts. Now, get in there with your hands (wash ’em first!) and rub that oil everywhere. Then, generously sprinkle your salt, pepper, and all those glorious spices. Don’t forget the underside if you’re feeling ambitious.
- Add the Extras (If Using): If you’re using lemon slices, tuck them under the skin or place them on top. Same goes for those little pats of butter – under the skin is ideal for maximum juiciness.
- Bake ‘Em Till Golden: Pop that baking sheet into your preheated oven. Bake for about 35-45 minutes. The exact time depends on the size of your breasts, but the key is an internal temperature of 165°F (74°C). If you have a meat thermometer, use it! It’s your best friend here.
- Rest, You Deserve It (And So Does the Chicken): Once done, take the chicken out and let it rest on the baking sheet (or a cutting board) for 5-10 minutes before carving or serving. This lets the juices redistribute, ensuring every bite is moist and tender. Patience is a virtue, especially when deliciousness is involved.
Common Mistakes to Avoid
- Skipping the Preheat: Rookie mistake! Your oven needs to be fully hot for that perfect sear and even cooking. Don’t try to rush it, it’s not a race.
- Not Patting Dry: Wet chicken skin equals rubbery chicken skin. Give those breasts a good pat-down; it’s essential for crispy deliciousness.
- Under-Seasoning: Bland chicken is a sad chicken. Be generous with your spices. You’re trying to create a flavor explosion, not a whisper.
- Overcrowding the Pan: If your chicken breasts are spooning each other on the baking sheet, they’re too close! Give them some personal space, otherwise, they’ll steam instead of roast, and nobody wants that.
- Not Resting the Chicken: You just cooked this masterpiece, don’t hack into it immediately! Letting it rest is super important for juicy results. Think of it as a cool-down period for the chicken.
Alternatives & Substitutions
Feeling adventurous? Or just realized you’re out of garlic powder? No worries! This recipe is super flexible.
- Spice It Up (or Down): Don’t have paprika? Use chili powder! Only have Italian seasoning? Go for it! IMO, almost any blend of dried herbs works wonders here. Just play around.
- Different Fats: Ran out of olive oil? Avocado oil, melted butter, or even a neutral vegetable oil will totally work. Just use what you got.
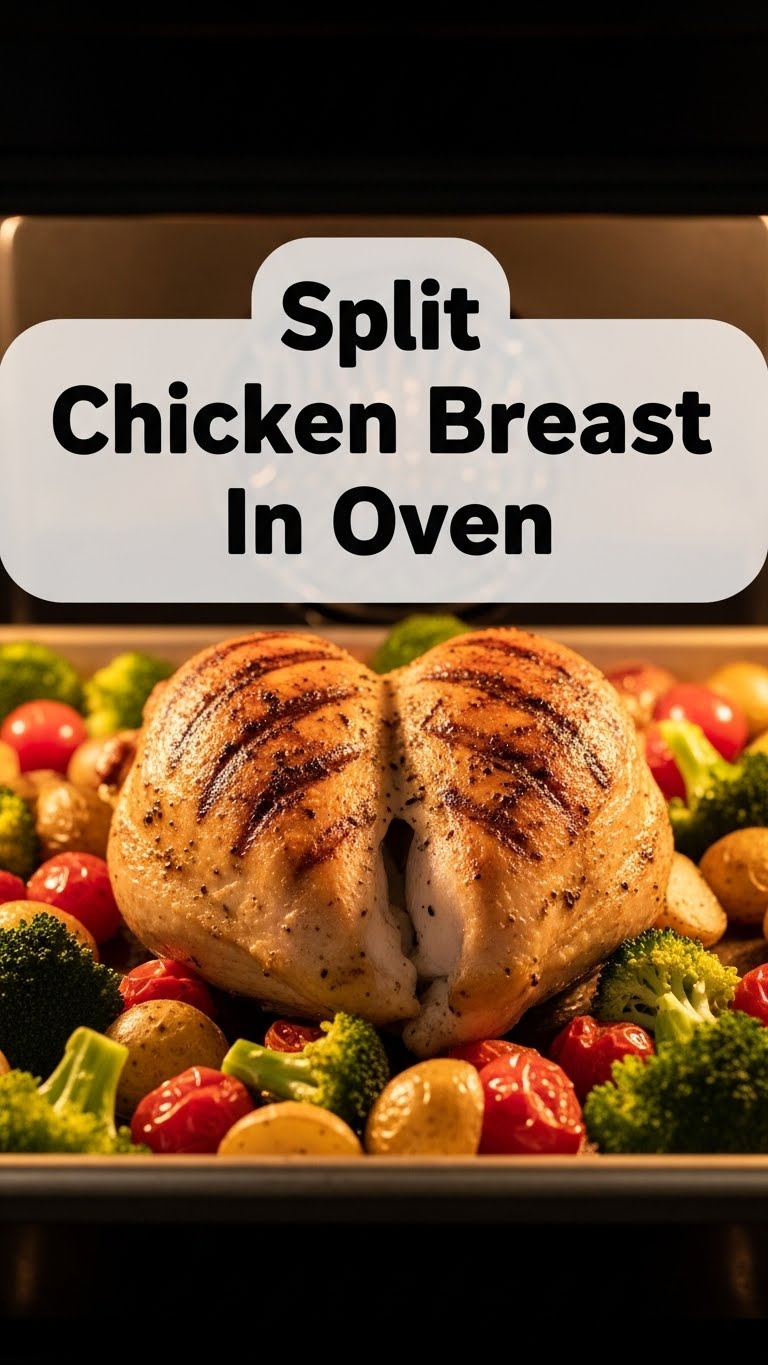
- Add Some Veggies: Want a one-pan wonder? Toss some chopped potatoes, carrots, or broccoli florets with a little oil and seasoning onto the same baking sheet about halfway through the chicken’s cooking time. Voila! Dinner is served, veggies included.
- Boneless, Skinless Breasts: You can totally use these, but adjust your cooking time down to about 20-30 minutes, and keep an eye on that internal temp. They dry out quicker, so be vigilant!
FAQ (Frequently Asked Questions)
- “Can I use frozen chicken breasts?” Oh, honey, no. Please defrost them completely first. Cooking from frozen is a recipe for unevenly cooked, possibly raw-in-the-middle chicken. Not fun.
- “How do I know it’s cooked without a thermometer?” Well, you really *should* get a thermometer, but if you’re living dangerously, look for opaque meat all the way through and clear juices when you poke it. But seriously, invest in a meat thermometer! It’s a game-changer.
- “My chicken skin isn’t crispy. What went wrong?” Did you pat it dry? Was the oven hot enough? Was the pan overcrowded? Those are the usual suspects! Try one of those next time.
- “Can I add sauce during cooking?” You could, but it might make the skin soggy. If you want a sauce, make it separately and drizzle it over *after* the chicken has rested. Trust me on this one.
- “What sides go well with this?” Pretty much anything! Roasted veggies, mashed potatoes, a simple side salad, rice, quinoa… the world is your oyster! Or, you know, your delicious chicken.
Final Thoughts
And there you have it, folks! Perfectly cooked, juicy, flavorful split chicken breasts without all the fuss. See? I told you it was easy. You’ve officially leveled up your home cooking game, even if it was just by a tiny, delicious notch. Now go impress someone—or yourself—with your new culinary skills. You’ve earned it! Maybe even treat yourself to a little dessert. You’re practically a chef now, after all!