So you’re craving something ridiculously tasty but too lazy to spend forever in the kitchen, huh? Same, friend, same. We’ve all been there, staring into the fridge, fantasizing about something crispy, juicy, and soul-satisfying. And what’s more soul-satisfying than a classic Southern Fried Chicken Breast? Don’t worry, we’re not deep-frying a whole bird here – we’re going for the quicker, equally delicious breast version. Get ready to impress yourself (and maybe your roommate/cat/dog).
Why This Recipe is Awesome
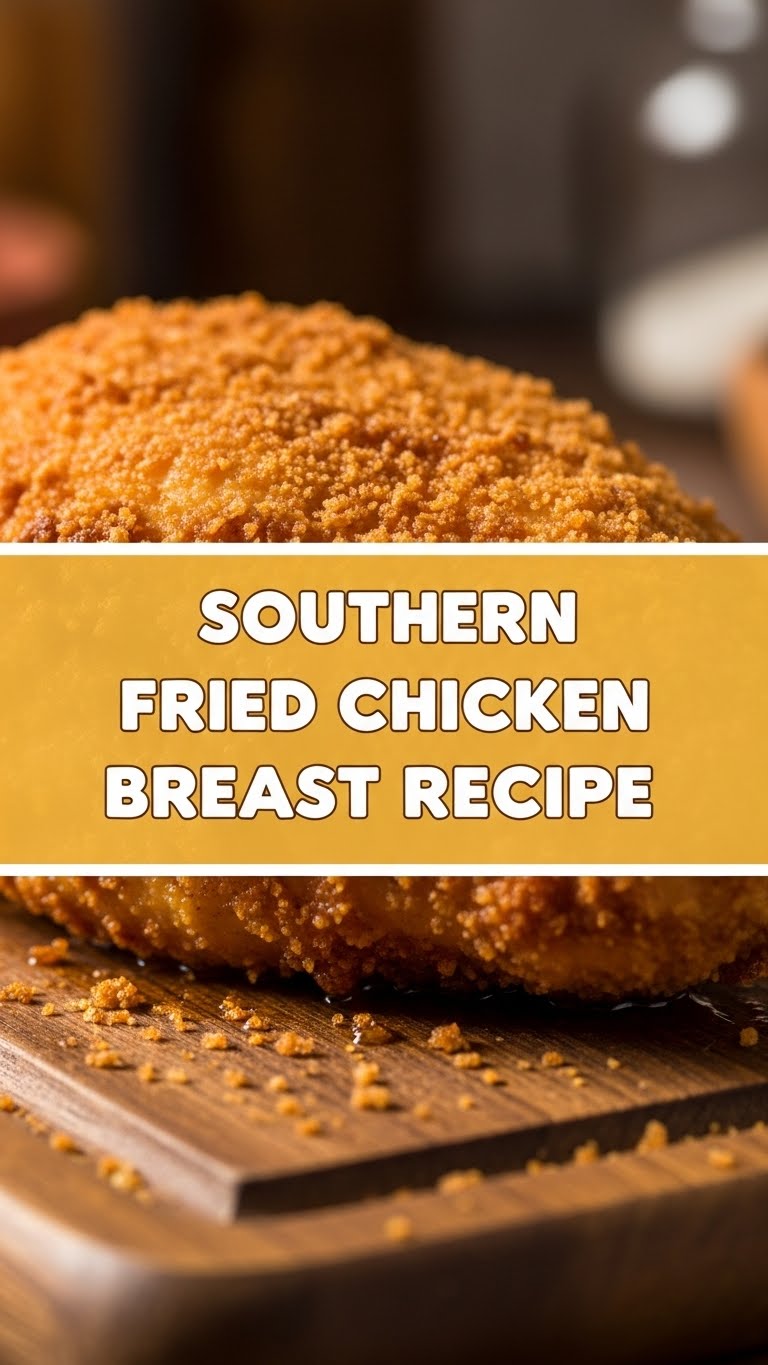
Okay, first things first. This isn’t just *any* fried chicken recipe. This is the one that’ll make you feel like a culinary wizard without actually needing a wand (or years of culinary school, for that matter). It’s incredibly straightforward, delivers that coveted golden, crispy exterior, and keeps the chicken breast unbelievably juicy on the inside. Plus, it uses chicken breast, which means it cooks faster than traditional pieces, so you get to eat sooner. Win-win, my friend! It’s also pretty much idiot-proof; if I can do it without setting off the smoke alarm, you totally can too. Consider this your cheat code to fried chicken glory.
Ingredients You’ll Need
Gather ’round, my future fry masters! Here’s the treasure map to deliciousness:
- 2 Boneless, Skinless Chicken Breasts: About 1 lb total. The star of our show! Make sure they’re patted dry.
- 1 cup Buttermilk: This is your secret weapon for tender, juicy chicken. If you don’t have it, a cup of regular milk with a tablespoon of lemon juice or white vinegar stirred in for 5-10 minutes works in a pinch (science!).
- 2 cups All-Purpose Flour: Just your basic, run-of-the-mill flour. Nothing fancy unless you’re a baking snob (just kidding… mostly).
- 2 tsp Salt: Don’t skimp. Seasoning is key!
- 1 tsp Black Pepper: Freshly ground if you’re feeling fancy.
- 1 tsp Paprika: For that lovely color and a hint of sweet earthiness.
- 1 tsp Garlic Powder: Because everything’s better with garlic.
- ½ tsp Onion Powder: Garlic’s trusty sidekick.
- ¼ tsp Cayenne Pepper (optional): For a little kick! Adjust to your spice tolerance (or lack thereof).
- About 4 cups Vegetable Oil (or Canola, Peanut Oil): For frying. Enough to submerge the chicken halfway. Yes, it’s a lot, but this is fried chicken, not diet food, okay?
Step-by-Step Instructions
- Prep the Chicken: Slice each chicken breast horizontally into two thinner cutlets. This helps them cook evenly and quickly. Pat them super dry with paper towels – this is crucial for a crispy crust!
- Marinate (the “Magic” Step): Place your chicken cutlets in a bowl or a resealable plastic bag. Pour the buttermilk over them, ensuring they’re fully coated. Pop it in the fridge for at least 30 minutes, or up to 4 hours. The longer, the better for tenderness and flavor.
- Mix the Dredge: In a shallow dish (a pie plate works great), whisk together the flour, salt, pepper, paprika, garlic powder, onion powder, and cayenne pepper (if using). This is your flavor powerhouse.
- Get Ready to Fry: Pour about 2-3 inches of oil into a large, heavy-bottomed skillet or Dutch oven. Heat the oil over medium-high heat until it reaches 350-375°F (175-190°C). If you don’t have a thermometer, drop a tiny pinch of flour in; if it sizzles vigorously, you’re good to go.
- Dredge the Chicken: Take one chicken cutlet out of the buttermilk (letting any excess drip off) and place it directly into the flour mixture. Press the flour onto the chicken, making sure it’s completely coated on all sides. Give it a good shake to remove any loose flour. Repeat with the second cutlet.
- Fry Away! Carefully place the coated chicken into the hot oil. Don’t overcrowd the pan – cook one or two at a time, depending on your skillet size. Fry for 4-6 minutes per side, or until golden brown and cooked through. The internal temperature should be 165°F (74°C).
- Rest and Devour: Once cooked, remove the chicken from the oil and place it on a wire rack set over a paper towel-lined baking sheet. This lets excess oil drain and keeps the crust crispy. Let it rest for a few minutes before serving.
Common Mistakes to Avoid
Listen up, buttercup! Don’t make these rookie errors:
- Skipping the Pat Dry: If your chicken is wet, the flour won’t stick, and you’ll end up with a sad, soggy coating. Pat. It. Dry. I cannot stress this enough.
- Not Seasoning the Flour Enough: Bland chicken is a tragedy. Don’t be afraid to season that dredge. Seriously.
- Overcrowding the Pan: This is a biggie. If you put too many pieces in at once, the oil temperature drops, and your chicken will steam instead of fry, resulting in greasy, un-crispy chicken. Patience, young padawan!
- Not Getting the Oil to the Right Temp: Too low, and the chicken gets greasy. Too high, and the outside burns before the inside cooks. A thermometer is your best friend here, but if not, use the flour test.
- Ignoring the Rest Period: Just like you need a break after a long day, so does your chicken. Letting it rest allows the juices to redistribute, keeping it tender and delicious. Don’t cut this step short!
Alternatives & Substitutions
Feeling adventurous or just missing an ingredient? No stress!
- No Buttermilk? No Problem! As mentioned, just add 1 tablespoon of lemon juice or white vinegar to 1 cup of regular milk, stir, and let it sit for 5-10 minutes. Voila! Instant buttermilk.
- Spice it Up: Want more heat? Add an extra dash of cayenne, a pinch of chili powder, or even a few dashes of your favorite hot sauce to the buttermilk marinade.
- Gluten-Free: Swap out the all-purpose flour for a good quality gluten-free all-purpose flour blend. Just make sure it’s suitable for frying.
- Different Cuts: While this recipe is for breasts, you can absolutely use chicken thighs or drumsticks. Just be aware that cooking times will increase, usually to 8-12 minutes per side, depending on thickness.
- Air Fryer Version (sort of): Look, it won’t be *fried* fried chicken, but if you’re avoiding oil, you can spray your coated chicken heavily with cooking spray and air fry at 375°F (190°C) for 18-25 minutes, flipping halfway. It’ll be crispy, just different.
FAQ (Frequently Asked Questions)
- “Can I use olive oil for frying?” Technically yes, but I wouldn’t recommend it. Olive oil has a lower smoke point and a distinct flavor that might not be ideal here. Stick to vegetable, canola, or peanut oil for that classic fried chicken taste.
- “How do I know the chicken is fully cooked without a thermometer?” While a thermometer (165°F/74°C internal temp) is best, you can cut into the thickest part of the chicken. If the juices run clear and the meat is opaque white, it’s done. But seriously, get a thermometer, IMO.
- “Can I make the dredged chicken ahead of time?” You can dredge it up to 30 minutes before frying, keeping it in the fridge. Any longer, and the flour might get soggy from the buttermilk, leading to a less crispy crust.
- “Why buttermilk? What’s the big deal?” Buttermilk’s acidity helps to tenderize the chicken without making it tough, and it also creates a sticky surface for the flour dredge to adhere to, leading to that amazing crispy crust. It’s magic, pure and simple!
- “What if my chicken isn’t crispy?” This usually means your oil wasn’t hot enough, or you overcrowded the pan. Check your oil temperature and cook in batches!
- “Can I reuse the frying oil?” Absolutely! Once cooled, strain the oil through a fine-mesh sieve or cheesecloth to remove any food particles. Store it in a sealed container in a cool, dark place. You can typically reuse it 2-3 times for frying, depending on what you fried.
Final Thoughts
There you have it, folks! Your very own, incredibly delicious Southern Fried Chicken Breast. It’s crispy, it’s juicy, it’s everything you wanted and more. So go ahead, whip this up, take a bite, and bask in the glory of your culinary achievement. Now go impress someone—or yourself—with your new culinary skills. You’ve earned it!