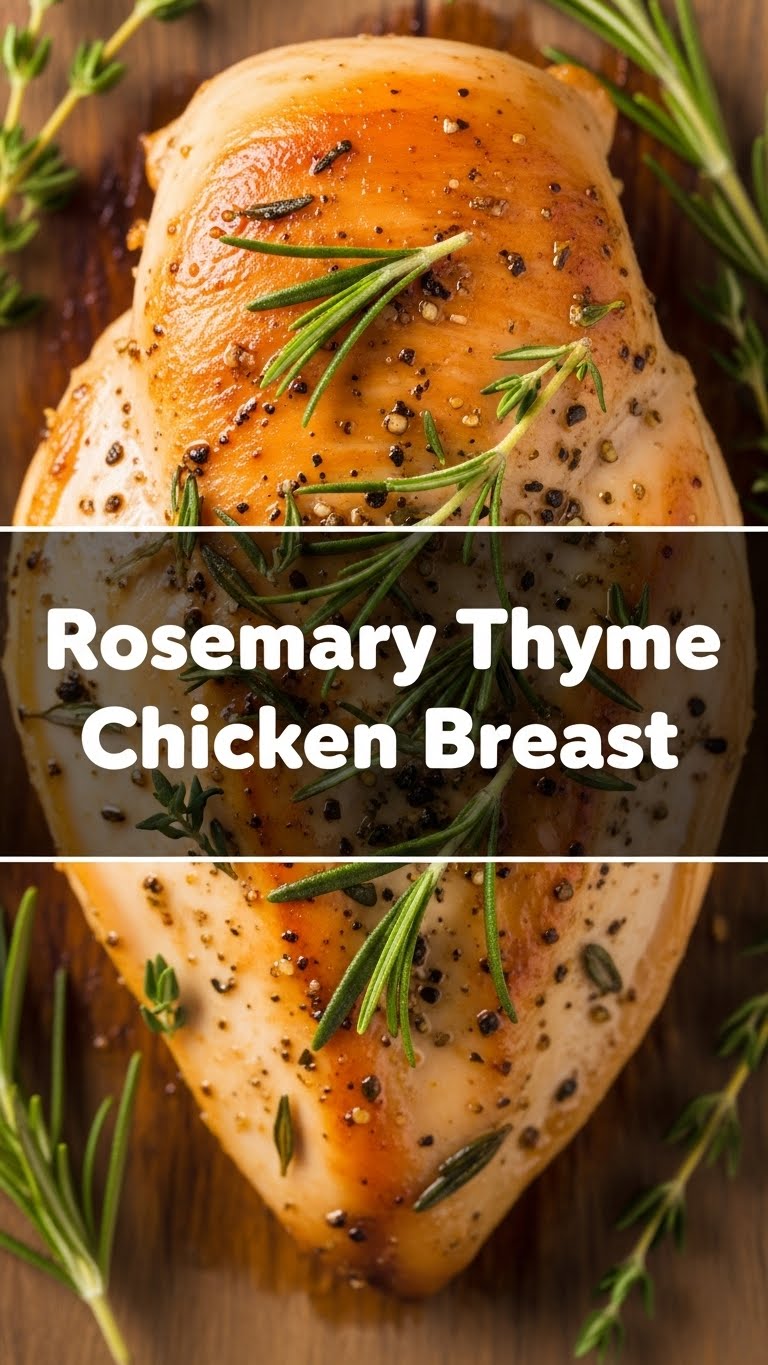
So you’re craving something ridiculously tasty, but the thought of spending hours in the kitchen makes you want to order takeout and call it a day? Yeah, same. But what if I told you there’s a way to whip up a genuinely impressive, flavor-packed meal without breaking a sweat (or your sanity)? Enter our hero: Rosemary Thyme Chicken Breast. It’s fast, it’s fresh, and it’s about to become your new weeknight MVP. Trust me, your taste buds will send you a thank-you card.
Why This Recipe is Awesome
Because it’s practically magic, that’s why! Seriously, this isn’t just another “chicken breast” recipe. It’s a flavor explosion that tastes like you put in way more effort than you actually did. It’s **quick enough for a Tuesday night** and fancy enough to fool your in-laws into thinking you’re a culinary genius. Plus, it’s lean, green (well, herb-y), and totally customizable. It’s idiot-proof, even if your previous kitchen conquests involved burning toast. If I can nail it, you definitely can!
Ingredients You’ll Need
Time to gather your superstar cast. Don’t worry, no obscure ingredients here!
- 2 Boneless, Skinless Chicken Breasts: The main event! Aim for evenly sized ones so they cook at the same rate.
- 1-2 Sprigs Fresh Rosemary: The fragrant rockstar. Seriously, *fresh* makes all the difference here. Don’t skimp!
- 2-3 Sprigs Fresh Thyme: Rosemary’s aromatic sidekick, its BFF.
- 2-3 Cloves Garlic: Minced, because, garlic. Is there even such a thing as too much garlic? (The answer is no.)
- 1/2 Lemon: For a little zest and a bright squeeze at the end.
- 2 tbsp Olive Oil: Your trusty pan-coating companion.
- 1 tbsp Butter (optional, but highly recommended): Because butter makes everything better, right? It adds a gorgeous richness.
- Salt & Freshly Ground Black Pepper: To taste, the OG flavor enhancers.
Step-by-Step Instructions
Ready? Let’s make some chicken magic happen!
- Prep Your Chicken: Pat those chicken breasts super dry with a paper towel. This is crucial for getting that beautiful golden-brown crust! Season generously on both sides with salt and pepper.
- Heat Things Up: Grab an oven-safe skillet (cast iron works beautifully here, FYI) and heat the olive oil over medium-high heat until it’s shimmering.
- Sear for Glory: Carefully place the chicken breasts in the hot skillet. Let them sear undisturbed for about 4-6 minutes per side, until they have a gorgeous golden-brown crust. We’re building flavor here!
- Aromatics Attack!: Once seared, reduce the heat to medium-low. Add the butter (if using), minced garlic, rosemary, and thyme sprigs to the pan. Tilt the pan slightly and, using a spoon, **baste the chicken** with the melted butter, oil, and infused juices for about 2-3 minutes. This infuses incredible flavor.
- Finish ‘Em Off: If your chicken breasts are on the thicker side, pop the skillet into a preheated 375°F (190°C) oven for another 5-10 minutes, or until an instant-read thermometer reads 165°F (74°C) in the thickest part. Thinner breasts might be done on the stovetop; just continue basting until cooked through.
- The Sacred Rest: This is arguably the most important step! Remove the chicken from the pan, transfer it to a cutting board, and let it **rest for at least 5-10 minutes**. Tent it loosely with foil if you want. This allows the juices to redistribute, keeping your chicken moist and tender.
- Slice & Serve: Slice against the grain, squeeze a little fresh lemon juice over the top for a bright finish, and get ready to devour!
Common Mistakes to Avoid
We all make ’em, but here’s how to sidestep the most common chicken blunders:
- The Overcooked Cardboard Chicken: The cardinal sin! Don’t cook your chicken past 165°F (74°C). A meat thermometer is your best friend here. Dry chicken is sad chicken.
- Forgetting to Pat Dry: If your chicken is wet, it’ll steam instead of sear. And nobody wants flabby chicken skin (even if there isn’t any skin on these breasts, the principle applies to a good sear!).
- Not Resting the Chicken: You just put all that effort in, don’t rush the finish line! Rested chicken is juicy chicken. Unrested chicken is dry chicken with all its delicious juices on your cutting board.
- A Cold Pan: Thinking you don’t need to preheat the pan? Rookie mistake! A hot pan gives you that beautiful crust.
Alternatives & Substitutions
Feeling adventurous? Or just missing an ingredient? No worries, we’ve got options!
- Other Herbs: Not a fan of rosemary or thyme? You could try fresh oregano, sage, or even a blend of “Italian seasoning.” Just make sure they’re fresh for the best flavor!
- Chicken Thighs: Prefer dark meat? Boneless, skinless chicken thighs would be amazing here! Just expect a slightly longer cooking time (around 6-8 minutes per side, then finish as directed).
- No Lemon?: A splash of white wine (like a dry Sauvignon Blanc) or even a tiny bit of apple cider vinegar can give you a similar brightness.
- Dairy-Free: Skip the butter and just use olive oil. It’ll still be delicious, promise!
FAQ (Frequently Asked Questions)
Got questions? I’ve got (casual) answers!
- Can I use dried herbs instead of fresh? Well, technically yes, but why hurt your soul like that? Fresh herbs are what makes this recipe sing. If you absolutely *must*, use about 1/3 the amount of dried herbs. The flavor won’t be as vibrant, though, IMO.
- How do I know the chicken is cooked through without a thermometer? Honestly, investing in a cheap meat thermometer is life-changing! But if you’re really in a pinch, cut into the thickest part. If the juices run clear and the meat is opaque white, it’s likely done. Just don’t make a habit of it – you’ll lose all those precious juices!
- Can I make this spicier? Heck yes! Add a pinch of red pepper flakes to the pan with the garlic and herbs. Boom, spicy!
- My chicken breasts are super thick, what then? Great question! Sear them well on both sides, then definitely finish them in the oven. It ensures even cooking without burning the outside while waiting for the inside to catch up.
- What should I serve this with? Oh, the possibilities! Roasted potatoes, a simple green salad, steamed asparagus, or even some creamy mashed potatoes would be divine. It’s versatile!
- Can I meal prep this? Absolutely! Cook it, let it cool, slice it, and store it in an airtight container in the fridge for up to 3-4 days. It’s great cold in salads too!
Final Thoughts
See? That wasn’t so scary, was it? You just whipped up a seriously delicious, flavorful, and healthy-ish meal, and you barely broke a sweat. Now go impress someone—or yourself—with your new culinary skills. You’ve earned it! Enjoy every juicy, herb-infused bite. And hey, if you loved it, tell your friends. We don’t gatekeep good food around here!