So you’re craving something tasty but too lazy to spend forever in the kitchen, huh? Same. What if I told you there’s a magical way to have delicious, juicy chicken breast ready to rock your meal prep world all week long, without needing a culinary degree or, like, any real effort? Welcome, my friend, to the no-stress zone of meal prep chicken. You’re about to become a meal prep superhero without even breaking a sweat!
Why This Recipe is Awesome
Let’s be real, we’ve all had those tragic, dry, cardboard-like chicken breasts that make us question our life choices. This recipe is the anti-thesis of that culinary nightmare. Here’s why it’s about to be your new best friend:
- It’s **idiot-proof**. Seriously, even if your previous cooking triumph was boiling water, you got this. There’s minimal fuss, maximum flavor.
- **Flavor galore**, but with minimal effort. We’re talking tasty chicken that you’ll actually *want* to eat.
- Your future self will thank you. Imagine opening your fridge and seeing perfectly cooked protein ready for tacos, salads, sandwiches, or just a quick snack. No more sad desk lunches!
- It’s **super versatile**. Once cooked, this chicken is the Beyoncé of your fridge – it can do anything!
Ingredients You’ll Need
Gather ’round, my fellow food enthusiasts. Here’s what you’ll need for your juicy chicken adventure:
- **Boneless, Skinless Chicken Breasts:** About 1.5-2 lbs (3-4 breasts). The star of our show, obviously.
- **Olive Oil:** 2 tablespoons. Your chicken’s spa treatment – helps with juiciness and flavor adherence.
- **Salt & Black Pepper:** 1 teaspoon each, or to taste. The dynamic duo, don’t skimp!
- **Garlic Powder:** 1 teaspoon. Because everything is better with garlic, fight me.
- **Onion Powder:** 1 teaspoon. Garlic’s less famous but equally important sibling.
- **Smoked Paprika:** 1 teaspoon. For a little color, warmth, and a subtle smoky vibe.
- **Optional Fun Stuff:** A dash of cayenne for heat, a pinch of dried oregano, or even a squeeze of lemon juice after cooking for brightness. Feel free to get wild, or not.
Step-by-Step Instructions
Alright, apron on (or not, we don’t judge). Let’s get cooking!
- **Preheat & Prep:** First things first, preheat your oven to 400°F (200°C). Then, line a baking sheet with parchment paper. **Don’t skip the parchment!** It makes cleanup a breeze and prevents sticking.
- **Pat it Dry:** Take your chicken breasts and pat them thoroughly dry with paper towels. This is **key for that lovely golden-brown sear** and prevents steaming. Nobody wants rubbery chicken, right?
- **Seasoning Time:** Drizzle the chicken breasts with olive oil. Now, sprinkle all your spices (salt, pepper, garlic powder, onion powder, paprika, and any optional extras) evenly over both sides. Get in there and massage it in. Show that chicken some love!
- **Bake Away:** Arrange the seasoned chicken breasts in a single layer on your prepared baking sheet. Make sure they have a little breathing room between them. Pop them into the preheated oven. Bake for 20-25 minutes, or until the internal temperature reaches 165°F (74°C) at its thickest part. **Do not overcook!**
- **Rest & Shred/Slice:** This is arguably the most crucial step. Once cooked, remove the chicken from the oven and **let it rest for 5-10 minutes** on the baking sheet or a cutting board. This allows the juices to redistribute, ensuring super juicy chicken. Trust me on this one. After resting, slice, dice, or shred it to your heart’s content.
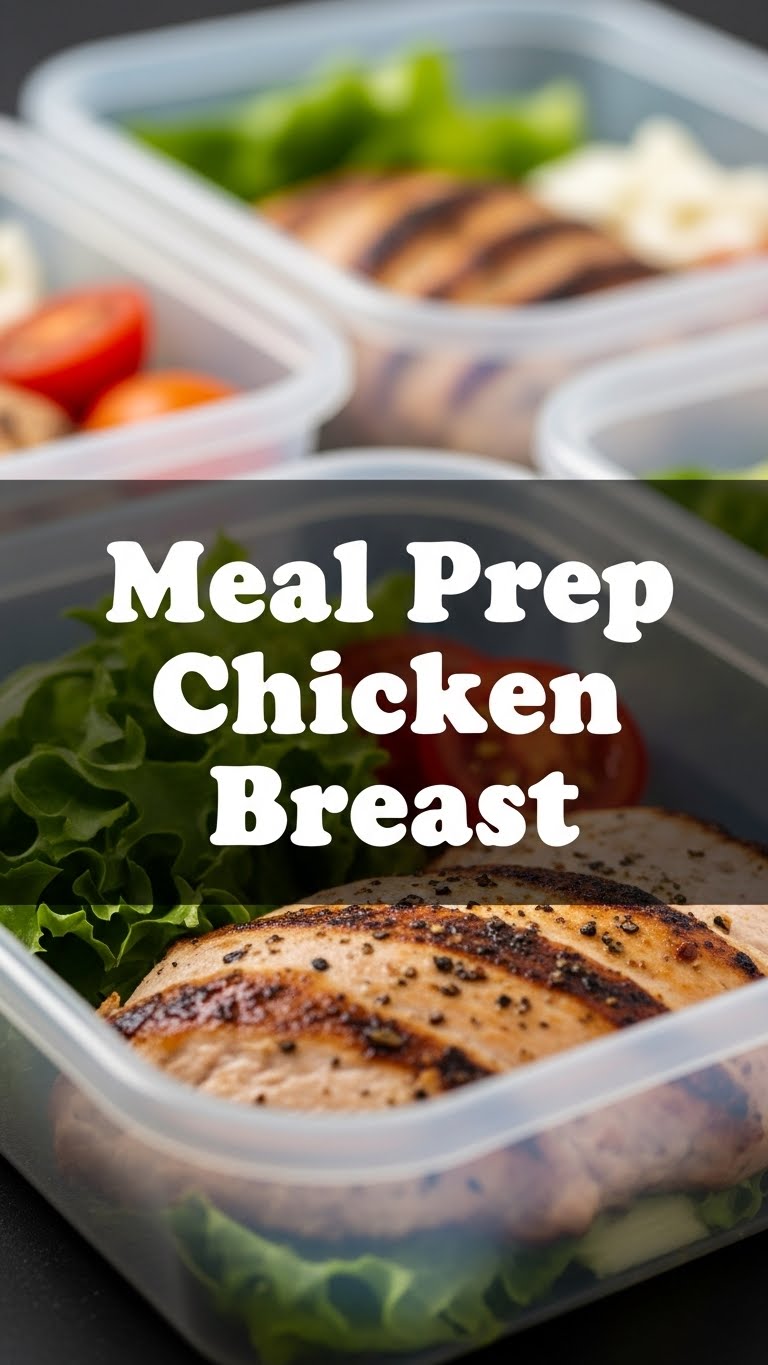
- **Store it Up:** Let the chicken cool completely to room temperature before transferring it to an airtight container. Store it in the fridge for up to 3-4 days. Voilà! Meal prep champion, you are.
Common Mistakes to Avoid
Even though this recipe is basically foolproof, there are a few rookie blunders that can trip you up. Learn from my past mistakes (so you don’t have to):
- **Not patting the chicken dry:** Leads to steamed, sad, pale chicken instead of beautifully browned, flavorful chicken. Take the extra 30 seconds.
- **Overcrowding the pan:** If you cram too many breasts onto one baking sheet, they’ll steam instead of roast. Give your chicken some personal space! Use two sheets if you need to.
- **Skipping the rest step:** Instant dry chicken. Seriously, just wait. Those 5-10 minutes are crucial for locking in juiciness.
- **Thinking you don’t need to preheat the oven:** Rookie mistake. A cold oven equals uneven cooking and a longer cook time.
- **Eyeballing spices too much (initially):** While I encourage creativity, for consistent meal prep results, it’s a good idea to measure your spices the first couple of times until you find your perfect balance.
Alternatives & Substitutions
Feeling adventurous? Or just missing an ingredient? No worries, we’ve got options:
- **Spice It Up (or Down):** Don’t like paprika? Swap it for chili powder, Italian seasoning, lemon pepper, or even a simple herb blend like rosemary and thyme. Your kitchen, your rules.
- **Different Oils:** Avocado oil or grapeseed oil work beautifully if you’re out of olive oil. Just stick to high smoke-point oils.
- **Cooking Methods:** This recipe works great on the grill too! Just adjust cooking times accordingly. An air fryer is also a fantastic option for faster cooking – usually around 15-18 minutes at 375°F (190°C).
- **Chicken Thighs:** Love dark meat? Boneless, skinless chicken thighs can totally be used! They might need a few extra minutes to cook, and they’re naturally a bit juicier.
FAQ (Frequently Asked Questions)
Got questions? I’ve got (casual) answers!
- **Can I marinate this chicken overnight?** Absolutely! Marinating will only enhance the flavor even more. Just combine the chicken with the oil and spices in a Ziploc bag or container and let it chill in the fridge overnight. You’ll thank yourself later.
- **How long does this cooked chicken last in the fridge?** If stored in an airtight container, it’s good for 3-4 days. Perfect for a few days of meal prep!
- **My chicken always turns out dry! Help!** Ah, the age-old dilemma. The most common culprit is overcooking. **Invest in a meat thermometer!** Cook it just until it hits 165°F (74°C), then pull it out and let it rest. That’s the secret, my friend.
- **What if I don’t have all the recommended spices?** No sweat! A simple salt, pepper, and garlic powder combo is still fantastic. Don’t let a missing spice stop you from making delicious chicken.
- **Can I cook this chicken from frozen?** Nope, definitely thaw it first. Cooking from frozen won’t give you that even cook or nice browning, and it’ll just release a ton of water. Plan ahead!
- **Is this chicken freezer-friendly?** Yes, totally! Once completely cooled, slice or shred it, then store it in freezer-safe bags or containers for up to 2-3 months. Thaw in the fridge overnight when you’re ready to use it.
Final Thoughts
See? Told you it was easy! Now you’ve got a batch of perfectly cooked, versatile chicken ready to level up your meals all week. Go forth and conquer your meal prep goals! You’re basically a kitchen wizard now, and your future self is high-fiving your past self. Don’t forget to pat yourself on the back (and maybe share with a friend… or not, more for you!). Enjoy your delicious, effortless chicken!