So, you’ve stared at that lonely chicken breast in the fridge, wondering if it’s destined for greatness or just another dry, sad meal? Been there, done that, bought the T-shirt. But guess what? Today, we’re making it awesome! This isn’t just about cooking; it’s about transforming a basic protein into something juicy, flavorful, and surprisingly easy. No culinary degree required, just a willingness to follow some super simple steps. Let’s make that chicken breast the star it was always meant to be, shall we?
Why This Recipe is Awesome
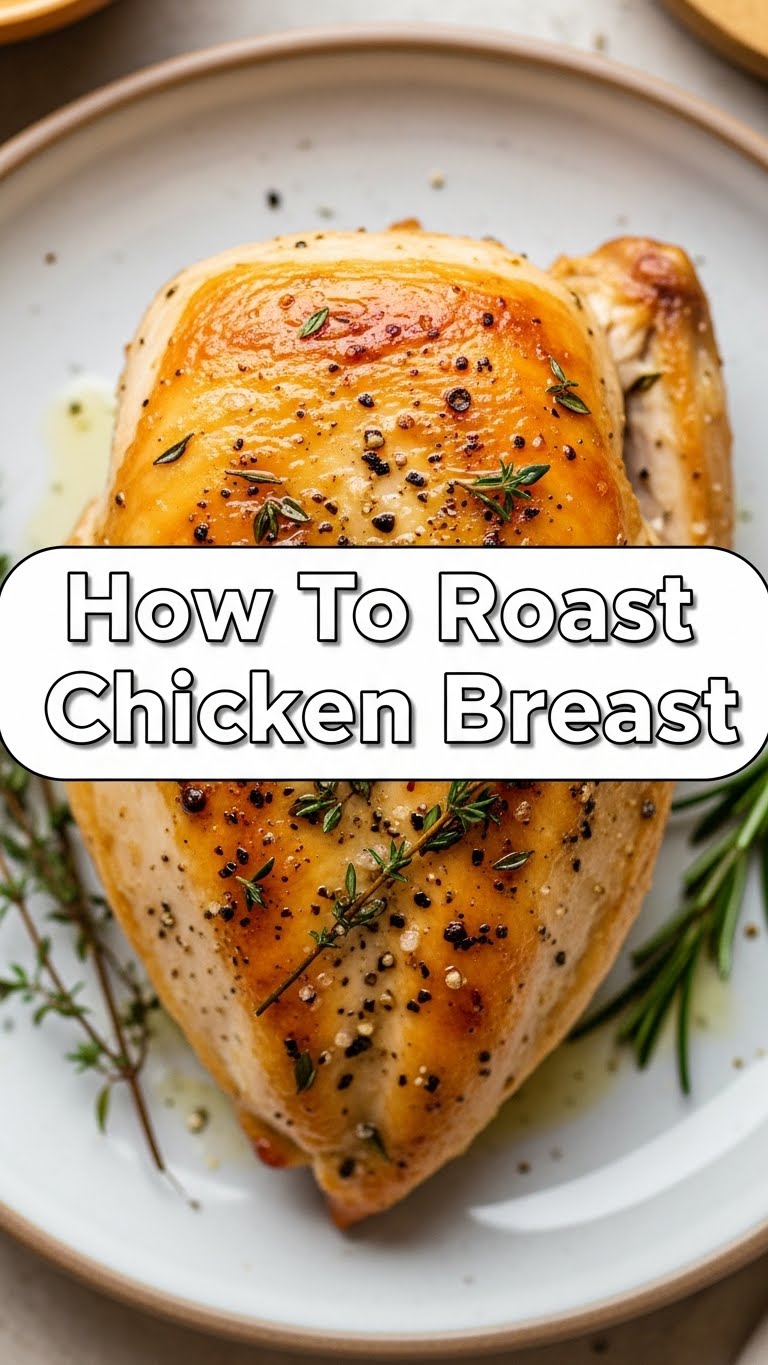
Okay, let’s be real. Roasting a chicken breast sounds fancy, but it’s actually one of the easiest, most idiot-proof ways to cook it. Seriously, if you can turn an oven on, you’ve already conquered half the battle. This recipe delivers a perfectly cooked, tender, and juicy chicken breast every single time – **no more dry, sad, cardboard-like poultry!** Plus, it’s super versatile, healthy-ish, and takes less time than deciding what to watch on Netflix. It’s a kitchen win, a meal prep hero, and frankly, it just tastes darn good. Even I, a self-proclaimed connoisseur of burnt toast, nail this one. So, you know it’s legit.
Ingredients You’ll Need
Time to gather your arsenal! Don’t overthink it; we’re keeping it simple and delicious.
- Chicken Breasts (boneless, skinless): The star of our show. Grab 2-4, depending on how hungry you (or your lucky dinner guests) are. Make sure they’re roughly the same thickness for even cooking!
- Olive Oil: Your chicken’s best friend for a golden tan and delicious crispiness. A tablespoon or two should do it. Don’t be shy!
- Salt & Black Pepper: The OG flavor duo. Essential, non-negotiable, always-needed.
- Garlic Powder: Because everything is better with garlic. Duh. About half a teaspoon, or more if you’re a garlic fiend (I am).
- Paprika (smoked for extra yum!): Gives it a lovely color and a subtle smoky kick. Trust me on this one. Half a teaspoon will do wonders.
- Optional (but highly recommended) extras: Dried herbs like oregano or thyme (half a teaspoon), or a pinch of onion powder. Spice it up, buttercup!
Step-by-Step Instructions
Get ready, because your journey to juicy chicken starts now!
- Preheat Your Oven, Pronto! Set your oven to **400°F (200°C)**. This isn’t a suggestion; it’s a command. Rookie mistake #1 is skipping this. While it’s heating, grab a baking sheet and line it with parchment paper or foil for easy cleanup. Your future self will thank you.
- Pat ‘Em Dry: Take those chicken breasts out of their packaging and pat them thoroughly dry with paper towels. This is a crucial step! **A dry surface means crispy skin (if you had it) and better browning.** Wet chicken steams, and nobody wants steamed chicken.
- Season Like a Pro: Drizzle the olive oil over both sides of the chicken breasts. Now, sprinkle generously with salt, black pepper, garlic powder, and paprika. If you’re using other herbs, add them now too. Don’t be timid with the seasoning; it’s where all the flavor lives! Give ’em a good rub.
- To the Oven! Place your seasoned chicken breasts on the prepared baking sheet. Make sure they have a little space between them; don’t crowd the pan.
- Roast Away: Pop that baking sheet into your preheated oven. Roast for about **18-22 minutes**. The exact time depends on the thickness of your chicken. A good rule of thumb is to look for an internal temperature of **165°F (74°C)** using a meat thermometer at the thickest part. This is your safe zone!
- Rest is Best: Once cooked, pull those beauties out of the oven. **This is key: let them rest on a cutting board for 5-10 minutes** before slicing. This allows the juices to redistribute, ensuring every bite is tender and moist. Patience, my friend, patience!
Common Mistakes to Avoid
We’ve all made culinary blunders. Let’s learn from them, shall we?
- Not preheating the oven: As mentioned, a cold oven leads to uneven cooking and a longer cook time. Don’t be that person.
- Forgetting to pat the chicken dry: This is a big one. Excess moisture prevents that lovely browning and delicious crust. You’ll end up with a sad, pale bird.
- Under-seasoning: Bland chicken is the saddest chicken. Don’t be afraid to go for it with the salt, pepper, and spices.
- Overcrowding the pan: If your chicken breasts are too close together, they’ll steam instead of roast. Give them some breathing room!
- Not using a meat thermometer: Guessing if chicken is done is a recipe for either dry chicken (overcooked) or food poisoning (undercooked). Get a thermometer; it’s worth it, trust me.
- Skipping the rest period: The cardinal sin! All those beautiful juices you worked so hard for will leak out onto your cutting board instead of staying in the meat. **Let it rest!**
Alternatives & Substitutions
Feeling adventurous? Or just missing an ingredient? No stress, we got options!
- No Olive Oil? Avocado oil or grapeseed oil are fantastic substitutes. Butter also works in a pinch for extra richness, but it might brown a bit faster.
- Spice Swap: Don’t have paprika? Try chili powder for a kick, onion powder for a savory boost, or even a dash of cayenne for some heat. Italian seasoning blend is also a great all-rounder. **FYI**, you can totally experiment with your favorite spice blends here!
- Fresh Garlic vs. Powder: Fresh minced garlic is always amazing, but garlic powder is quicker and less likely to burn. If using fresh, mix it with the oil before rubbing on the chicken.
- Adding a Little Zest: A squeeze of lemon juice or some lemon zest before roasting can really brighten up the flavor. IMO, citrus and chicken are a match made in heaven.
FAQ (Frequently Asked Questions)
Got questions? I’ve got (casual) answers!
- “Can I use bone-in chicken breasts?” You sure can! But keep in mind, bone-in chicken will take longer to cook, usually around 30-40 minutes. Still aim for that 165°F internal temp.
- “My chicken breasts are super thick, what then?” Ah, a thicc chicken! Just add a few more minutes to the cooking time, say 2-5 minutes extra. Always rely on your meat thermometer for accuracy. You can also lightly pound them to an even thickness before seasoning for more uniform cooking.
- “How do I know if it’s done without a thermometer?” Honestly? It’s tough to be 100% sure. You can cut into the thickest part; if the juices run clear and the meat is opaque white, it’s likely done. But seriously, **invest in a meat thermometer**; it’s a game-changer!
- “Can I add veggies to the same pan?” Absolutely! Toss some chopped broccoli, bell peppers, or asparagus with a little oil and seasoning, and roast them alongside the chicken. Just make sure they’re cut into similar sizes so they cook evenly with the chicken.
- “How long does leftover roasted chicken last?” Stored in an airtight container in the fridge, it’s good for 3-4 days. Perfect for salads, sandwiches, or quick wraps!
- “What if I only have chicken thighs?” Chicken thighs are delicious! They’re usually more forgiving and stay juicier due to higher fat content. Cook them similarly, but they might need a bit longer (25-30 minutes) and can handle a slightly higher internal temp (up to 175°F for optimal tenderness, though 165°F is still safe).
Final Thoughts
And there you have it! You’ve just mastered the art of roasting chicken breast. See? I told you it wasn’t rocket science. Now you have a go-to recipe for busy weeknights, meal prep, or just when you’re craving something delicious and fuss-free. Go forth and conquer that kitchen! You’re basically a chef now. Now go impress someone—or yourself—with your new culinary skills. You’ve earned it!