So you’re craving something tasty but too lazy to spend forever in the kitchen, huh? Same. We’ve all been there, staring blankly at a chicken breast, wondering if it’s destined to be another dry, flavorless tragedy. But fear not, my friend! Today, we’re turning that bland bird into a culinary triumph, and we’re gonna have some fun doing it. Get ready to transform your chicken game!
Why This Recipe is Awesome
Okay, let’s be real. Chicken breast often gets a bad rap for being… well, boring. But this recipe? It’s the glow-up your chicken breast deserves. It’s super simple, ridiculously quick, and makes you look like a five-star chef even if your last culinary masterpiece was toast. Plus, it’s versatile enough to pair with pretty much anything. It’s practically idiot-proof, and trust me, if I can nail it, you definitely can!
Ingredients You’ll Need
Gather your troops! Here’s what you’ll need for a fantastic, flavorful chicken breast:
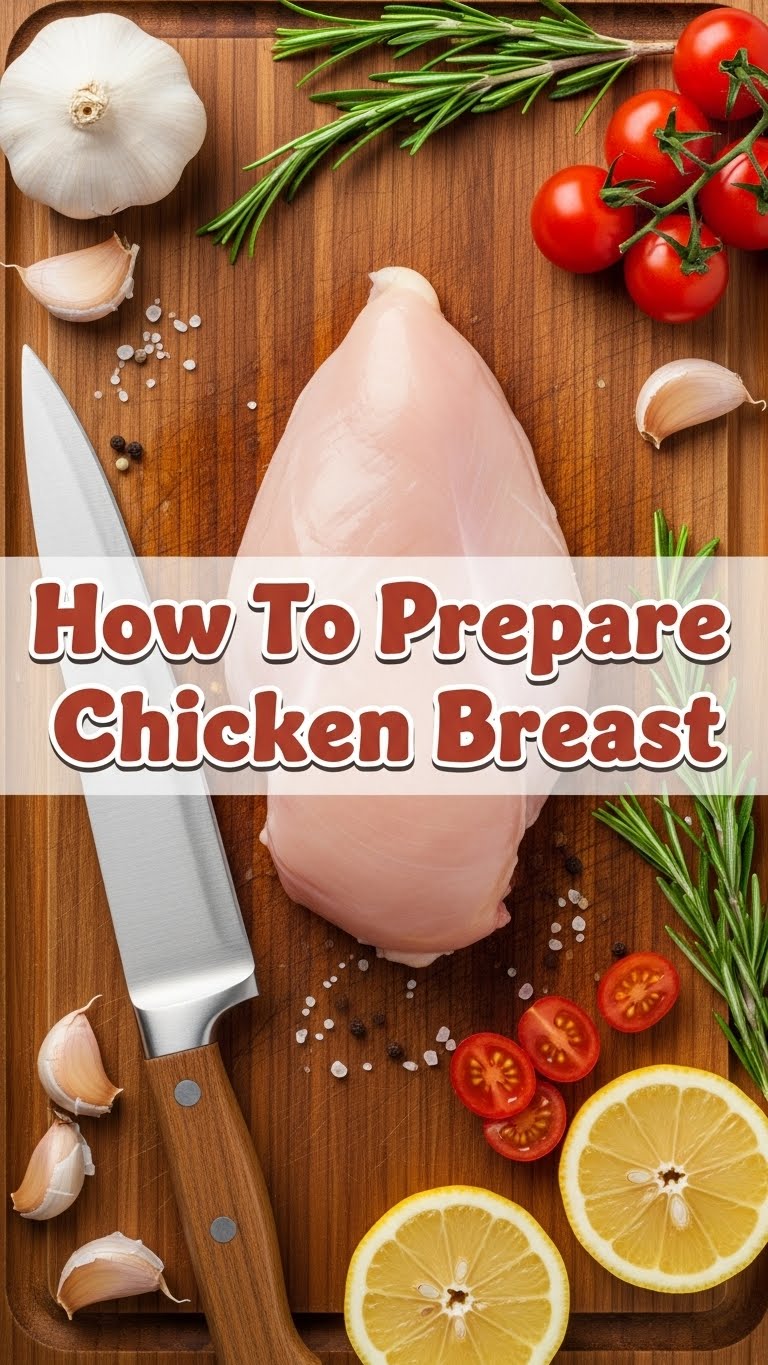
- 2 Boneless, Skinless Chicken Breasts: The unsung hero of our story. Aim for roughly equal thickness if you can, or be ready to do some tenderizing.
- 1 Tablespoon Olive Oil: Your trusty steed for searing. Any neutral oil works, but olive oil adds a nice touch.
- 1 Teaspoon Salt: Don’t be shy, but don’t go crazy. We need flavor, not a salt lick!
- 1/2 Teaspoon Black Pepper: Freshly ground is best, if you’re feeling fancy.
- 1 Teaspoon Garlic Powder: Because everything’s better with garlic, IMO.
- 1/2 Teaspoon Paprika: For a lovely colour and a hint of smoky warmth.
- Optional Flavour Boosters: A pinch of onion powder, dried oregano, or a dash of chili powder if you like a little kick.
Step-by-Step Instructions
Alright, apron on (or not, we’re casual here), let’s get cooking!
-
Prep the Bird: First things first, get those chicken breasts out of their packaging. Give them a good pat dry with paper towels. This is crucial for a nice sear! If your breasts are super thick on one end and thin on the other, you can place them between two pieces of plastic wrap and gently pound the thicker parts with a mallet or rolling pin until they’re more uniform. This helps them cook evenly.
-
Season Like a Pro: In a small bowl, mix your salt, pepper, garlic powder, and paprika (and any other optional spices). Sprinkle this magical blend generously all over both sides of your chicken breasts. Don’t forget the edges!
-
Heat Things Up: Place a skillet (cast iron or stainless steel works best) over medium-high heat. Let it get nice and hot for about 2-3 minutes. You want to see a wisp of smoke or a drop of water sizzle instantly. Add your olive oil and swirl it around to coat the bottom.
-
Sear and Cook: Carefully place the seasoned chicken breasts into the hot skillet. Don’t overcrowd the pan! If you’re cooking more than two, do them in batches. Let them sear for about 5-7 minutes per side, depending on thickness, until they’re golden brown and cooked through. A good internal temperature is 165°F (74°C), so if you have a meat thermometer, now’s the time to use it!
-
The Magic Resting Period: Once cooked, transfer the chicken breasts to a plate or cutting board. This next part is non-negotiable, FYI: cover them loosely with foil and let them rest for at least 5 minutes. This allows the juices to redistribute, ensuring a tender, juicy chicken every time. Skipping this step is a cardinal sin!
-
Slice and Devour: After resting, slice your chicken against the grain for maximum tenderness. Serve it up with your favourite sides, or chop it for salads, sandwiches, or tacos. Enjoy your perfectly cooked, unbelievably delicious chicken breast!
Common Mistakes to Avoid
We’ve all made them, so let’s learn from our past chicken mishaps, shall we?
- The Wet Chicken Syndrome: Not patting your chicken dry before seasoning. This leads to steaming instead of searing, and you miss out on that beautiful golden crust. Rookie mistake!
- The Pan Party: Overcrowding your skillet. When there’s too much in the pan, the temperature drops, and everything steams instead of searing nicely. Give your chicken some breathing room!
- The Rubber Chicken Debacle: Overcooking the chicken. This is the arch-nemesis of juicy chicken. Keep an eye on the clock and use a thermometer if you’re unsure. As soon as it hits 165°F, it’s done!
- Skipping the Siesta: Not letting your chicken rest after cooking. We already covered this, but it bears repeating. Rested chicken is happy chicken, and happy chicken is juicy chicken.
Alternatives & Substitutions
Feeling adventurous? Or just missing an ingredient? No worries, we can totally improvise!
- Different Oils: No olive oil? Avocado oil, grapeseed oil, or even good old vegetable oil will do the trick. Butter can also add a richer flavour, but be careful as it burns faster at high heat.
- Seasoning Swaps: Lemon pepper, Italian seasoning, Cajun seasoning, or even just salt and pepper work beautifully. Don’t have garlic powder? Fresh minced garlic can be added for the last minute or two of cooking (to avoid burning).
- Spice It Up: Want some heat? A pinch of cayenne pepper or red pepper flakes. Feeling herby? Fresh rosemary or thyme sprigs added to the pan with the chicken can infuse amazing flavour.
- Add-ins: For the last minute or so, you can toss in a knob of butter, a squeeze of lemon juice, or some fresh parsley to brighten things up.
FAQ (Frequently Asked Questions)
Got questions? I’ve got (casual) answers!
How do I know my chicken is cooked through without a thermometer?
While a thermometer is truly your best friend here, you can usually tell by slicing into the thickest part. If the juices run clear and the meat is opaque white (not pink!), you’re good to go. But honestly, for peace of mind and perfectly juicy chicken, grab a meat thermometer!
Can I bake this instead of pan-frying?
Absolutely! Season as usual, then bake at 400°F (200°C) for about 20-30 minutes, or until the internal temp reaches 165°F. You might miss that crispy sear, but it’s still delicious!
What if I don’t have all the spices?
Relax! The core players are salt and pepper. Everything else is a bonus. Use what you have, experiment with what you like, and don’t stress if your spice rack isn’t fully stocked. Your chicken will still be way better than plain.
My chicken always comes out dry. What am I doing wrong?
Most likely, you’re overcooking it or skipping the resting step. Chicken breast is lean and cooks quickly. Pull it off the heat as soon as it’s done, and let it rest! Trust the rest!
Do I really need to pat it dry? Seriously?
Yes! YES! Think of it this way: water on the surface means the pan has to evaporate that water before it can even start to brown the chicken. No evaporation, no beautiful sear. It’s a quick extra step that makes a huge difference.
Can I use frozen chicken breasts?
Yes, but you absolutely need to thaw them completely first! Cooking frozen chicken is a recipe for uneven cooking and potential food safety issues. Plan ahead!
Final Thoughts
There you have it! You’re officially equipped to conquer the mighty chicken breast and turn it into something truly delicious. No more dry, sad meals for you, my friend. This recipe is your new secret weapon for quick, healthy-ish, and incredibly tasty dinners. Now go impress someone—or yourself—with your new culinary skills. You’ve earned it!