So you’re craving something tasty but too lazy to spend forever in the kitchen, huh? Same. And you also want it to be… you know… not regret-inducing? Welcome, my friend, to the promised land of healthy, delicious, and shockingly easy chicken breast that even *you* can master. Grab a drink, let’s do this!
Why This Recipe is Awesome
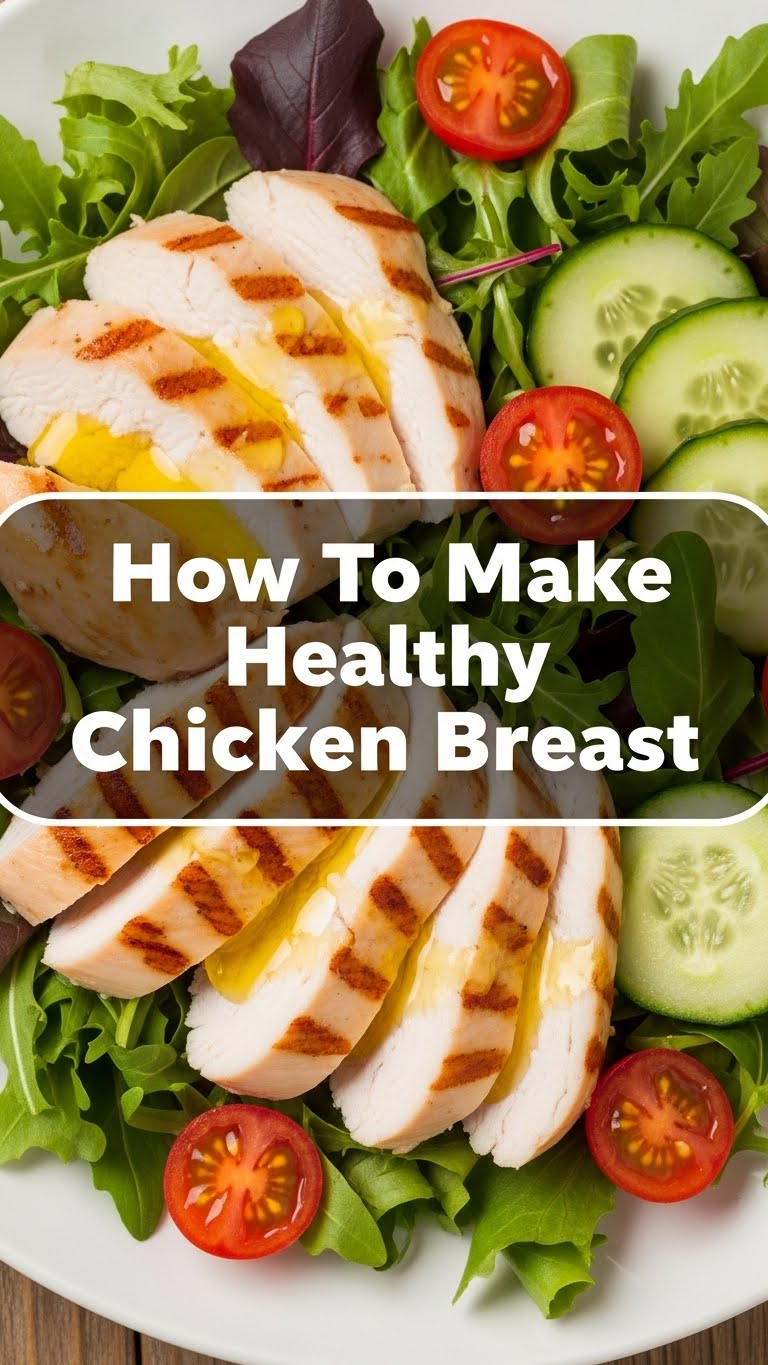
Why bother with *this* recipe, you ask? Because it’s practically magic. It’s idiot-proof, I swear, even I managed not to burn the house down. Plus, it’s fast, super versatile, and makes meal prep a breeze. No more dry, sad chicken, people! We’re talking juicy, flavorful goodness that’ll make you question all your past chicken-cooking choices. You’re welcome.
Ingredients You’ll Need
- Boneless, Skinless Chicken Breasts (2-4): The star of our show. Fresh, not frozen into an ice block, unless you plan ahead (which, let’s be real, who does?).
- Olive Oil (1-2 tbsp): Your chicken’s best friend. Helps with that lovely golden crust and keeps things from sticking.
- Salt & Black Pepper (to taste): The OG flavor enhancers. Don’t be shy, but also don’t turn it into a salt lick.
- Garlic Powder (1 tsp): Because everything is better with garlic. Duh.
- Paprika (1 tsp): Adds a nice color and a little smoky sweetness. Or regular paprika if you’re feeling basic, no judgment.
- Dried Herbs (1 tsp, e.g., oregano, thyme, Italian seasoning): Pick your fighter! A little herby kick takes it from “meh” to “OMG, is this from a restaurant?”
- Optional but highly recommended: A lemon (half): A squeeze at the end is like a culinary mic drop.
Step-by-Step Instructions
- Prep Time, Baby: First things first, pat those chicken breasts super dry with paper towels. This is crucial for a good sear! Moisture is the enemy of crispy goodness, my friend.
- Season Like a Pro: Drizzle the olive oil over the chicken. Now, sprinkle all your lovely spices – salt, pepper, garlic powder, paprika, and your chosen dried herbs – evenly on both sides. Don’t forget the edges! Give ’em a little massage, show ’em some love.
- Heat Things Up: Grab your trusty skillet (cast iron or stainless steel works best) and heat it over medium-high heat until it’s nice and hot. A little smoke is okay; a lot means you’re trying to set off the fire alarm.
- Sear ‘Em Good: Carefully place the seasoned chicken breasts in the hot skillet. Don’t overcrowd the pan, or they’ll steam instead of sear. Cook for about 5-7 minutes per side, until they’re golden brown and release easily from the pan.
- Check for Doneness: This is important! The internal temperature should reach 165°F (74°C). Use a meat thermometer, please! No one likes raw chicken, and no one likes cardboard chicken either.
- Rest Up: Once cooked, transfer the chicken to a cutting board. Let it rest for at least 5 minutes before slicing. This lets the juices redistribute, keeping your chicken juicy and happy. Slice against the grain for maximum tenderness.
- Lemon Squeeze (Optional): If you’re feeling fancy, give it a squeeze of fresh lemon juice right before serving. Trust me on this one.
Common Mistakes to Avoid
- Not patting the chicken dry: We already talked about this. It’s like trying to fry a wet sponge. Just don’t.
- Overcrowding the pan: This isn’t a chicken party, it’s a searing session. Give each breast its space!
- Not preheating the pan enough: Rookie mistake. Cold pan = sad, pale chicken. Get that pan hot!
- Cutting into it immediately: Patience, grasshopper! That rest time is non-negotiable for juicy chicken.
- Eyeballing doneness instead of using a thermometer: Are you a wizard? No? Use the thermometer. Food safety first, people!
Alternatives & Substitutions
- Herbs & Spices: Get wild! Want to go Italian? Use Italian seasoning. Mexican? Cumin and chili powder. Indian? Curry powder! The world is your spice rack.
- Oil: Avocado oil or grapeseed oil work great too. Just make sure it has a high smoke point.
- Add-ins for flavor: Throw in some sliced onions or bell peppers with the chicken, or even some cherry tomatoes for a little extra oomph during the last few minutes of cooking.
- Pan-Seared vs. Baked: If you’re not feeling the pan-searing vibe, you can totally bake these. Pop ’em in a preheated oven at 400°F (200°C) for 20-25 minutes, or until that magical 165°F (74°C) is reached.
FAQ (Frequently Asked Questions)
- “Can I use frozen chicken breasts?” You *can*, but please, for the love of all things delicious, thaw them completely first! Otherwise, you’ll end up with rubbery chicken on the outside and raw chicken on the inside. No bueno.
- “My chicken is always dry, what am I doing wrong?” Most likely, you’re overcooking it. Get that meat thermometer! And don’t skip the resting step. Seriously, it’s a game-changer.
- “Can I skip the olive oil?” Technically, you could use cooking spray, but the olive oil helps create that beautiful crust and adds flavor. It’s a healthy fat, so embrace it!
- “What sides go well with this?” Honestly, anything! A simple green salad, roasted veggies, quinoa, brown rice, even some mashed sweet potatoes. It’s super versatile, so go nuts!
- “Is this recipe *actually* healthy?” FYI, yes! Lean protein, minimal healthy fats, and packed with flavor from herbs and spices instead of excessive sodium or unhealthy additives. It’s a win-win!
- “Can I marinate the chicken instead?” Absolutely! A quick marinade for 30 minutes (or even overnight for extra flavor) would be amazing. Just remember to pat it dry before searing.
- “What if I don’t have a meat thermometer?” Please get one! They’re super cheap and make a world of difference. Otherwise, cut into the thickest part; if the juices run clear and there’s no pink, you *might* be okay. But really, get a thermometer. IMO, it’s a kitchen essential.
Final Thoughts
See? I told you it was easy! You just made healthy chicken breast that tastes anything but boring. So go ahead, pat yourself on the back, you culinary genius! Now go impress someone – or yourself – with your new skills. You’ve earned it! Dinner is served, my friend. Enjoy!