So you’re staring into the fridge, wondering what to do with that bone-in chicken breast, aren’t ya? And maybe, just maybe, you’re tired of making dry, sad chicken. Don’t worry, friend, I gotchu. We’re about to make some magic happen that’s so easy, your cat could almost do it (if they had opposable thumbs and cared about anything other than napping). Forget those boring, flavorless versions; we’re bringing juicy, crispy, deliciousness to your plate, guilt-free!
Why This Recipe is Awesome
Okay, let’s be real. Bone-in chicken breast often gets a bad rap, or it’s just ignored for its boneless, skinless cousin. But hear me out: the bone adds SO MUCH FLAVOR and keeps the meat incredibly moist. Plus, that skin? Oh, that beautiful, crispy skin is basically nature’s butter. This isn’t just a recipe; it’s a revelation. It’s the kind of dish that looks super impressive but secretly took you minimal effort. It’s idiot-proof, even I didn’t mess it up! It’s also surprisingly healthy because we’re not deep-frying it into oblivion, and it pairs perfectly with, well, pretty much anything. It’s your new go-to, trust me.
Ingredients You’ll Need
Gather your troops, folks! Here’s what you’ll need to make this culinary masterpiece (that’s secretly super simple):
- 2 Bone-In, Skin-On Chicken Breasts: These are the stars of our show. Don’t even THINK about trimming that skin yet – that’s where the magic happens!
- 1-2 Tablespoons Olive Oil: Your trusty sidekick for searing.
- 1 Teaspoon Salt: Essential. Don’t skimp!
- ½ Teaspoon Black Pepper: Freshly ground if you’re feeling fancy (you should be!).
- 1 Teaspoon Garlic Powder: Because everything’s better with garlic, IMO.
- ½ Teaspoon Paprika (Smoked or Sweet): For a lovely color and a little extra somethin’ somethin’.
- Pinch of Dried Thyme or Rosemary (Optional, but Recommended): Makes you look like a pro chef.
- Lemon Wedges (for serving, optional): A little squeeze at the end brightens everything up!
Step-by-Step Instructions
- Pat it Dry: First things first, get those chicken breasts out of their packaging and use paper towels to pat them DRY. Like, really dry. This is crucial for achieving that gloriously crispy skin. Don’t skip this step, seriously!
- Season Generously: In a small bowl, mix your salt, pepper, garlic powder, paprika, and dried herbs (if using). Now, sprinkle this magic blend all over both sides of your chicken breasts. Don’t be shy – get into all the nooks and crannies!
- Preheat Power: Set your oven to 400°F (200°C). While it’s heating, grab an oven-safe skillet (cast iron works beautifully here) and heat it over medium-high heat on your stovetop. Add the olive oil. You want it shimmering, almost smoking.
- Sear for the Sizzle: Carefully place the chicken breasts, skin-side down, into the hot skillet. Let them sear undisturbed for about 6-8 minutes. You’re looking for a gorgeous, golden-brown, crispy skin. Resist the urge to poke or move them!
- Flip & Finish: Once the skin is beautifully golden and crispy, flip the chicken breasts over. Immediately transfer the skillet to your preheated oven. Let them roast for another 15-20 minutes, or until an instant-read thermometer inserted into the thickest part (avoiding the bone) reads 165°F (74°C).
- The Sacred Rest: This is arguably the most important step you’ll want to skip when you’re hangry. Remove the skillet from the oven and transfer the chicken to a cutting board. Tent it loosely with foil and let it rest for at least 5-10 minutes. This allows the juices to redistribute, ensuring super moist chicken. Patience, young Padawan!
- Serve & Conquer: Slice (or don’t, if you’re just gonna tear into it like a caveperson, no judgment!) and serve with a squeeze of fresh lemon. Prepare for applause.
Common Mistakes to Avoid
We all make mistakes, even in the kitchen! Here are some classic pitfalls to dodge for bone-in chicken breast perfection:
- Not Patting Dry: This isn’t just a suggestion; it’s a command! Wet chicken = soggy skin = sad face. Rookie mistake.
- Overcrowding the Pan: Trying to cook too many breasts at once? Your pan temperature will drop, and instead of searing, your chicken will steam. One or two at a time, depending on your pan size.
- Not Preheating Properly: Whether it’s the skillet or the oven, starting with a cold surface is a recipe for disaster (and uneven cooking).
- Skipping the Rest: You’ve waited this long, don’t ruin it now! Cutting into chicken immediately after cooking lets all those delicious juices run out, leaving you with dry meat.
- Eyeballing Doneness: Unless you have superhuman chef powers, invest in an instant-read meat thermometer. It’s the only way to truly know your chicken is perfectly cooked and safe to eat (165°F / 74°C).
Alternatives & Substitutions
Feeling adventurous? Or just missing an ingredient? No worries, we can totally improv!
- Spice It Up: Don’t like my spice blend? Feel free to swap it out! Try a dash of chili powder for a kick, Italian seasoning for a Mediterranean vibe, or some curry powder for something exotic. Your kitchen, your rules!
- Herb Garden: No fresh herbs? Dried work just fine. No dried? Onion powder or even a pinch of dried oregano can step in.
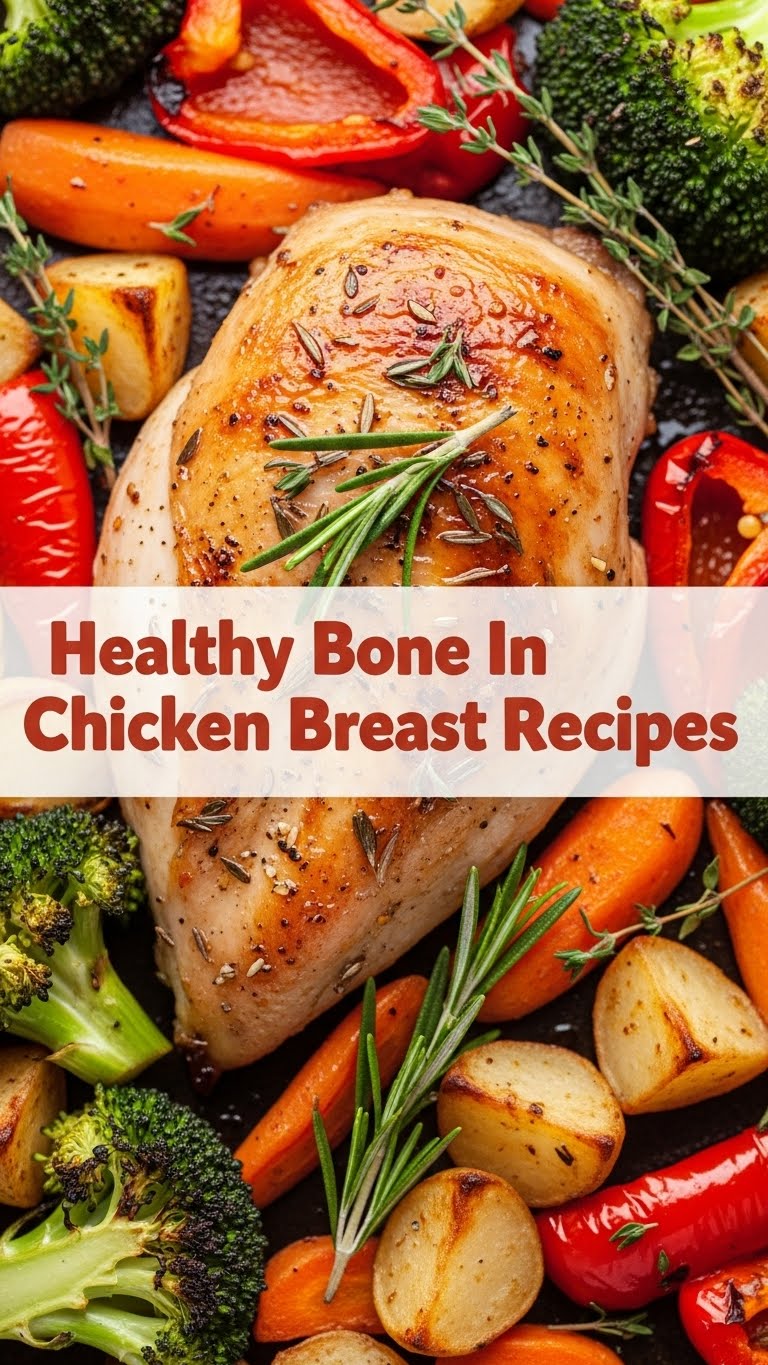
- Veggies Welcome: Want a one-pan wonder? Toss some chopped potatoes, carrots, or broccoli florets in a little olive oil and the same seasoning mix, then roast them alongside the chicken in the oven. Just make sure they have enough space to roast, not steam.
- Marinating Magic: For extra flavor and tenderness, you could marinate the chicken for an hour or even overnight. A simple lemon-herb marinade or even some plain yogurt (seriously!) can work wonders.
- No Oven-Safe Skillet? Sear in a regular skillet, then transfer the chicken to a baking dish to finish in the oven. Problem solved!
FAQ (Frequently Asked Questions)
Got questions? I’ve got answers, mostly humorous ones!
Can I use boneless, skinless chicken breasts instead? Well, technically yes, but why hurt your soul like that? You’ll lose a lot of flavor and moisture. If you *must*, reduce cooking time significantly, and be extra careful not to overcook. It’s just not the same, though, FYI.
How do I know my chicken is truly cooked through? Your best friend is an instant-read meat thermometer. It should read 165°F (74°C) in the thickest part of the breast, avoiding the bone. Don’t risk it!
What kind of skillet is best for searing? A cast-iron skillet is king here. It holds heat beautifully, giving you that amazing sear. Stainless steel also works well.
What sides go well with this chicken? Oh, the possibilities! Roasted asparagus, a simple green salad, mashed potatoes, quinoa, brown rice, or even some crusty bread to sop up the pan juices. You do you!
Can I make a pan sauce with the drippings? Absolutely! After removing the chicken, pour out excess fat, then deglaze the pan with a splash of white wine, chicken broth, or even water. Scrape up all those flavorful brown bits, reduce slightly, and maybe swirl in a pat of butter. Delicious!
My skin isn’t getting crispy, what gives? You probably didn’t pat it dry enough, didn’t use a hot enough pan, or overcrowded the pan. Go back to step 1 and try again next time!
Final Thoughts
See? Who knew healthy, bone-in chicken breast could be this easy and packed with flavor? You just unlocked a new level of home cooking. This recipe is proof that “healthy” doesn’t have to mean “boring” or “dry.” It’s a delicious, satisfying meal that’ll make you feel like a culinary rockstar. Now go impress someone—or yourself—with your new skills. You’ve earned it!