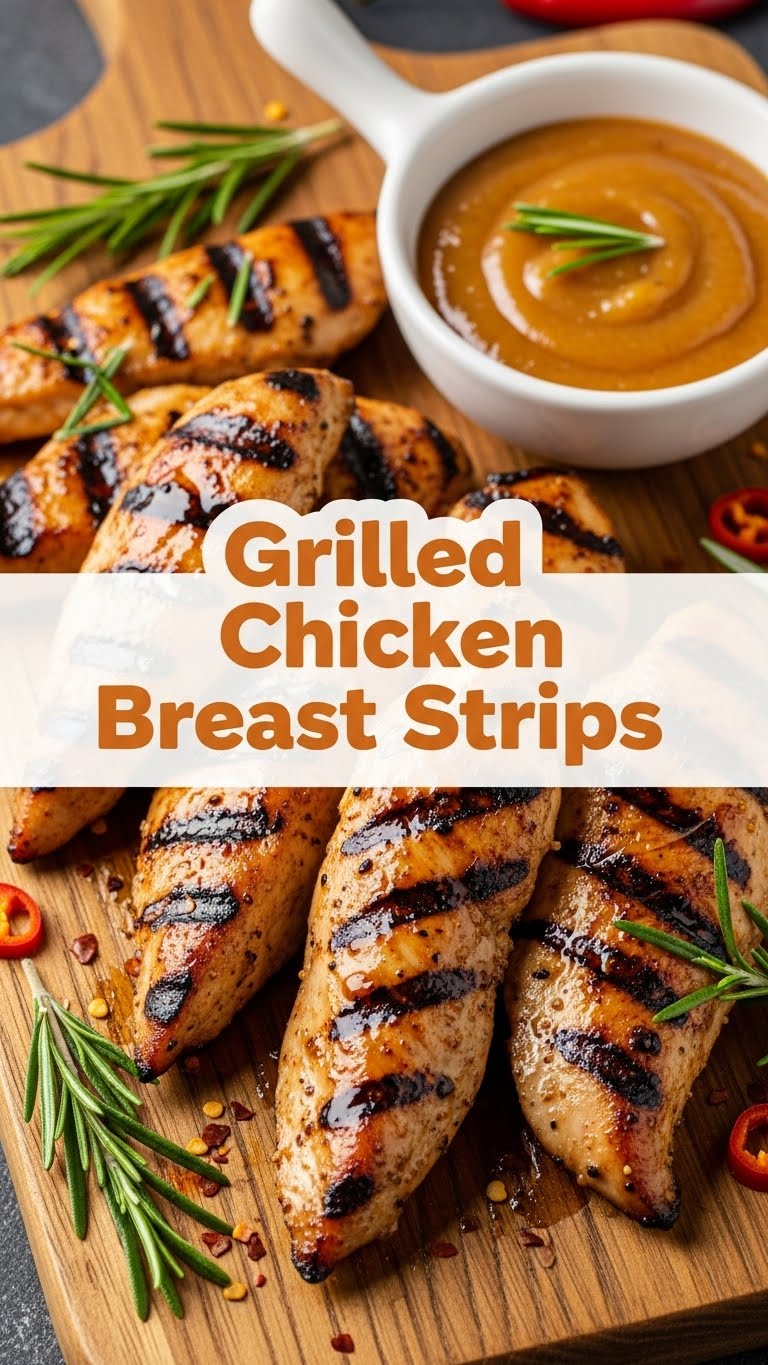
So, you’ve stared into the fridge for the tenth time, hoping a gourmet meal would magically appear, haven’t you? And now you’re eyeing that package of chicken breasts, thinking “ugh, more dry, bland chicken.” Stop right there, friend! We’re about to turn those boring birds into something utterly glorious, super quick, and ridiculously easy: Grilled Chicken Breast Strips. Perfect for salads, wraps, or just devouring straight off the plate. Ready to get your grill on without breaking a sweat?
Why This Recipe is Awesome
Because let’s be real, life’s too short for complicated recipes and dirty kitchens. This one? It’s the culinary equivalent of a high-five. It’s practically idiot-proof (and trust me, I’ve put that to the test). You get perfectly tender, juicy chicken strips that are incredibly versatile, healthy, and take minimal effort. It’s basically meal prep’s best friend and your weeknight dinner hero all rolled into one. Plus, it just *looks* impressive. Who knew you had these grill master skills lurking?
Ingredients You’ll Need
- Boneless, Skinless Chicken Breasts (2-3): The star of our show. Fresh is best, but frozen (and thawed, duh) works too.
- Olive Oil (2 tbsp): Your chicken’s best friend for getting that golden glow and staying moist.
- Salt (1 tsp, or to taste): Don’t skimp, but don’t overdo it. It’s all about balance, baby.
- Black Pepper (½ tsp, freshly ground is superior): Adds that little kick.
- Garlic Powder (1 tsp): Because everything is better with garlic. Fact.
- Smoked Paprika (½ tsp, optional but highly recommended): For a lovely color and a smoky depth that screams “grill master.”
- Your Favorite Grill or Grill Pan: Obvs.
Step-by-Step Instructions
- Prep Your Chicken: Pat those chicken breasts super dry with paper towels. This helps with browning and prevents steaming. Now, slice them into even ½-inch thick strips. Consistency is key for even cooking, folks!
- Marinade Time (ish): In a medium bowl, toss the chicken strips with olive oil, salt, pepper, garlic powder, and smoked paprika (if using). Get in there with your hands (clean ones, please!) and make sure every strip is coated. You can let this sit for 15-30 minutes on the counter if you’re feeling patient, or just go straight to grilling if you’re hangry.
- Heat It Up: Preheat your outdoor grill to medium-high heat or your grill pan over medium-high heat. Make sure it’s nice and hot before the chicken hits it. A hot grill prevents sticking!
- Grill ‘Em Up: Lightly oil the grill grates (if using an outdoor grill) or the grill pan. Place the chicken strips in a single layer, making sure not to overcrowd the grill. You want space around each strip for optimal charring.
- Flip & Finish: Grill for 2-3 minutes per side, depending on thickness, until they have lovely grill marks and are cooked through. The internal temperature should reach 165°F (74°C). Don’t poke them too much; let them do their thing.
- Rest & Serve: Transfer the cooked chicken strips to a plate and let them rest for 5 minutes. This is crucial for juicy chicken, so don’t skip it! Then, serve ’em up!
Common Mistakes to Avoid
- Overcrowding the Grill: Seriously, don’t do it! It lowers the temperature, steams your chicken instead of grilling it, and you end up with sad, gray chicken. Give those strips some personal space.
- Not Patting Chicken Dry: Moisture is the enemy of a good sear. Dry chicken = better browning and crispier edges. Rookie mistake, but easily fixed.
- Overcooking: The ultimate chicken killer. Dry, rubbery chicken is no one’s friend. Use a meat thermometer if you’re unsure. 165°F is the magic number.
- Skipping the Rest: Tempting, I know. But letting the chicken rest allows the juices to redistribute, keeping it succulent. Patience, young padawan!
- Forgetting to Oil the Grates/Pan: Unless you enjoy scraping stuck chicken off your grill (who does?), give those grates a little lube.
Alternatives & Substitutions
Feeling adventurous? Good! This recipe is super flexible.
Instead of our basic seasoning, try a lemon-herb marinade, a spicy cayenne rub, or even some tangy BBQ sauce. Seriously, the world is your oyster… or, well, your chicken.
No grill? No problem! You can totally pan-fry these in a skillet until golden and cooked through, or even bake them in a hot oven (400°F/200°C) for about 15-20 minutes, flipping halfway. IMO, grilling gives the best flavor, but desperate times call for delicious measures.
FAQ (Frequently Asked Questions)
- “Do I *have* to marinate them?” Nah, not really for this quick version. The oil and spices do their job pretty fast. But if you have an extra 30 minutes, it just makes them extra flavorful and tender.
- “Can I use chicken thighs instead?” Absolutely! Thighs are more forgiving and harder to overcook. Just adjust cooking time; they might need a few minutes longer.
- “My chicken keeps sticking to the grill! Help!” Did you preheat your grill properly? And did you oil the grates? A hot, oiled grill is your secret weapon against sticking. Also, don’t try to flip too early; let it develop a crust.
- “How do I know when they’re cooked?” The best way is with a meat thermometer: 165°F (74°C) in the thickest part. Visually, they’ll be opaque all the way through, with no pink remaining.
- “Can I prepare these ahead of time?” You bet! Cooked strips can be stored in an airtight container in the fridge for 3-4 days. Perfect for quick lunch additions.
Final Thoughts
And there you have it! Delicious, perfectly grilled chicken breast strips that are anything but boring. You just leveled up your weeknight game, my friend. Now go impress someone—or yourself—with your new culinary skills. You’ve earned it! Seriously, pat yourself on the back. Then maybe make some more chicken.