So you’re craving something tasty but too lazy to spend forever in the kitchen, huh? Same. We’ve all been there: staring into the fridge, wishing a gourmet meal would magically appear without any actual effort. Well, guess what? Magic might be a stretch, but getting a seriously delicious, perfectly grilled chicken breast on your stove with minimal fuss? Totally achievable. Forget the backyard grill; your trusty pan is about to become your new best friend.
Why This Recipe is Awesome
Okay, let’s be real. This isn’t just a recipe; it’s a life hack disguised as dinner. First off, it’s pretty much **idiot-proof**. Even I, notorious for burning toast, can ace this. It’s fast – we’re talking dinner on the table faster than your pizza delivery guy can find your doorbell. Plus, it’s healthy (hello, lean protein!), incredibly versatile, and makes you look like a culinary genius without actually having to go to culinary school. Win-win-win, if you ask me. No fancy equipment, no elaborate techniques, just pure, unadulterated grilled chicken goodness. What’s not to love?
Ingredients You’ll Need
You probably have most of this stuff already. No need for a special grocery run, unless your spice rack is currently just salt and… more salt.
- Boneless, Skinless Chicken Breasts: Your main squeeze for this meal. Grab about 1.5 to 2 lbs, depending on how many hungry mouths you’re feeding (or how much you plan to meal prep).
- Olive Oil (or Avocado Oil): The good stuff. About 2 tablespoons. We need some fat to get that gorgeous crust and prevent sticking.
- Salt & Freshly Ground Black Pepper: The holy trinity of seasoning. Don’t be shy!
- Garlic Powder: Because everything is better with garlic. About 1 teaspoon.
- Smoked Paprika: For that “grilled outdoors” flavor, even if you’re in your PJs inside. About 1 teaspoon.
- Optional: Butter: A tablespoon at the end for extra richness and flavor. Trust me on this.
Step-by-Step Instructions
- Pound It Out: Place your chicken breasts between two sheets of plastic wrap (or inside a large Ziploc bag). Using a meat mallet or a rolling pin, pound them to an even thickness of about 3/4 inch. This is crucial for even cooking!
- Get Seasoning: Pat the chicken dry with paper towels (important for a good sear!). Drizzle with olive oil, then generously sprinkle with salt, pepper, garlic powder, and smoked paprika on both sides. Don’t be timid; this is where the flavor magic happens!
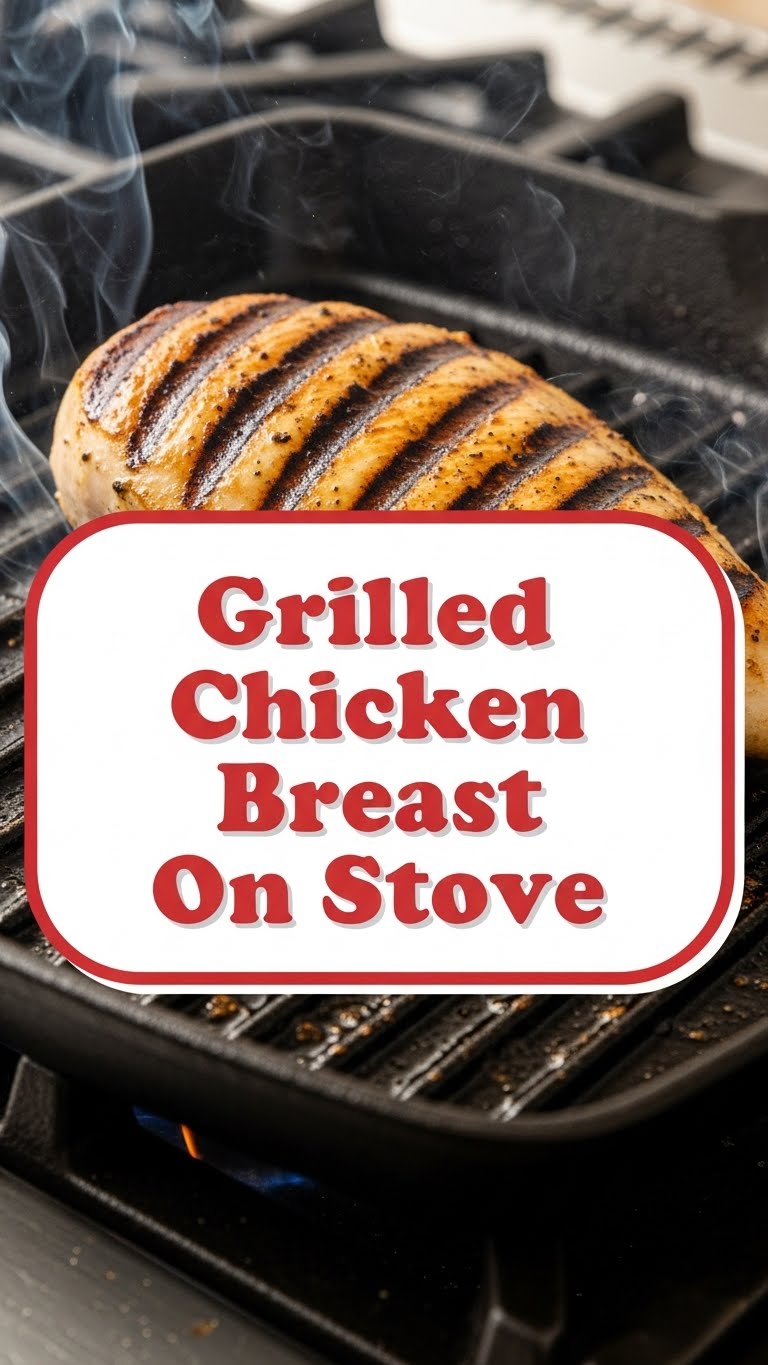
- Heat Things Up: Place a heavy-bottomed skillet (cast iron is your MVP here) over medium-high heat. Let it get nice and hot – you should see a wisp of smoke or a drop of water should sizzle and evaporate instantly.
- Sear & Cook: Add the seasoned chicken to the hot pan. **Don’t overcrowd the pan!** Cook in batches if necessary. Sear for about 4-6 minutes per side, depending on thickness, until a beautiful golden-brown crust forms and the internal temperature reaches **165°F (74°C)**.
- Optional Butter Boost: In the last minute of cooking, throw in that optional tablespoon of butter. Let it melt, then spoon it over the chicken a few times for an extra flavor kick.
- Rest, Please: Transfer the cooked chicken to a cutting board. **Let it rest for at least 5-10 minutes** before slicing. This is non-negotiable if you want juicy chicken, not dry sadness.
- Serve & Enjoy: Slice against the grain, if you’re feeling fancy, and serve immediately. You just made dinner like a boss!
Common Mistakes to Avoid
- Not Pounding the Chicken: Rookie move. Uneven chicken cooks unevenly, resulting in dry edges and undercooked centers. Don’t be that person.
- Forgetting to Pat it Dry: Water is the enemy of a good sear. Patting dry ensures you get a beautiful crust, not a sad, steamed piece of chicken.
- Not Preheating Your Pan Enough: If your pan isn’t hot, you won’t get that golden crust. You’ll just get grey, sad chicken. Patience, young Padawan.
- Overcrowding the Pan: This lowers the pan temperature and steams the chicken instead of searing it. Cook in batches, IMO.
- Skipping the Rest: The juices redistribute during resting, keeping your chicken moist and tender. Cut into it too soon, and all those precious juices will run out onto your cutting board. Nobody wants that.
- Overcooking: This is the ultimate sin. A meat thermometer is your friend. **165°F (74°C)** is the magic number. Anything beyond that, and you’re entering “shoe leather” territory.
Alternatives & Substitutions
This recipe is super flexible, so feel free to play around!
- Different Seasonings: Don’t have smoked paprika? No biggie. Try Italian seasoning, lemon pepper, Cajun spice mix, or just a simple herb blend with dried rosemary and thyme. Go wild, it’s your kitchen!
- Other Oils: Coconut oil, grapeseed oil, or even vegetable oil work just fine if olive or avocado isn’t your jam. Just use something with a high smoke point.
- Add a Citrus Zing: A squeeze of fresh lemon juice over the chicken right after it rests takes it up a notch. Or, cook a few lemon slices alongside the chicken for extra flavor.
- Spice it Up: A pinch of cayenne pepper or red pepper flakes will give it a nice kick if you like things spicier.
FAQ (Frequently Asked Questions)
Got questions? I’ve got answers (and probably a sarcastic comment or two).
- “How do I know my chicken is cooked through without a thermometer?” Honestly? Get a thermometer. It’s the best way. But if you’re really in a pinch, cut into the thickest part; the juices should run clear, and the meat should be opaque. But seriously, a meat thermometer is like ten bucks and will save you from food poisoning or dry chicken. Just saying, FYI.
- “Can I use frozen chicken breasts?” Well, yes, but you need to **fully thaw them first**. Trying to cook frozen chicken on the stove is a recipe for disaster (uneven cooking, potential raw spots). Plan ahead!
- “What if I don’t have a meat mallet to pound the chicken?” No problem! A heavy rolling pin, a sturdy frying pan, or even a heavy can of diced tomatoes wrapped in a towel will do the trick. Get creative!
- “Why do I need to rest the chicken? Can’t I just eat it?” You *can*… if you enjoy dry, sad chicken. Resting allows the muscle fibers to relax and reabsorb the juices, ensuring a tender and moist result. It’s a few minutes of patience for a lifetime of juicy chicken. Worth it!
- “What kind of pan is best for this?” A cast iron skillet is king for searing, hands down. A heavy-bottomed stainless steel pan works great too. Avoid flimsy non-stick pans if you want that beautiful crust.
Final Thoughts
So there you have it, friend! A grilled chicken breast that’s so good, you’ll wonder why you ever bothered with takeout. This isn’t just dinner; it’s a confidence booster, a time-saver, and a testament to the power of a hot pan. Now go impress someone—or yourself—with your new culinary skills. You’ve earned it! Seriously, try it. You’ll thank me later (and probably make it again tomorrow).