So you’re craving something tasty but too lazy to spend forever in the kitchen, huh? Same, friend, same. We’ve all been there: staring into the abyss of an empty fridge, fantasizing about something crispy, juicy, and utterly satisfying. But, like, without the drama of a 12-course meal or calling for takeout AGAIN. This, my dear culinary companion, is where our star—the humble yet mighty fried chicken breast—comes strutting in. Get ready for some crispy, crunchy, juicy magic without breaking a sweat (or a sweat pant).
Why This Recipe is Awesome
Let’s be real, you don’t need another complicated recipe demanding obscure ingredients and a culinary degree. This isn’t that. This recipe for fried chicken breast is a triumph of simplicity and flavor. It’s practically **idiot-proof**, even *I* didn’t mess it up, which is saying something. We’re talking golden-brown perfection, a juicy interior, and a crunch that will make your neighbors wonder what deliciousness is wafting from your kitchen. Plus, it’s fast. Like, “I can’t even pick a show on Netflix before this is done” fast. Forget sad desk lunches; this is gourmet-level comfort in minutes. Your taste buds will send you a thank-you note, promise.
Ingredients You’ll Need
- Chicken Breasts: 2 boneless, skinless, glorious chicken breasts. These are the canvases for our masterpiece.
- All-Purpose Flour: About 1 cup. Our crispy coating’s BFF.
- Eggs: 2 large ones. These are the glue that holds all the deliciousness together.
- Milk or Buttermilk: ¼ cup. Just a splash to thin out our egg wash and add a little extra tender-loving care. Buttermilk gives it a lovely tang, IMO.
- Salt & Black Pepper: To taste. Don’t be shy; bland food is a cardinal sin.
- Smoked Paprika: 1 teaspoon. For that gorgeous color and a hint of smoky goodness.
- Garlic Powder: 1 teaspoon. Because garlic makes everything better, obviously.
- Onion Powder: ½ teaspoon. Another flavor booster for our spice blend.
- Cayenne Pepper: ¼ teaspoon (or more if you’re feeling spicy). Just a little kick to wake things up!
- Vegetable Oil (or Canola/Peanut Oil): Enough to fill your pan about ½ inch deep. For its luxurious golden bath.
Step-by-Step Instructions
- Chicken Prep: The Foundation!
Grab those chicken breasts. You want them thin and even for quick, consistent cooking. You can either butterfly them (slice horizontally almost all the way through, then open them up like a book) or pound them with a meat mallet (or a heavy pan) between two sheets of plastic wrap until they’re about ½ inch thick. **Even thickness is key for juicy, not dry, chicken!**
- Set Up Your Dredging Station: The Assembly Line of Awesome!
You’ll need three shallow dishes or plates. In the first, whisk together your flour, salt, pepper, smoked paprika, garlic powder, onion powder, and cayenne pepper. In the second, whisk your eggs and milk/buttermilk until well combined. The third dish is for your soon-to-be-coated chicken.
- Season & Coat: Get Handsy!
Pat your chicken pieces dry with paper towels (this helps the coating stick!). First, dredge each chicken piece thoroughly in the seasoned flour, shaking off any excess. Then, dip it into the egg wash, letting any extra drip off. Finally, back into the seasoned flour for a second glorious coat, pressing gently to make sure it adheres well. **Don’t skimp on this step; that second coat is what gives us the ultimate crunch!**
- Heat That Oil: We’re Getting Frying!
Pour your chosen oil into a large skillet or frying pan until it’s about ½ inch deep. Heat it over medium-high heat. You want it hot enough to sizzle but not smoke. Test it by dropping a tiny pinch of flour in; if it immediately sizzles, you’re good to go. Around 350-375°F (175-190°C) is ideal.
- Fry Away: Golden Glory!
Carefully place 1-2 chicken breasts into the hot oil, **making sure not to overcrowd the pan** (we’ll explain why this matters later!). Fry for 3-5 minutes per side, or until they’re beautifully golden brown and cooked through. The internal temperature should reach 165°F (74°C).
- Drain & Devour: The Grand Finale!
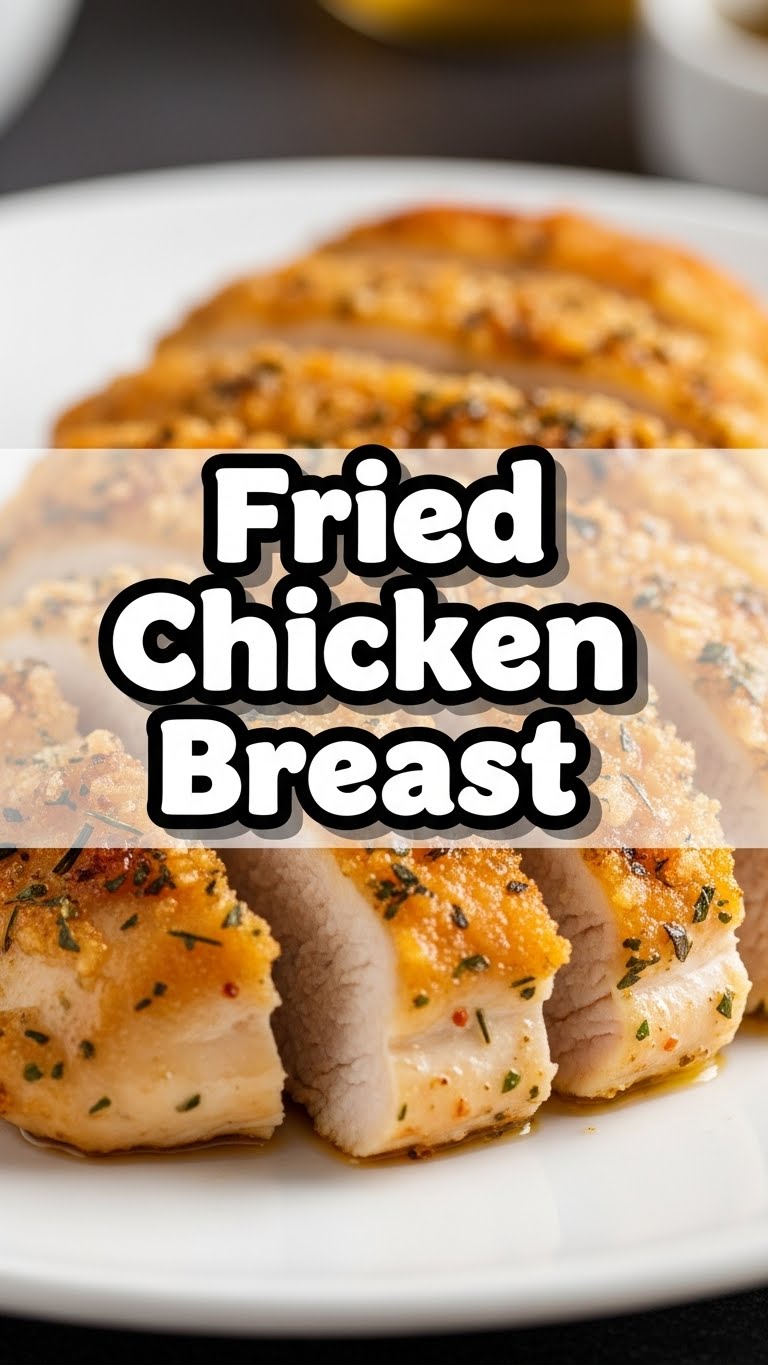
Once cooked, transfer your crispy chicken to a plate lined with paper towels to drain any excess oil. Let it rest for a minute or two – this helps keep the juices locked in. Serve immediately with your favorite sides. FYI, this tastes amazing with anything from mashed potatoes to a simple side salad!
Common Mistakes to Avoid
- Overcrowding the Pan: This is a big no-no! Adding too much chicken at once drastically lowers the oil temperature, leading to soggy, greasy chicken instead of crispy perfection. Cook in batches, folks!
- Not Seasoning Enough: A cardinal sin in the kitchen. Bland chicken is… well, bland. Don’t be afraid to season both the flour and the chicken itself!
- Oil Too Cold or Too Hot: If the oil isn’t hot enough, your chicken will soak it up and be greasy. If it’s too hot, the outside will burn before the inside cooks. Get that temperature just right!
- Skipping the Rest: You just put all that effort into frying, don’t ruin it by cutting into it immediately! Letting it rest for a minute or two allows the juices to redistribute, ensuring a tender, moist result.
Alternatives & Substitutions
- Buttermilk Boost: If you’ve got buttermilk, use it in the egg wash! The acidity helps tenderize the chicken and adds a fantastic tangy flavor. No buttermilk? Add a tablespoon of vinegar or lemon juice to your regular milk and let it sit for 5 minutes. Voila!
- Spice it Up: Feel free to customize your spice blend! Add a pinch of chili powder, smoked paprika, or dried herbs like oregano or thyme. Make it *your* chicken.
- Gluten-Free Gang: Swap out the all-purpose flour for a good gluten-free all-purpose blend. The results are surprisingly similar! Or try cornstarch for an even crispier, lighter coating.
- Air Fryer Option: Want less oil? After coating, spray your chicken generously with cooking spray and air fry at 375°F (190°C) for 15-20 minutes, flipping halfway, until golden and cooked through. It’s not *fried* fried, but it’s a solid contender!
FAQ (Frequently Asked Questions)
- Can I use frozen chicken breasts?
Technically, yes, but you MUST thaw them completely first! Trying to fry frozen chicken is a recipe for disaster: uneven cooking, potential raw spots, and a messy splash zone. Plan ahead, my friend!
- How do I know if the chicken is cooked through?
The best way is to use a meat thermometer! It should read 165°F (74°C) in the thickest part. If you don’t have one, cut into the thickest part – there should be no pink, and the juices should run clear. Better safe than sorry!
- What kind of oil is best for frying?
You want an oil with a high smoke point and a neutral flavor. Vegetable oil, canola oil, peanut oil, or even grapeseed oil are all excellent choices. Avoid olive oil; its smoke point is too low for frying.
- My chicken isn’t crispy, what went wrong?
Probably one of two things: either your oil wasn’t hot enough, or you overcrowded the pan, dropping the oil temperature. Remember, hot oil + not too much chicken = crispy dreams!
- Can I prepare the chicken ahead of time?
You can definitely prep the dredging stations and pound your chicken. You can even coat the chicken ahead of time and keep it in the fridge for up to an hour before frying. Any longer and the coating might get a bit soggy.
- What should I serve with this deliciousness?
Oh, the possibilities! Mashed potatoes and gravy, mac and cheese, a crisp green salad, coleslaw, or even just some good old French fries. Don’t overthink it, just enjoy!
Final Thoughts
So there you have it! Your new go-to recipe for perfectly crispy, ridiculously juicy fried chicken breast. It’s quick, it’s easy, and it’s going to make you feel like a kitchen wizard. Seriously, no culinary degree required here, just a craving for something good and a willingness to get a little flour on your hands. Now go impress someone—or yourself—with your new culinary skills. You’ve earned it, superstar!