So you’re craving something tasty but too lazy to spend forever in the kitchen, huh? Same. We’ve all been there: staring blankly into the fridge, a chicken breast staring back at you, practically begging for a glow-up that doesn’t involve a million steps or a culinary degree. Well, grab your apron (or just a clean shirt, no judgment here), because we’re about to make magic happen with minimal effort!
Why This Recipe is Awesome
Let’s be real, you’re not trying to win “MasterChef” tonight. You just want delicious food without the drama. And guess what? This recipe delivers! It’s super simple, super quick, and practically **idiot-proof** (even I didn’t mess it up, which is saying something). We’re talking juicy, flavorful chicken that will make you feel like a kitchen wizard, even if your actual wizardry extends only to making toast. Plus, it’s versatile, healthy, and a total crowd-pleaser. Win-win-win, if you ask me!
Ingredients You’ll Need
Get ready for a shocker: you probably have most of this stuff already!
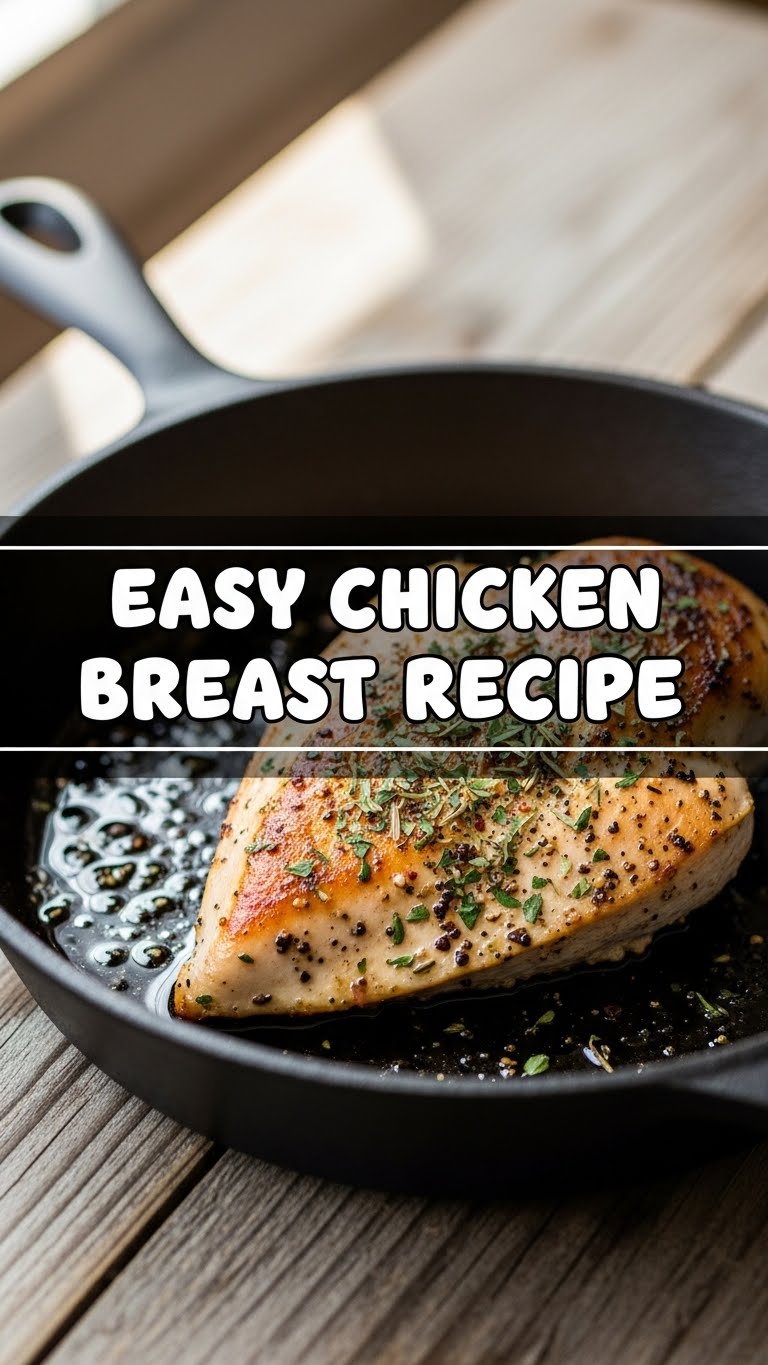
- 2 Boneless, Skinless Chicken Breasts: The stars of our show. Pick plump ones!
- 1 tbsp Olive Oil: Your everyday kitchen MVP.
- 1 tsp Garlic Powder: Because fresh garlic involves peeling, and we’re optimizing for *lazy* today, remember?
- 1 tsp Paprika: For a lovely color and a little smokey *oomph*.
- ½ tsp Dried Oregano (or Italian Seasoning): A classic for a reason.
- Salt & Black Pepper: To taste, because flavor is personal. Don’t be shy!
- Optional (but highly recommended): A squeeze of lemon juice, a sprinkle of fresh parsley for garnish. Trust me, it elevates everything!
Step-by-Step Instructions
-
Preheat Like a Pro: First things first, get your oven to **375°F (190°C)**. And if you’re using a cast-iron skillet (which I highly recommend for that glorious sear), pop it in the oven while it heats up. If not, a regular oven-safe pan works too!
-
Prep the Poultry: Pat those chicken breasts *super dry* with a paper towel. This is crucial for getting that beautiful sear, seriously! Then, if they’re super thick, you might want to slice them horizontally to create two thinner cutlets, or pound them a bit to even them out. This helps them cook faster and more evenly.
-
Season Like a Boss: Drizzle the chicken with olive oil, then sprinkle generously with garlic powder, paprika, oregano, salt, and pepper. Make sure to get both sides! Don’t be afraid to really rub it in there like you’re giving it a spa treatment.
-
Sear for Glory: If your pan was in the oven, carefully remove it (it’s hot, duh!). If not, heat your pan on medium-high heat with a tiny bit more oil until it’s shimmering. Place the seasoned chicken breasts in the hot pan. **Listen for that sizzle!** Sear for 3-4 minutes per side, until they’re golden brown and look absolutely delicious.
-
Oven Time! Once seared, transfer the pan (if it’s oven-safe) directly into your preheated oven. If your pan isn’t oven-safe, carefully transfer the chicken to an oven-safe baking dish. Bake for another **10-15 minutes**, or until the internal temperature reaches **165°F (74°C)**. The exact time depends on the thickness of your chicken.
-
Rest, You Deserve It (and so does the chicken!): This is arguably the most important step for juicy chicken! Remove the pan from the oven, transfer the chicken to a cutting board, and **let it rest for 5-10 minutes**. This allows the juices to redistribute, ensuring every bite is moist and tender. Trust me, patience is a virtue here.
-
Slice & Serve: Slice your perfectly cooked chicken against the grain, squeeze a little fresh lemon juice over the top (if you’re feeling fancy), and sprinkle with fresh parsley. Boom! You just made dinner like a pro. Now go eat!
Common Mistakes to Avoid
Look, we all make mistakes, especially in the kitchen. But let’s try to avoid these rookie errors, okay?
- Not Patting the Chicken Dry: This is a cardinal sin! Wet chicken steams instead of searing, meaning no beautiful golden crust. Say goodbye to crispy edges.
- Overcrowding the Pan: Trying to cook all your chicken at once in a tiny pan? That’s how you get steamed chicken, not pan-seared deliciousness. Work in batches if necessary, IMO.
- Skipping the Resting Step: You just worked so hard for juicy chicken, only to cut into it immediately and let all the juices run out? No thanks! **Always rest your meat.**
- Overcooking It: There’s nothing sadder than rubbery, dry chicken. Use a meat thermometer if you have one. 165°F (74°C) is your magic number.
- Thinking You Don’t Need to Preheat: Rookie move, seriously. A hot pan is key for that initial sear and even cooking.
Alternatives & Substitutions
Feeling adventurous? Or just missing an ingredient? No worries, we got you covered!
- Spice Swap: Don’t have paprika? Try chili powder for a kick, or smoked paprika for extra depth. No oregano? Dried thyme or rosemary works beautifully. Your kitchen, your rules!
- Fat Fan: Olive oil is great, but a combo of butter and olive oil will give you an even richer flavor and a fantastic sear. Oh, you fancy!
- Herb Power: Fresh herbs are always a win if you have them. A sprinkle of fresh rosemary or thyme at the searing stage, or a handful of chopped basil at the end, will totally elevate this dish.
- Chicken Thighs: Can you use chicken thighs? Absolutely! They tend to be more forgiving and stay juicier. Just adjust the cooking time slightly (they might need a few more minutes in the oven).
FAQ (Frequently Asked Questions)
- Can I marinate the chicken beforehand? Oh, absolutely! A simple marinade of lemon juice, olive oil, and herbs for a few hours (or even overnight) makes it even more tender and flavorful. If you’re feeling ambitious, go for it!
- How do I know when the chicken is cooked through? The best way is to use a meat thermometer. Stick it into the thickest part of the chicken; it should read **165°F (74°C)**. No thermometer? Cut into the thickest part – if the juices run clear and there’s no pink, you’re good to go!
- Can I cook this on a grill? Heck yeah! Preheat your grill to medium-high, brush the grates with oil, and grill for about 5-7 minutes per side, or until cooked through. Just be mindful not to dry it out!
- What if I only have frozen chicken breasts? Um, no. Thaw them first, unless you like unevenly cooked, sad chicken. Seriously, safety and taste first!
- Can I skip the searing and just bake it? You *can*, but searing gives the chicken that beautiful golden-brown crust and helps lock in flavor. If you skip it, your chicken will still be cooked, but it won’t have the same depth or texture. Don’t be lazy on *this* part!
- What sides go well with this? Literally anything! Roasted veggies (asparagus, broccoli, bell peppers), a simple green salad, fluffy rice, creamy mashed potatoes, or even quinoa. It’s a blank canvas for deliciousness!
Final Thoughts
See? I told you it was easy! You just whipped up a seriously delicious, juicy chicken breast that’s miles better than anything pre-made. You’re practically a culinary superstar now. This recipe is your new best friend for busy weeknights, meal prep, or just when you want something satisfying without the fuss. Now go impress someone—or yourself—with your new culinary skills. You’ve earned it! Happy cooking, my friend!