So you’re staring into the fridge, wondering what to whip up that’s not another sad desk lunch, huh? And you’ve got chicken breast… again. Don’t worry, friend, I’ve got your back! We’re about to transform that humble chicken breast into something you’ll actually *want* to eat. No fuss, no drama, just pure, unadulterated deliciousness. Get ready to impress yourself (and maybe your cat, if they’re into that sort of thing).
Why This Recipe is Awesome
Let’s be real, chicken breast often gets a bad rap for being, well, boring. But not today! This recipe is your secret weapon against blandness. It’s so ridiculously easy, you’ll wonder why you ever ordered takeout. Seriously, it takes less time than scrolling through Instagram deciding what to watch.
It’s also ridiculously versatile and healthy-ish (depending on how much cheese you pile on later, no judgment!). Plus, it requires minimal ingredients and even less brainpower. **It’s basically idiot-proof, and trust me, I’ve put that to the test.** You’ll get perfectly juicy, flavorful chicken every single time. Boom!
Ingredients You’ll Need
Gather your squad, because we’re about to make magic. No fancy stuff, just everyday heroes!
- **2 Boneless, Skinless Chicken Breasts:** The stars of our show! Get decent-sized ones, because who likes small portions?
- **1-2 tbsp Olive Oil:** Your trusty sidekick for searing. Avocado oil works great too!
- **1 tsp Salt:** Don’t be shy, but don’t make it a salt lick either.
- **1/2 tsp Black Pepper:** The salt’s best friend. Freshly ground if you’re feeling fancy.
- **1 tsp Garlic Powder (or Granulated Garlic):** Because everything is better with garlic. DUH.
- **1/2 tsp Paprika:** For a lovely color and a smoky kiss. Smoked paprika? Even better!
- **Optional Flavor Boosters:** A pinch of onion powder, dried oregano, or a squeeze of lemon juice at the end. Get wild!
**Pro Tip:** Don’t skimp on fresh, quality ingredients. They really do make a difference, IMO.
Step-by-Step Instructions
- **Prep Your Chicken:** First things first, grab those chicken breasts and pat them super dry with paper towels. This is crucial for getting that gorgeous golden crust! No soggy chicken allowed.
- **Season Like a Boss:** In a small bowl, mix your salt, pepper, garlic powder, and paprika. Now, sprinkle this glorious mixture all over both sides of your chicken. Don’t be afraid to rub it in like you’re giving it a little massage.
- **Heat Things Up:** Grab your favorite skillet (cast iron works wonders here!) and place it over medium-high heat. Add your olive oil and let it get nice and shimmering. We’re looking for hot, not smoking!
- **Sear for Gold:** Carefully place the seasoned chicken breasts into the hot skillet. Let them sear undisturbed for about 5-7 minutes. You’re looking for a beautiful, golden-brown crust. That’s flavor, baby!
- **Flip and Finish:** Flip the chicken breasts over. Reduce the heat to medium-low, cover the pan (if you have a lid), and let them cook for another 8-10 minutes, or until cooked through. A meat thermometer should read 165°F (74°C) at the thickest part. **This is key for juicy chicken!**
- **Rest, You Deserve It:** Once cooked, remove the chicken from the pan and place it on a cutting board. Tent it loosely with foil and let it rest for 5-10 minutes. This magical step allows the juices to redistribute, keeping your chicken incredibly moist.
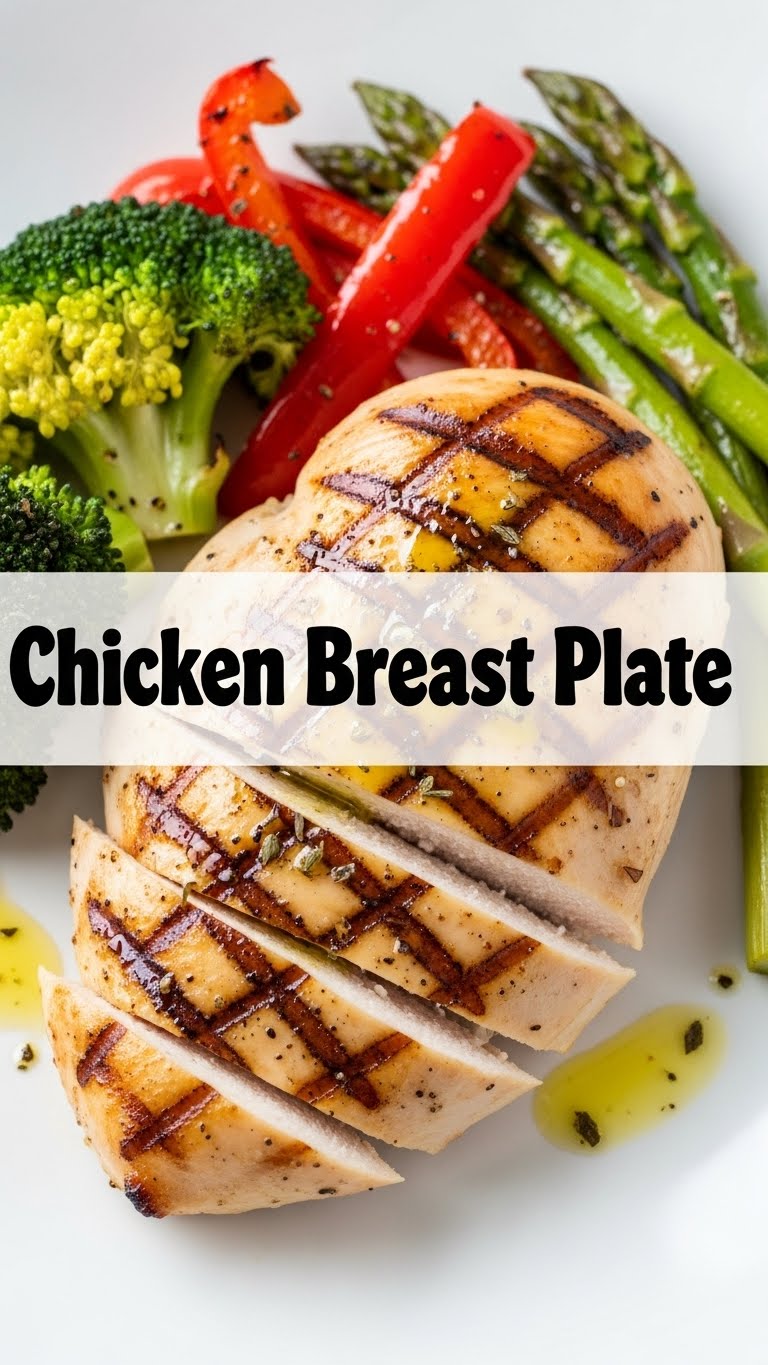
- **Slice and Serve:** Slice against the grain (if you’re feeling ambitious) or simply serve whole. Pair it with your favorite sides – roasted veggies, a fresh salad, or some fluffy rice. Dig in!
Common Mistakes to Avoid
We all make mistakes, but let’s try to avoid these rookie errors for maximum deliciousness:
- **Not Patting the Chicken Dry:** I cannot stress this enough! Wet chicken steams, it doesn’t sear. You want a beautiful crust, not a sad, pale bird.
- **Overcrowding the Pan:** Give your chicken some personal space! If you jam too many breasts into one pan, the temperature drops, and again, you’ll steam instead of sear. Cook in batches if needed.
- **Overcooking the Chicken:** The ultimate sin! Dry, rubbery chicken is nobody’s friend. Use a meat thermometer – it’s your best friend for perfectly cooked, juicy results. Pull it off the heat at 160°F, as it will continue to cook while resting.
- **Skipping the Rest:** “But I’m hungry NOW!” I hear you. But seriously, resist the urge to cut into it immediately. That 5-10 minute rest is crucial for keeping those glorious juices inside the chicken. Patience, young grasshopper.
Alternatives & Substitutions
Feeling adventurous? Or just missing an ingredient? No worries, we’ve got options!
- **Seasoning Swap:** Don’t have paprika? Try onion powder, Italian seasoning, chili powder, or even a dash of curry powder. Your kitchen, your rules! Go wild with what you have.
- **Cooking Method Switch-Up:** No skillet? You can bake these at 375°F (190°C) for 20-25 minutes. Or pop them in an air fryer at 375°F for about 12-15 minutes, flipping halfway. So many ways to cook a chicken!
- **Oil Alternatives:** Olive oil not your jam? Avocado oil, grapeseed oil, or even a little butter will work perfectly.
- **Serving Suggestions:** This chicken is a blank canvas! Slice it for salads, tuck it into wraps, serve with roasted asparagus and mashed potatoes, or even dice it for a quick pasta dish. The possibilities are endless, my friend.
FAQ (Frequently Asked Questions)
Got questions? I’ve got answers (mostly humorous ones).
- **Can I use frozen chicken breasts?** Well, technically yes, but please thaw them completely first. Cooking from frozen usually results in uneven cooking and a hockey puck texture. No one wants that.
- **How do I know if it’s cooked through without a thermometer?** You can cut into the thickest part; if the juices run clear and there’s no pink, it’s likely done. But honestly, **a meat thermometer is your BFF** for peace of mind and perfectly juicy chicken every time.
- **What if I don’t have all the spices?** No biggie! Salt and pepper are non-negotiable, but feel free to skip or substitute the others. It might taste a little different, but still good!
- **Can I add veggies to the pan?** Absolutely! After you flip the chicken, toss in some quick-cooking veggies like asparagus spears, broccoli florets, or sliced bell peppers. They’ll cook beautifully in the chicken drippings. Multi-tasking queen/king!
- **Is this actually healthy?** Compared to, say, a deep-fried anything, absolutely! It’s lean protein, just watch your oil portions. It’s a fantastic base for a balanced meal.
- **How long can I store leftovers?** Cooked chicken breast is good in an airtight container in the fridge for 3-4 days. Perfect for meal prep!
- **Can I make a pan sauce?** Oh, you fancy, huh? Totally! After removing the chicken, deglaze the pan with a splash of chicken broth and a squeeze of lemon juice. Scrape up all those flavorful bits, let it simmer for a minute, and drizzle over your chicken. Boom! Instant gourmet!
Final Thoughts
See? You’re basically a gourmet chef now! Who knew that humble chicken breast had so much potential? You just transformed it into a masterpiece with minimal effort. Go on, pat yourself on the back! Or better yet, go eat that deliciousness you just created.
Now go impress someone—or yourself—with your new culinary skills. You’ve earned it! **Happy cooking!**