So, you’ve stared at a chicken breast, worried it’ll turn into a dry, sad puck again, haven’t you? Been there, done that, bought the “dry chicken survivor” T-shirt. But what if I told you there’s a ridiculously easy, almost magical way to get chicken so juicy, so tender, it practically melts in your mouth? And no, it doesn’t involve a sous vide machine you’ll use once then forget in the back of your cupboard. We’re talking buttermilk, baby! Get ready to revolutionize your weeknight dinners.
Why This Recipe is Awesome
Because let’s be real, life’s too short for boring, dry chicken. This buttermilk brined chicken breast recipe is your new secret weapon. It’s seriously **idiot-proof**, even *I* didn’t mess it up, and my kitchen adventures often involve smoke alarms. Here’s the lowdown on why you’ll love it:
- **Juicy AF:** The buttermilk works wonders, breaking down tough muscle fibers and infusing moisture. No more sawing through your dinner!
- **Flavor Bomb:** It tenderizes *and* subtly seasons, making your chicken taste like it actually cares about you.
- **Effortless:** Most of the work is hands-off brining time. You just dump, chill, cook, and voilà!
- **Versatile:** Seriously, this chicken plays well with any side dish. Salads, rice, veggies, even just a spoon if you’re that hungry.
Ingredients You’ll Need
Keep it simple, buttercup. You probably have most of this already!
- **2-4 Boneless, Skinless Chicken Breasts:** The main event! Make sure they’re roughly the same thickness for even cooking.
- **2 cups Buttermilk:** The MVP, the secret sauce, the tenderizing wizard. Don’t skip the real stuff; it’s worth it.
- **1 tablespoon Salt:** Not just any salt, please use **kosher salt** if you have it. It dissolves better and seasons more evenly.
- **1 teaspoon Black Pepper:** Freshly ground, if you’re feeling fancy (and you should!).
- **1 teaspoon Garlic Powder (optional but highly recommended):** Because garlic makes everything better, duh.
- **1 teaspoon Onion Powder (optional):** Garlic’s bestie, adds another layer of yum.
- **2 tablespoons Cooking Oil:** Olive, avocado, whatever your pan-searing heart desires.
Step-by-Step Instructions
Alright, let’s get this deliciousness started. Follow these steps, and you’ll be a buttermilk brining pro in no time.
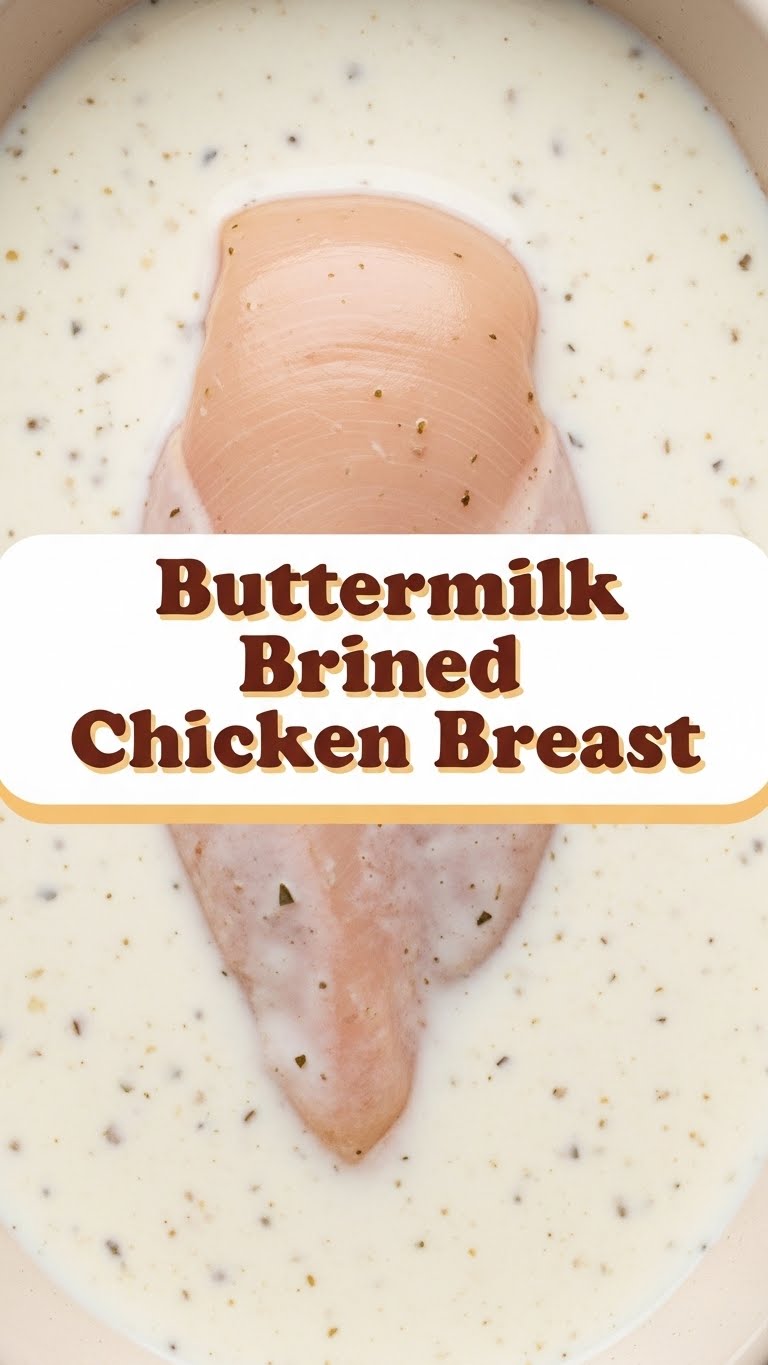
- **The Brine Bath:** Grab a large bowl or a gallon-sized zip-top bag. Pour in the buttermilk, salt, pepper, garlic powder, and onion powder. Give it a good whisk until the salt mostly dissolves.
- **Chicken’s Spa Day:** Add your chicken breasts to the brine. Make sure they’re completely submerged. If they’re being divas, you can weigh them down with a small plate. Seal the bag or cover the bowl.
- **Chill Out:** Pop it in the fridge for at least 2 hours, but honestly, **overnight (8-12 hours) is where the magic happens**. Don’t go more than 24 hours though, unless you like mushy chicken (you don’t).
- **Prep for the Pan:** When you’re ready to cook, take the chicken out of the brine. Give it a **quick rinse under cold water** (super important to remove excess salt!) then **pat it *really* dry** with paper towels. Seriously, dryness = good sear.
- **Get Sizzling:** Heat a large skillet (cast iron is my MVP here) over medium-high heat with your cooking oil until it’s shimmering. Add the chicken breasts to the hot pan. **Don’t overcrowd the pan** – cook in batches if needed.
- **Sear & Finish:** Sear for 4-6 minutes per side, until deeply golden brown and cooked through. An instant-read thermometer should read 165°F (74°C) in the thickest part. If your breasts are thick, you can pop the skillet into a preheated 375°F (190°C) oven for a few minutes to finish cooking.
- **Rest, You Deserve It:** Transfer the cooked chicken to a cutting board and let it rest for 5-7 minutes. This locks in all those glorious juices. Then slice or serve whole!
Common Mistakes to Avoid
Listen, we all make mistakes. But let’s try to avoid these rookie errors, okay?
- **Not rinsing the chicken:** If you skip this, your chicken will taste like a salt lick. It’s not a vibe.
- **Not patting dry:** Wet chicken won’t sear, it’ll steam. And nobody wants steamed chicken when they’re aiming for golden perfection.
- **Over-brining:** More isn’t always better, friends. Leave it in buttermilk for *days* and you’ll have chicken that disintegrates into sadness. 24 hours max, please.
- **Overcrowding the pan:** This isn’t a sardine can. Give your chicken space, otherwise, it’s back to steaming city. Cook in batches, IMO, it’s worth the extra minute.
- **Skipping the rest:** Impatience is a virtue, but not here. Let that chicken chill for a bit or all the juices will run out onto your cutting board, leaving you with dry meat. Tragic.
Alternatives & Substitutions
Life’s about choices, and sometimes you gotta adapt. Here are some ideas:
- **No buttermilk?** You *can* make a DIY version with regular milk and a tablespoon of lemon juice or white vinegar. Let it sit for 5-10 minutes until it looks a bit curdled. It’s okay, but the real deal buttermilk has enzymes that work even better.
- **Different cuts?** Absolutely! Chicken thighs would be even more amazing (and practically impossible to mess up). Pork chops also love a buttermilk bath.
- **Spices?** Go wild! Smoked paprika, a pinch of cayenne for a kick, Italian seasoning, dried herbs like thyme or rosemary… your kitchen, your rules.
- **Cooking method?** After brining and drying, you can totally grill it until cooked through, or oven bake at 400°F (200°C) for 20-25 minutes, flipping halfway. Pan-searing then finishing in the oven is my personal fave for thicker breasts.
FAQ (Frequently Asked Questions)
Got questions? I’ve got answers (and maybe a little sass).
- **”Why buttermilk? Is it a magical potion?”** Pretty much! The lactic acid and enzymes in buttermilk gently tenderize the chicken without making it mushy, unlike harsher acidic marinades. Plus, it helps the chicken hold onto moisture. Science for the win!
- **”Will my chicken taste like buttermilk?”** Nope! Once you rinse it, the buttermilk flavor disappears, leaving behind only incredible juiciness and tenderness. It’s like a secret agent for flavor.
- **”Can I reuse the brine?”** Absolutely not! That’s a one-and-done situation, my friend. Raw chicken germs, you know?
- **”How long can I store brined chicken?”** Cook it within 24 hours of starting the brine. After cooking, leftovers are good in the fridge for 3-4 days.
- **”What if I don’t have time to brine for hours?”** Even 30 minutes is better than nothing, but aim for at least 2 hours if you can. Overnight is truly superior, though. Plan ahead if you can!
- **”Can I freeze brined chicken?”** I wouldn’t freeze it *in* the brine. Cook it first, then freeze the cooked chicken. It reheats pretty well.
Final Thoughts
So there you have it, folks! Your new secret weapon against dry chicken. You’ve just unlocked a whole new level of chicken wisdom, and frankly, your taste buds are going to thank you profusely. Go forth and conquer your dinner plate with this unbelievably juicy, tender, and flavorful chicken. Now go impress someone—or yourself—with your new culinary skills. You’ve earned it! Happy brining!