So you’re staring into the fridge, wondering what to make, and that lonely chicken breast is giving you the side-eye, huh? Been there. Many times. You want something tasty, healthy-ish, but also, like, zero effort? My friend, you’ve come to the right place. We’re about to turn that bland slab of poultry into a juicy, flavorful masterpiece with minimal fuss. Your oven (and your tummy) will thank you!
Why This Recipe is Awesome
Let’s be real, boneless, skinless chicken breast often gets a bad rap for being dry and boring. But not today! This recipe is so ridiculously simple, it’s practically idiot-proof. Seriously, even I, someone who once mistook baking soda for baking powder (don’t ask), managed to nail this. It’s fast, requires almost no active cooking time, and the cleanup is usually just one pan. It’s the perfect weeknight win when you’d rather be binging your favorite show than slaving over a hot stove. Plus, it’s super versatile. What’s not to love?
Ingredients You’ll Need
Get ready for a super short shopping list. You probably have most of this stuff already!
- Boneless, Skinless Chicken Breasts: The main event! About 1-2 per person, depending on appetite. Make sure they’re thawed, please!
- Olive Oil: Your trusty sidekick. A couple of tablespoons for coating.
- Salt & Freshly Ground Black Pepper: The OG flavor duo. Don’t skip these, they’re the foundation!
- Garlic Powder: Because everything is better with a hint of garlic, right?
- Paprika (Sweet or Smoked): For a little color and a warm, inviting flavor. Smoked paprika adds a lovely depth!
- Optional: Dried Herbs (e.g., Oregano, Thyme, Rosemary): Feeling fancy? Throw in a pinch for extra aromatic goodness.
Step-by-Step Instructions
Alright, let’s get this show on the road! You’re about to become a chicken-baking superstar.
- Preheat the Party: First things first, get your oven nice and toasty. Preheat it to 400°F (200°C). While it’s heating, line a baking sheet with parchment paper or foil for easy cleanup. Trust me, future you will appreciate this.
- Pat it Dry (Seriously!): This is a crucial step! Take your chicken breasts out of their packaging and use paper towels to pat them thoroughly dry. Why? Because moisture is the enemy of a good sear and golden crust. We want flavor, not sad, steamed chicken!
- Oil & Season Up: Place your dried chicken breasts on the prepared baking sheet. Drizzle them generously with olive oil, then use your hands to rub it all over, coating both sides. Now, sprinkle both sides with salt, pepper, garlic powder, and paprika. If you’re using dried herbs, add them now too. Don’t be shy with the seasoning!
- Into the Hot Tub (Oven, I Mean): Pop the baking sheet with your seasoned chicken into the preheated oven. Make sure the chicken isn’t overcrowded; give those beauties some breathing room!
- Bake Until Golden: Bake for about 20-30 minutes. The exact time will depend on the thickness of your chicken breasts. Thicker ones will take longer.
- Check for Doneness (No Guessing!): This is the most important step for juicy chicken! The only way to know it’s truly done (and safe) is with an instant-read meat thermometer. Insert it into the thickest part of the chicken. It should read 165°F (74°C). If it’s not there yet, pop it back in for a few more minutes.
- Rest & Devour: Once cooked, take the chicken out of the oven and let it rest on the baking sheet for 5-10 minutes before slicing or serving. This allows the juices to redistribute, ensuring super moist and tender results. Don’t skip this, your taste buds will thank you!
Common Mistakes to Avoid
Even though this recipe is pretty foolproof, there are a few rookie errors that can turn your culinary triumph into… well, less of a triumph. Let’s learn from others’ mistakes, shall we?
- Not Preheating the Oven: Trying to bake in a cold oven is like trying to run a marathon in flip-flops. Just… don’t. Your chicken won’t cook evenly, and it’ll take ages.
- Skipping the Pat Dry Step: We talked about this. Moisture = steamed chicken. Dry chicken = golden, delicious chicken. Simple math.
- Overcrowding the Baking Sheet: Give your chicken some personal space! If you pile them up, they’ll steam instead of roast. Use two sheets if you need to.
- Not Using a Meat Thermometer: This is a big one. Eyeballing doneness is a recipe for either dry, overcooked chicken or worse, undercooked chicken. Invest in an instant-read thermometer, FYI, it’s a game-changer.
- Ignoring the Resting Period: You’ve waited this long, what’s a few more minutes? Resting makes all the difference between good chicken and GREAT chicken.
Alternatives & Substitutions
Feeling adventurous? Or maybe you’re just out of paprika? No worries, we’ve got options!
- Different Seasonings: Go wild! Lemon pepper, chili powder, taco seasoning, Italian blend… Your kitchen, your rules! A little smoked salt can also add a fun twist.
- Butter Instead of Olive Oil: If you’re feeling extra indulgent, brush your chicken with melted butter instead of olive oil before seasoning. Butter makes everything better, IMO.
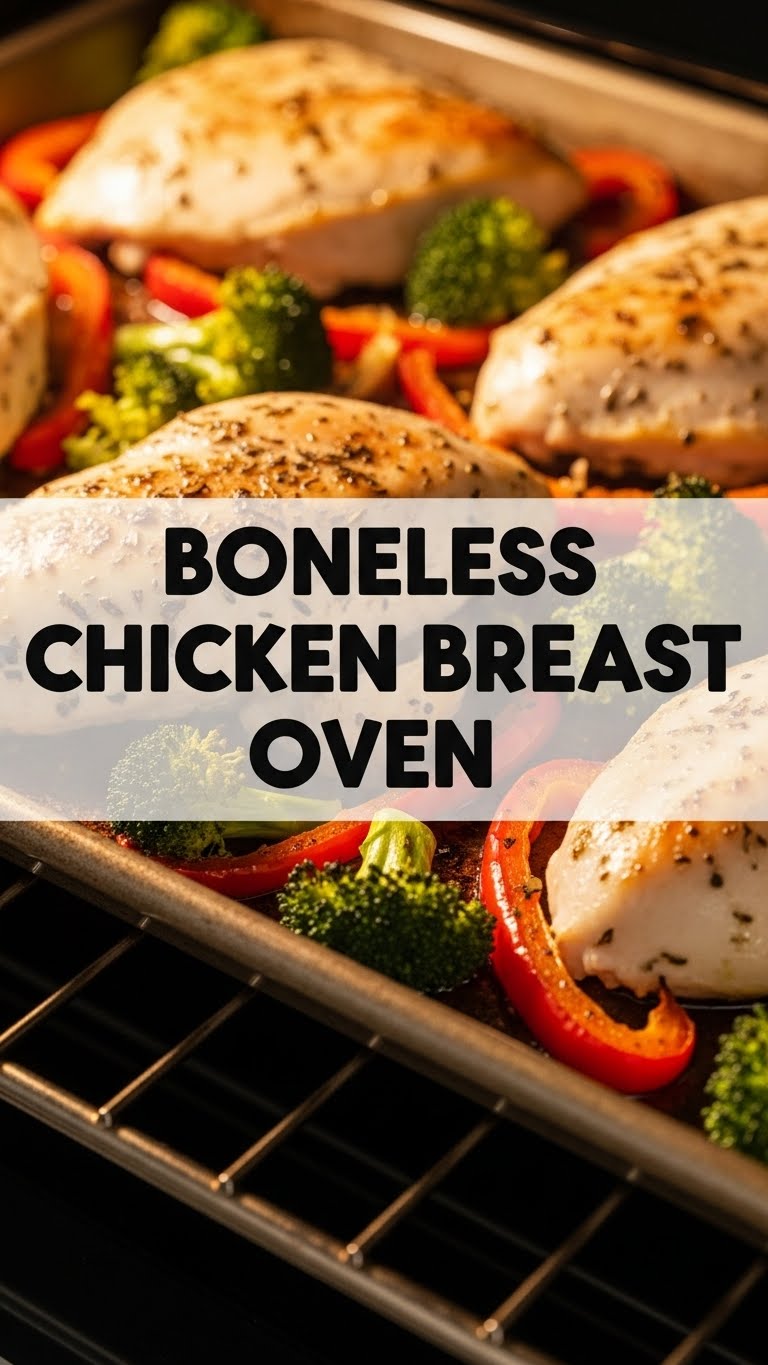
- Add Veggies for a One-Pan Meal: Want a complete meal without extra dishes? Toss some chopped broccoli florets, bell peppers, asparagus, or thick-cut zucchini with a little oil and seasoning, and roast them alongside the chicken. Just make sure they’re cut small enough to cook in the same timeframe.
- Garlic Cloves: If you prefer fresh garlic, mince a couple of cloves and rub them onto the chicken with the oil. Delicious!
FAQ (Frequently Asked Questions)
Got questions? I’ve got (casual) answers!
- Q: Can I use frozen chicken breasts?
A: Technically yes, but you MUST thaw them completely first. Cooking from frozen will result in uneven cooking and a rubbery texture. Nobody wants that! - Q: How long does it actually take to bake?
A: Generally 20-30 minutes at 400°F (200°C) for average-sized breasts. Super thick ones might need closer to 35 minutes. Always, always check the internal temperature! - Q: Do I need to flip the chicken halfway through?
A: Nah, not really for this method. It cooks nicely through without a flip. One less thing to worry about! - Q: What if my chicken breasts are really thick?
A: You have a couple of options: you can either butterfly them (slice them horizontally almost all the way through, then open them up like a book) to make them thinner, or just be prepared to bake them for a bit longer, still checking that internal temp. - Q: Can I add cheese to this?
A: Oh, you rebel! Yes, totally. For melty goodness, sprinkle your favorite cheese (cheddar, mozzarella, provolone) over the chicken during the last 5 minutes of baking. It’s a game-changer! - Q: Is there a way to add extra flavor *after* baking?
A: Absolutely! Drizzle with a little lemon juice, a balsamic glaze, or some fresh chopped parsley. A spoonful of pesto or a dollop of fresh salsa can also brighten things up!
Final Thoughts
See? I told you it was easy! You just cooked up some seriously delicious, juicy chicken without breaking a sweat. Now you’ve got the perfect foundation for countless meals – slice it for salads, shred it for tacos, serve it whole with your favorite sides. You’re basically a kitchen wizard now, congrats!
Go forth and impress someone—or just yourself—with your new culinary skills. You’ve earned it! Happy cooking, superstar!