So, you’re staring into the fridge, wondering what culinary magic you can whip up without, you know, actually *working* for it? Been there, done that, bought the t-shirt. Today, my friend, we’re diving into the glorious world of Balsamic Glazed Chicken Breast. It’s fancy-ish, ridiculously easy, and tastes like you actually tried. Win-win-win!
Why This Recipe is Awesome
Let’s be real, who has hours to slave over a hot stove? Not me, and probably not you. This recipe is your secret weapon for looking like a gourmet chef without the sweat (or tears, unless you cut an onion for something else, then fair enough). It’s **idiot-proof**, I swear, even *I* didn’t mess it up! Plus, it’s quick, uses simple ingredients you probably already have lurking in your pantry, and makes your kitchen smell like a five-star restaurant. Talk about an ego boost, am I right?
Ingredients You’ll Need
- Chicken Breasts: Boneless, skinless, because who has time for bones? About 1.5 lbs, usually 2-3 medium breasts.
- Balsamic Vinegar: The star of the show! Good quality, please. Not the stuff you use for cleaning, okay?
- Honey (or Maple Syrup): For that lovely sweet stickiness. Because balance is key, even in chicken.
- Garlic: Freshly minced, darling. Or jarred, if you’re feeling *extra* lazy. (No judgment here.) About 2-3 cloves.
- Olive Oil: Extra virgin, if you’re feeling fancy. Regular is fine too. About 1 tablespoon.
- Salt & Black Pepper: The dynamic duo of seasoning. Don’t skimp! To taste.
- Optional: Red Pepper Flakes: For a little kick, if you like things spicy. Live a little! (1/4 teaspoon, or more if you dare).
- Optional: Fresh Parsley (chopped): For garnish. Makes it look all professional and stuff.
Step-by-Step Instructions
- Prep the Chicken: First things first, grab those chicken breasts. Pat them super dry with a paper towel. This is crucial for a good sear! Season both sides generously with salt and black pepper.
- Whip Up the Glaze: In a small bowl, whisk together the balsamic vinegar, honey (or maple syrup), minced garlic, and a pinch more of salt and pepper. If you’re feeling bold, toss in those red pepper flakes now.
- Sear for Glory: Heat the olive oil in a large skillet (cast iron works beautifully here!) over medium-high heat. Once it’s shimmering, carefully place the chicken breasts in the hot pan. Sear them for about 5-7 minutes per side, until they’re beautifully golden brown. **Don’t move them too much!** Let that crust form.
- Glaze It Up: Once both sides are nicely seared, pour the balsamic glaze directly over the chicken in the skillet. Bring the glaze to a gentle simmer.
- Finish Cooking & Thicken: Reduce the heat to medium-low. Let the chicken simmer in the glaze, flipping it occasionally, for another 5-10 minutes. The chicken should cook through, and the glaze will start to thicken and become wonderfully sticky and shiny. **Keep an eye on it to prevent burning!** The internal temperature should hit 165°F (74°C).
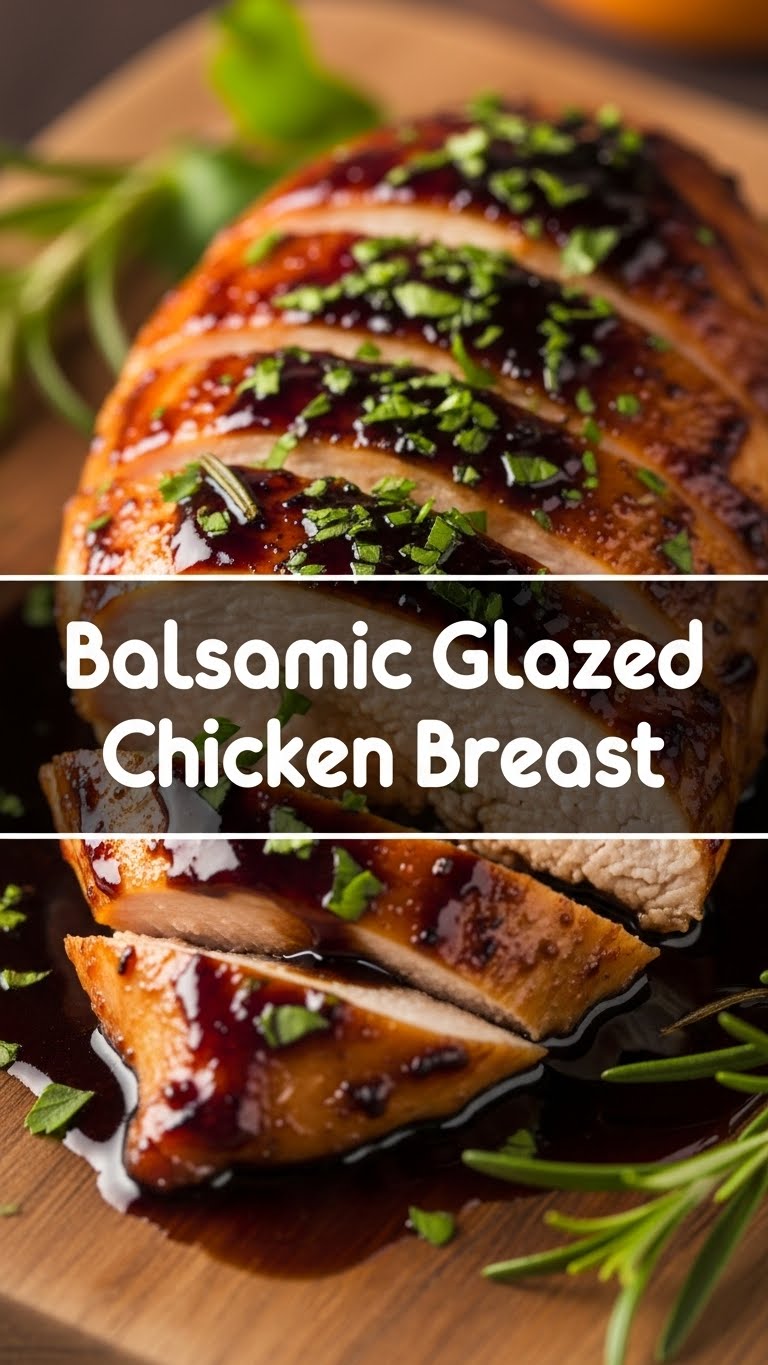
- Rest & Serve: Remove the chicken from the pan and let it rest on a cutting board for a few minutes. This keeps it juicy. If you want, slice the chicken against the grain. Drizzle any remaining glorious glaze from the pan over the chicken. Garnish with fresh parsley if you’re feeling extra fancy.
Common Mistakes to Avoid
- Overcooking the Chicken: Dry chicken is a sad chicken. Nobody wants that. **Use a meat thermometer** if you’re unsure; 165°F (74°C) is your magic number. Pull it off just before it hits that mark, as it will continue to cook a bit while resting.
- Not Reducing the Glaze Enough: You want a luscious, thick glaze, not watery balsamic soup. Give it time to simmer and thicken. Patience, young padawan.
- Using Cheap Balsamic: It really does make a difference. A good quality balsamic has a depth of flavor that a cheap one just can’t match. Trust me on this, your tastebuds will thank you.
- Forgetting to Pat the Chicken Dry: This is crucial for a good sear. Moisture means steam, and steam means no beautiful golden crust. Don’t skip this step!
Alternatives & Substitutions
- Chicken Thighs: If you’re a dark meat fan, thighs work beautifully! Just adjust cooking time accordingly. They’re often more forgiving and harder to dry out, IMO.
- Maple Syrup: Swap honey for maple syrup for a different, equally delicious sweetness. Agave nectar also works well if you prefer.
- Other Herbs: Rosemary or thyme would be fabulous additions to the glaze. Just a sprig or two tossed in during the simmering stage adds another layer of aroma and flavor.
- Spicy Kick: No red pepper flakes? A dash of sriracha or a tiny pinch of cayenne pepper in the glaze can do the trick.
FAQ (Frequently Asked Questions)
- Can I marinate the chicken in the glaze beforehand? Totally! Let it chill out in the fridge for 30 minutes to an hour for extra flavor penetration. Just make sure to reserve some *fresh* glaze for cooking, or bring the used marinade to a rolling boil for a minute or two before using it.
- What if my glaze isn’t thickening? Patience, grasshopper! Keep it at a gentle simmer. If it’s *still* being stubborn, a tiny pinch of cornstarch slurry (cornstarch mixed with a bit of cold water) can help, but usually, just a little more time does the trick.
- Can I bake this instead? Yep! Sear the chicken first for that lovely crust, then pour the glaze over and finish in a preheated oven (around 375°F/190°C) for 10-15 minutes, or until cooked through and glazed. You might need to reduce the glaze on the stovetop separately if you want it super thick.
- Is this recipe healthy? Relatively! It’s lean protein with a flavorful, relatively simple sauce. Portion control is key, as always, but it’s a solid choice for a delicious weeknight meal.
- What sides go well with this? Oh, the possibilities! Roasted asparagus, fluffy mashed potatoes, a simple green salad, quinoa… basically anything that can soak up that glorious glaze. Go wild!
- Can I use boneless, skin-on chicken breasts? Sure, you can! The skin will get lovely and crispy. Just make sure to render some of that fat before adding the glaze. It might add a few extra minutes to the cooking time.
Final Thoughts
See? I told you it was easy! Now you’ve got a dish that looks like it took hours but was secretly a breeze. Go ahead, pat yourself on the back. You’ve earned it. Now go impress someone—or just yourself, honestly—with your new balsamic-glazed chicken wizardry. You’ve earned it!