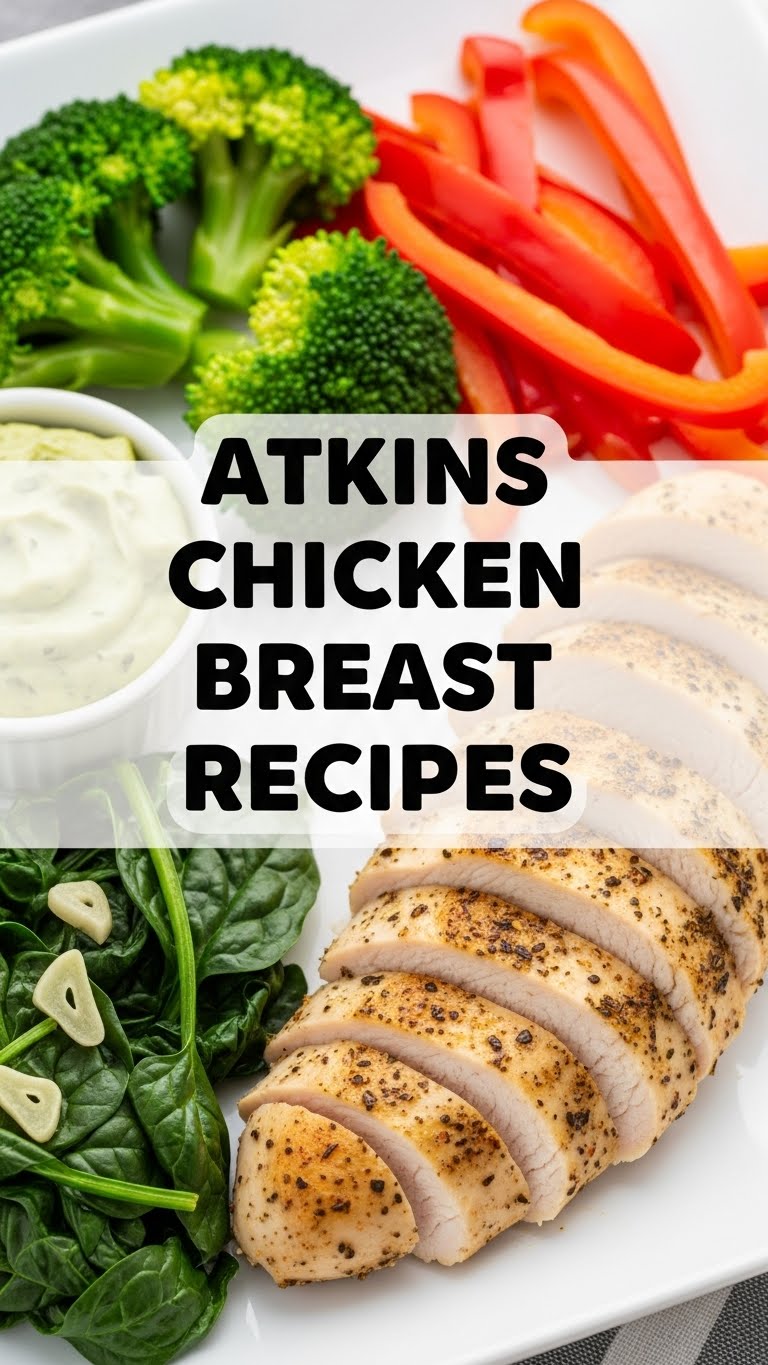
So you’re craving something tasty but too lazy to spend forever in the kitchen, huh? Same. And if you’re like me, you also want something that won’t make your blood sugar do the Macarena. Enter: the Atkins-friendly chicken breast. It’s not just a sad, dry piece of poultry anymore, my friend. We’re about to give it a glow-up!
Why This Recipe is Awesome
Okay, let’s be real. “Atkins chicken” can sound about as exciting as watching paint dry. But trust me, this isn’t *that* chicken. This recipe is awesome because it’s **stupid simple**, **bursting with flavor**, and will actually make you forget you’re “dieting.” It’s basically my secret weapon for when I want to feel fancy without, you know, actually *being* fancy. Plus, it’s idiot-proof—even I didn’t mess it up, and I once set off a smoke detector making toast. True story. You’re welcome.
Ingredients You’ll Need
Get ready to grab some stuff. Nothing too wild, I promise!
- **2 large boneless, skinless chicken breasts:** The star of our show. Try to get ones that look relatively even in thickness, or be prepared to do a little flattening.
- **4 oz cream cheese, softened:** The secret to creamy, dreamy goodness. Don’t skimp, your taste buds will thank you!
- **1/2 cup shredded cheddar cheese:** Or mozzarella, or Monterey Jack. Pick your cheesy poison.
- **2 tbsp fresh chives, chopped:** Because green things make us feel healthy, even when they’re swimming in cheese.
- **1 clove garlic, minced:** Or a generous half-teaspoon of garlic powder if you’re feeling lazy (no judgment here!).
- **1/2 tsp onion powder:** Adds that little extra “oomph.”
- **Salt and freshly ground black pepper:** To taste, obviously. Don’t be shy!
- **1 tbsp olive oil (or melted butter):** For that golden crust and extra fat. Yum!
Step-by-Step Instructions
- **Preheat Your Oven:** Crank that baby up to 400°F (200°C). Don’t skip this, it’s crucial for even cooking! While it’s heating, lightly grease a baking dish.
- **Prep the Chicken:** Pat your chicken breasts dry with paper towels. This helps with browning. Now, here’s a fun part: carefully slice a pocket into the side of each breast, almost all the way through, but not quite. Think of it like making a pita pocket.
- **Make the Cheesy Filling:** In a small bowl, combine the softened cream cheese, shredded cheddar, chopped chives, minced garlic (or powder), onion powder, salt, and pepper. Mix it all up until it’s beautifully combined and looks utterly irresistible.
- **Stuff ‘Em Up:** Spoon about half of the cheesy mixture into each chicken breast pocket. Don’t overstuff to the point of explosion, but be generous! You can use toothpicks to secure the openings if you’re worried about leakage, but often it’s not necessary.
- **Season and Sear (Optional, but Recommended!):** Brush the outside of the stuffed chicken breasts with olive oil or melted butter, and give them another sprinkle of salt and pepper. If you want an extra-crispy exterior, sear them in an oven-safe skillet for 2-3 minutes per side until golden brown *before* putting them in the oven. **This step is a game-changer for flavor.**
- **Bake to Perfection:** Transfer the chicken to your prepared baking dish (or keep it in the skillet if you seared it). Bake for 20-25 minutes, or until the chicken is cooked through and the internal temperature reaches 165°F (74°C). The cheese should be bubbly and slightly browned.
- **Rest, You Deserve It:** Once cooked, take the chicken out of the oven and let it rest for 5 minutes before slicing and serving. This lets the juices redistribute, keeping your chicken moist and delicious. Don’t skip this; it’s a small wait for a big reward!
Common Mistakes to Avoid
- **Thinking you don’t need to preheat the oven:** Rookie mistake! Your chicken won’t cook evenly, and you might end up with dry edges and raw centers. Nobody wants that.
- **Overstuffing the chicken:** While tempting, too much filling means it’ll ooze out and make a mess, and might prevent the chicken from cooking properly.
- **Not patting the chicken dry:** This is essential for getting a nice golden-brown crust. Wet chicken steams, it doesn’t sear or roast nicely.
- **Skipping the resting time:** I know you’re hungry, but patience, grasshopper! Cutting into chicken too soon lets all those delicious juices escape, leading to dry chicken.
- **Under-seasoning:** Chicken can be a bit bland on its own. Be generous with the salt and pepper, especially before baking. Trust your gut (and your taste buds).
Alternatives & Substitutions
Feeling adventurous? Or just don’t have certain ingredients? No stress! This recipe is super flexible:
- **Cheese Swap:** Instead of cheddar, try Monterey Jack, provolone, or even a smoked gouda for extra flair. Want a kick? Add a pinch of cayenne to the filling!
- **Herb Hopping:** No chives? Fresh parsley, dill, or even dried Italian seasoning would be lovely. Feel free to experiment with your favorite aromatics.
- **Add-ins for the Filling:** Feeling extra? Mix in some cooked, crumbled bacon, a handful of sautéed spinach (squeeze out all the water first!), or finely diced jalapeños for a spicy twist.
- **Cooking Method:** No oven? You can pan-sear this for a few minutes per side until golden, then cover and cook over medium-low heat until done. An air fryer would also work wonders – usually around 375°F (190°C) for 15-20 minutes.
FAQ (Frequently Asked Questions)
Got questions? I probably thought of them too, or made the mistake myself!
- **Can I use frozen chicken breasts?** Yes, but **make sure they are fully thawed** before prepping. Trying to slice a pocket into a half-frozen breast is a one-way ticket to frustration-ville.
- **What if I don’t have cream cheese?** You *could* try ricotta or a very thick Greek yogurt, but honestly, the cream cheese gives it that signature creamy texture and fat content that makes it so Atkins-friendly and delicious. **IMO**, it’s worth getting!
- **How do I know if the chicken is cooked through?** The easiest way is with a meat thermometer. Stick it into the thickest part of the chicken (avoiding the filling) – it should read 165°F (74°C). If you don’t have one, cut into the thickest part; the juices should run clear and the meat should be opaque.
- **Can I make this ahead of time?** Absolutely! You can stuff the chicken breasts and keep them covered in the fridge for up to 24 hours before baking. Perfect for meal prep or a busy weeknight.
- **What sides pair well with this?** Steamed green beans, roasted asparagus, a simple side salad with a vinaigrette, or cauliflower mash are all fantastic, low-carb options that complement the richness of the chicken.
Final Thoughts
There you have it! A chicken breast recipe that actually tastes like you put some effort in, even though it was ridiculously easy. Who knew Atkins could be so delicious, right? Now go impress someone—or yourself—with your new culinary skills. You’ve earned it! And don’t forget to pat yourself on the back, because you just made something awesome. You’re basically a kitchen wizard now. FYI.