Okay, so you’ve stared into your fridge for the 17th time today, praying for a Michelin-star meal to magically appear, but all you’ve got is… chicken. And a vague desire for something *more*. Don’t worry, my friend, I’ve got your back. We’re about to turn that humble chicken breast into a garlicky, saucy masterpiece that tastes like you actually tried, but without all the *trying*. 😉
Why This Recipe is Awesome
This isn’t just another chicken recipe; it’s a **culinary hug** in a skillet. Seriously. It’s quick enough for a weeknight, fancy enough for a “I totally meant to cook for you” date night, and **idiot-proof**. Even I, the queen of “oops, did I burn that?”, managed to nail this on the first try. Plus, it’s packed with flavor, thanks to our good friend garlic, and it comes together in one pan. Less washing up? **Winning!**
Ingredients You’ll Need
Ready? Gather your weapons (ingredients, I mean).
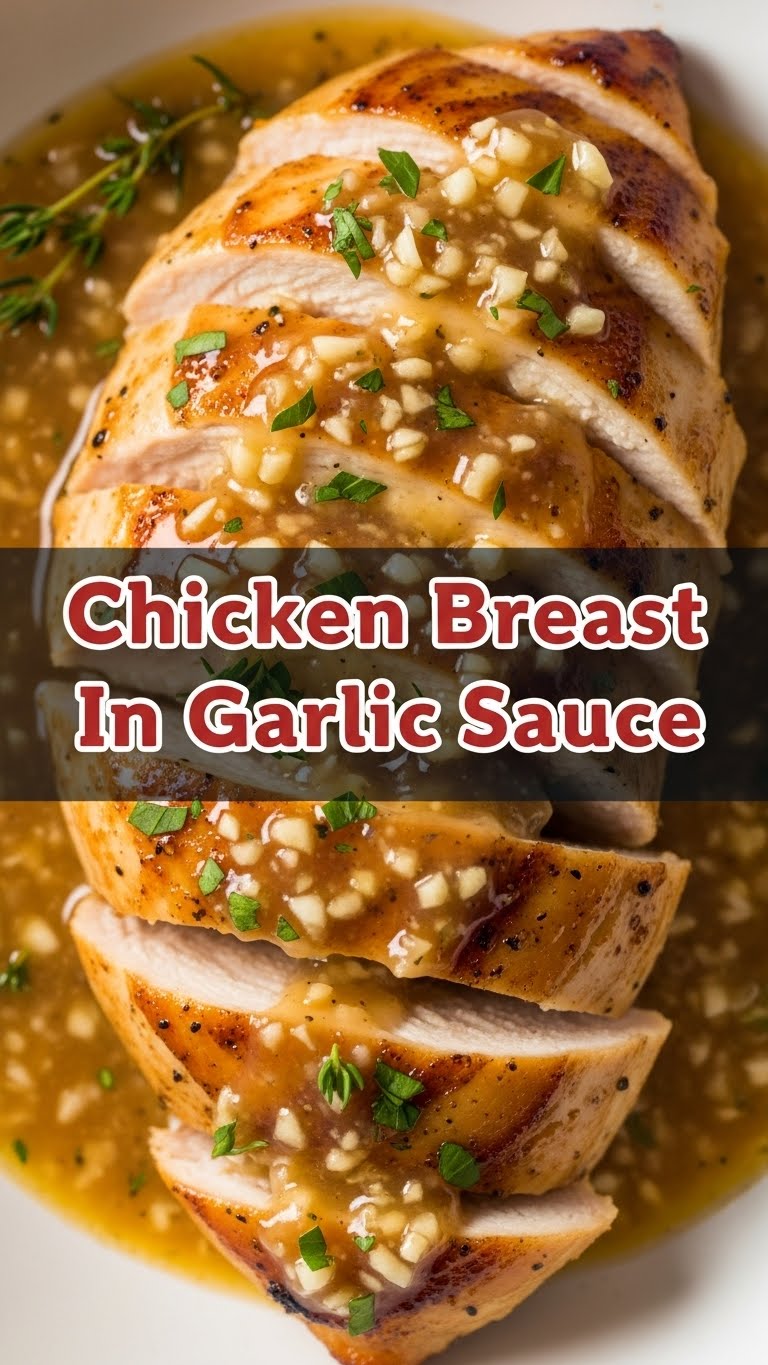
- 2 Boneless, Skinless Chicken Breasts: The canvas for our garlicky art.
- 2 Tbsp Olive Oil: Or any cooking oil, really. Just don’t use motor oil, okay?
- 4-6 Cloves Garlic, minced: Yes, that much. Don’t be shy. This is a *garlic* sauce, not a “hint of garlic” sauce.
- 1/2 cup Chicken Broth: The liquid gold that makes a sauce.
- 1/4 cup Heavy Cream (optional, but highly recommended): For that luscious, creamy texture. If you’re feeling indulgent, go for it!
- 2 Tbsp Butter: Because butter makes everything better, **FACT**.
- 1/2 Lemon (juiced): Brightness! It cuts through the richness beautifully. Don’t skip this, **IMO**.
- Salt and Black Pepper to taste: The absolute basics. Season generously!
- Fresh Parsley, chopped (for garnish): Makes it look fancy, even if you just rolled out of bed to make it.
Step-by-Step Instructions
Let’s get cooking! It’s super easy, promise.
- Prep Your Chicken: Pat those chicken breasts super dry with paper towels. This helps them get a beautiful golden-brown sear. Season both sides generously with salt and pepper. Don’t be afraid to give them a good rub down.
- Sear the Chicken: Heat your olive oil in a large skillet over medium-high heat. Once shimmering, add the chicken breasts. Cook for about 4-6 minutes per side, until they’re golden-brown and cooked through. **Internal temp should be 165°F (74°C).** Remove chicken from the skillet and set aside on a plate. Don’t clean the pan! Those brown bits are flavor gold.
- Make the Garlic Sauce: Reduce heat to medium. Add the butter to the same skillet. Once melted, toss in your minced garlic. Sauté for about 30-60 seconds, just until fragrant. **Don’t let it burn**—burnt garlic is bitter garlic, and nobody wants that.
- Deglaze and Simmer: Pour in the chicken broth, scraping up any delicious brown bits from the bottom of the pan with a wooden spoon. Bring it to a gentle simmer. If using, stir in the heavy cream now. Let it simmer for 2-3 minutes until the sauce thickens slightly.
- Finish and Serve: Squeeze in the lemon juice. Taste the sauce and adjust seasonings if needed. Return the cooked chicken breasts to the pan, spooning that glorious sauce all over them. Garnish with fresh parsley.
- Devour: Serve immediately with rice, pasta, mashed potatoes, or just a spoon. You earned this!
Common Mistakes to Avoid
Listen up, buttercup, a few rookie errors can stand between you and garlicky nirvana.
- Crowding the Pan: Trying to cook all four chicken breasts in a tiny skillet? You’re steaming, not searing. **Work in batches** if your pan isn’t big enough.
- Not Drying the Chicken: Wet chicken won’t brown nicely; it’ll just grey and sad. **Pat it dry, folks.**
- Burning the Garlic: This is a cardinal sin. Garlic goes from perfectly aromatic to bitter and acrid in seconds. **Keep an eye on it!**
- Overcooking the Chicken: Nobody likes dry, rubbery chicken. Use a meat thermometer if you’re unsure. **165°F (74°C) is the magic number.**
Alternatives & Substitutions
Feeling frisky? Want to mix it up? I gotcha.
- Dairy-Free Dream: Skip the butter and heavy cream. Use more olive oil for searing, and for the sauce, a good quality vegetable broth. You could even swirl in a tablespoon of **cashew cream** at the end for richness.
- Herb Heaven: Don’t have parsley? No biggie. Fresh thyme or oregano would be fantastic. Dried herbs work too, just use about a third of the amount.
- Protein Swap: Chicken thighs would be amazing here! Cook them a bit longer until they reach 175°F (79°C). Pork chops or even thick-cut fish like cod could also totally rock this sauce.
- Spice it Up: A pinch of red pepper flakes in the garlic sauté phase will give it a nice kick. 🔥
FAQ (Frequently Asked Questions)
Got questions? I’ve got (casual) answers!
- “Can I skip searing the chicken and just bake it?” Well, technically yes, you *could*, but why would you want to miss out on that glorious golden crust and all those flavorful pan bits? **Searing is key for flavor!**
- “What if I don’t have fresh garlic?” Garlic powder in a pinch works, but it’s not the same. Use about 1/2-1 teaspoon, added with the broth. But seriously, **fresh garlic is queen here.**
- “How long does this keep in the fridge?” Cooked chicken generally lasts 3-4 days in an airtight container. Great for meal prep, FYI!
- “Can I add veggies to the pan?” Absolutely! Sauté some spinach, mushrooms, or asparagus right after the garlic, before adding the broth. Instant one-pan meal upgrade!
- “My sauce isn’t thickening. Help!” Did you let it simmer long enough? If it’s still too thin, mix a tiny bit of cornstarch (1 tsp) with cold water (1 tbsp) and stir it into the simmering sauce. It’ll thicken right up.
- “Can I use margarine instead of butter?” Well, technically yes, but why hurt your soul like that? Butter just has that rich, creamy flavor that margarine can only dream of. **Stick with butter if you can.**
Final Thoughts
See? I told you this wasn’t going to be hard. You just whipped up a restaurant-worthy dish in your own kitchen, probably while still in your pajamas. Give yourself a pat on the back, or better yet, a second helping. Now go impress someone—or yourself—with your new culinary skills. You’ve earned it! Until next time, happy cooking!