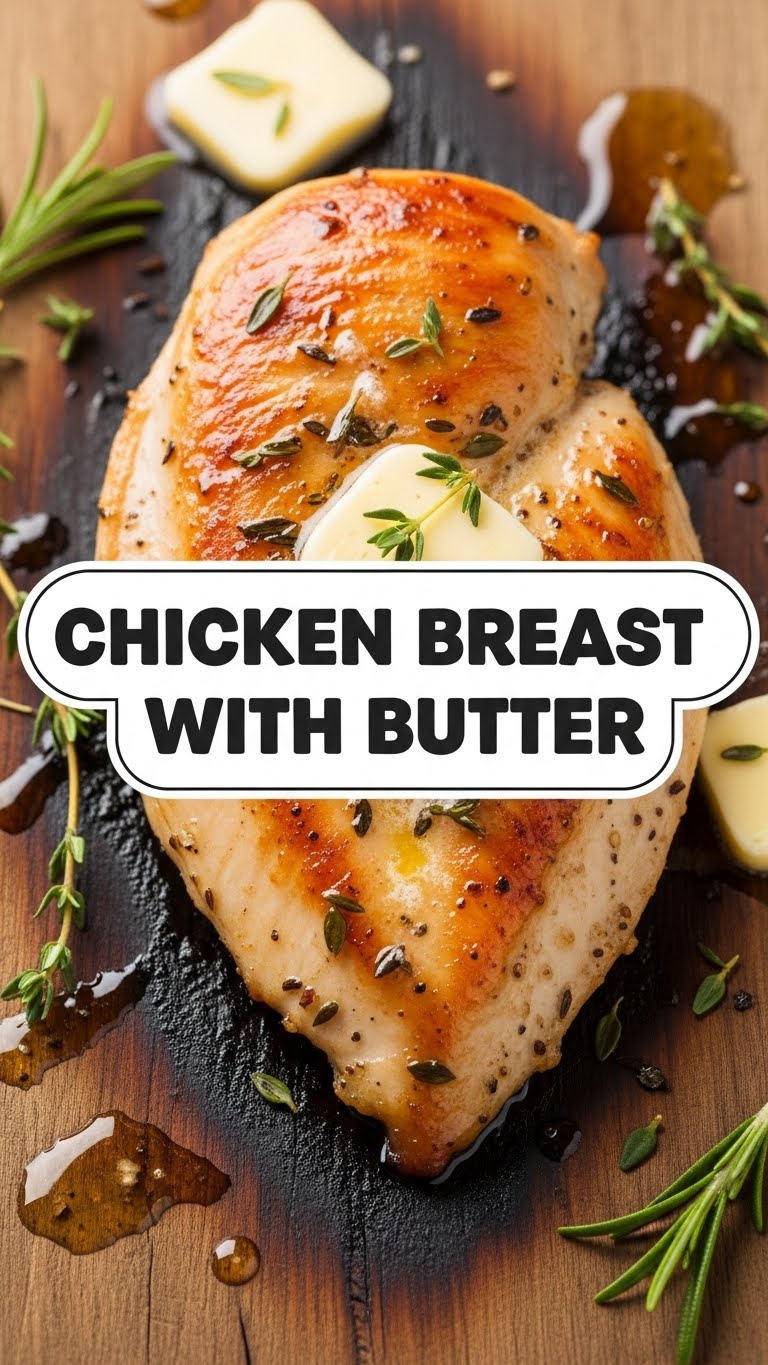
So you’re craving something tasty but too lazy to spend forever in the kitchen, huh? Same. Honestly, sometimes I just want to wave a magic wand and have dinner appear. But since my wand is currently at the shop for a tune-up (and by “shop” I mean “non-existent”), we’re going with the next best thing: a ridiculously simple, incredibly delicious chicken breast recipe that will make you feel like a culinary genius without, you know, *being* one. This, my friend, is the chicken breast with butter recipe. Prepare for your life to change (or at least your dinner plans).
Why This Recipe is Awesome
Let’s be real, chicken breasts get a bad rap for being dry and boring. But that’s usually because someone treated them like an afterthought. Not us! We’re giving these bad boys the royal treatment with butter, because butter makes everything better. This recipe is awesome because:
- It’s practically **idiot-proof**. Seriously, if I can do it without setting off the smoke alarm, you’re golden.
- **Minimal ingredients, maximum flavor.** You probably have most of this stuff lurking in your pantry right now.
- **Quick as a bunny.** From fridge to plate in under 20 minutes. Perfect for those “hangry now” moments.
- It’s incredibly versatile. Consider this your delicious blank canvas.
- Did I mention butter? Yeah, there’s butter. Lots of it. You’re welcome.
Ingredients You’ll Need
Gather ’round, pantry foragers! Here’s your hit list. Don’t stress too much; this isn’t rocket science, just deliciousness science.
- **2 Boneless, Skinless Chicken Breasts:** The main event! Look for ones that are roughly similar in thickness for even cooking.
- **2-3 Tablespoons Unsalted Butter:** The star of the show (after the chicken, of course). Use good quality stuff; it makes a difference.
- **1 Tablespoon Olive Oil:** Just a little bit to help prevent the butter from burning too quickly.
- **Salt & Freshly Ground Black Pepper:** To taste. Don’t be shy, but also don’t turn it into a salt lick. It’s a delicate balance.
- **1 Teaspoon Garlic Powder:** Optional, but highly, highly recommended. Garlic is life, IMO.
- **1/2 Teaspoon Paprika:** Also optional, but it adds a lovely color and a tiny hint of sweetness.
- **Fresh Parsley or Chives (for garnish):** Because even quick meals deserve to look fancy. Totally optional, but it screams, “I know what I’m doing!”
Step-by-Step Instructions
Alright, apron on (or not, I’m not your boss), let’s get cooking! These steps are so easy, you could probably do them blindfolded (but please don’t).
- **Prep the Chicken:** First things first, grab those chicken breasts and pat them **super dry** with a paper towel. This is a crucial step, trust me! Then, if they’re super thick, you might want to pound them a bit to an even thickness (about 1-inch) for even cooking. Sprinkle both sides generously with salt, pepper, garlic powder, and paprika (if using).
- **Heat Things Up:** Place a large skillet (cast iron or stainless steel works best) over medium-high heat. Add the olive oil and let it get nice and shimmering. Then, toss in about 1 tablespoon of butter. Let it melt and foam slightly.
- **Sear Away!** Once the butter is melted and the pan is hot, carefully place the seasoned chicken breasts in the skillet. Don’t overcrowd the pan – cook in batches if necessary. Let them cook undisturbed for about 4-5 minutes until they have a beautiful golden-brown crust.
- **Flip & Baste:** Flip the chicken breasts over. Immediately add the remaining 1-2 tablespoons of butter to the pan. As it melts, tilt the pan slightly and use a spoon to **continuously baste** the chicken with the melted butter and pan juices. Do this for another 4-6 minutes, or until the chicken is cooked through.
- **Check for Doneness:** The chicken is done when it reaches an internal temperature of 165°F (74°C). If you don’t have a meat thermometer, cut into the thickest part; the juices should run clear, and the meat should be opaque all the way through.
- **Rest, Rest, Rest:** This is another **key step**! Transfer the chicken breasts to a cutting board and let them rest for at least 5 minutes. This allows the juices to redistribute, keeping your chicken moist and tender. Don’t skip this, FYI!
- **Serve it Up!** Slice the chicken (or don’t, you do you) and drizzle with any delicious butter-garlic pan drippings. Garnish with fresh parsley or chives if you’re feeling fancy. Enjoy your masterpiece!
Common Mistakes to Avoid
We’ve all been there. Thinking you’re a kitchen wizard only to end up with something vaguely resembling cardboard. Here are some pitfalls to dodge:
- **Not Patting the Chicken Dry:** This is like the cardinal sin of searing. Wet chicken steams, it doesn’t sear. No crispy crust for you!
- **Overcrowding the Pan:** This drops the pan temperature, and instead of a beautiful sear, you get sad, pale, steamed chicken. Give those breasts some space!
- **Not Seasoning Enough:** Chicken can be a bit bland without proper seasoning. Don’t be timid with the salt and pepper.
- **Overcooking:** This is the quickest way to dry, rubbery chicken. Nobody wants that. A meat thermometer is your best friend here.
- **Skipping the Rest:** I know, you’re hungry! But letting the chicken rest is non-negotiable for juicy results. Think of it as a mini spa day for your protein.
Alternatives & Substitutions
Feeling adventurous? Or just missing an ingredient? No worries, we’ve got options!
- **Herb Power:** Swap out or add different herbs to the pan! A sprig of fresh rosemary or thyme added during basting will infuse amazing flavor. Lemon zest at the end also brightens everything up.
- **Spice it Up:** For a little kick, add a pinch of red pepper flakes with the garlic powder. Or try smoked paprika for a deeper flavor.
- **Butter Alternatives:** Ghee can be used if you need a higher smoke point, but you’ll lose some of that classic butter flavor. You could also do half butter, half coconut oil for a slightly different vibe.
- **Make a Sauce:** After cooking the chicken, you can deglaze the pan with a splash of white wine or chicken broth, scraping up all those browned bits. Swirl in a pat of cold butter at the end for an instant pan sauce!
FAQ (Frequently Asked Questions)
Got questions? I’ve got (casual and witty) answers!
- **Can I use bone-in chicken breasts for this recipe?**
Well, technically yes, but it will take longer to cook. You’ll need to adjust cooking times, and a meat thermometer becomes even more important. Stick with boneless for ease, especially for your first try. - **What if my chicken breasts are super thick?**
Pound them! Place them between two pieces of plastic wrap and gently pound with a rolling pin or a meat mallet until they’re about 1-inch thick. This helps them cook evenly and faster. - **Can I use margarine instead of butter?**
Well, technically yes, but why hurt your soul like that? Margarine has a different flavor and water content, so the results won’t be as rich or delicious. Stick to real butter for the best outcome. - **How do I know the chicken is cooked without a thermometer?**
The juices should run clear when you poke it with a knife, and the inside should be opaque white, not pink. But honestly, for perfectly juicy chicken every time, invest in an instant-read thermometer. They’re cheap and life-changing! - **What should I serve with this buttery chicken?**
Oh, the possibilities! Mashed potatoes are a classic, creamy match. Roasted asparagus or green beans would be great. A simple side salad, rice, or even some crusty bread to soak up those delicious pan juices. - **My butter is browning too fast, what gives?**
Your heat might be too high! Reduce it to medium or even medium-low if needed. We want golden-brown butter, not burnt butter. Also, adding a little olive oil with the butter helps prevent this.
Final Thoughts
See? Told you it was easy! You just whipped up a delicious, juicy, buttery chicken breast that puts those sad, dry versions to shame. Now go impress someone—or yourself—with your new culinary skills. You’ve earned it! Seriously, pat yourself on the back, you kitchen rockstar. And remember, when in doubt, just add more butter. 😉