So, you’re staring at a chicken breast, completely uninspired, thinking, “Ugh, this again?” Yeah, me too. We’ve all been there – that healthy eating ambition that quickly crumbles into a dry, bland piece of poultry. But what if I told you that sad, boring chicken is about to get a serious glow-up? A **Skinnytaste** glow-up, no less! Get ready to make chicken breast that’s actually, truly, *delicious*. No blandness allowed!
Why This Recipe is Awesome
First off, it’s Skinnytaste, which means you can eat it without feeling like you need to run a marathon afterwards to burn off the “regret calories.” It’s lean, it’s clean, and it’s ridiculously simple. Like, “can-do-it-with-one-eye-closed-while-binge-watching-Netflix” simple. This isn’t one of those recipes that requires a culinary degree or a trip to a specialty store. It uses ingredients you probably already have lurking in your pantry.
It’s also super versatile, so you can adapt it to whatever mood you’re in. **Perfect for those weeknights when your brain is already fried** and thinking about dinner feels like solving a complex calculus equation. Trust me, even I didn’t mess this one up, and my kitchen sometimes resembles a post-apocalyptic food fight. So, if I can do it, you absolutely can!
Ingredients You’ll Need
Gather your troops, kitchen commander! Here’s what you’ll need for this culinary triumph:
- 2 Boneless, Skinless Chicken Breasts: The humble stars of our show. Try to get similarly sized ones so they cook evenly.
- 1 Tablespoon Olive Oil: Your trusty kitchen sidekick. Don’t skimp on the good stuff, but no need for the fancy Tuscan reserve here.
- 1 Teaspoon Garlic Powder: Because everything is better with garlic. DUH.
- 1 Teaspoon Paprika (Smoked or Sweet): For that beautiful color and a hint of smoky goodness. Your choice, spice adventurer!
- 1/2 Teaspoon Onion Powder: Garlic’s less famous, but equally essential, best friend.
- 1/4 Teaspoon Dried Oregano: A little herbaceous magic never hurt anyone.
- Salt and Freshly Ground Black Pepper, to taste: The OG seasoning duo. Don’t skip these, unless you *like* bland food (which, no judgment, but also… why?).
- Optional Garnish: Fresh Parsley or Cilantro: For that “I’m a fancy chef” vibe.
Step-by-Step Instructions
Alright, let’s get cooking! Follow these super simple steps to chicken breast perfection:
- Preheat Your Oven (and Pan!): Get that oven nice and toasty to 400°F (200°C). If you have an oven-safe skillet (like cast iron!), pop it in the oven while it preheats. This helps it get super hot for a beautiful sear.
- Prep Your Chicken: Pat those chicken breasts *super dry* with paper towels. This is **KEY** for getting a nice sear instead of a sad, steamed chicken. Trust me on this.
- Season Like a Pro: In a small bowl, mix together the garlic powder, paprika, onion powder, oregano, salt, and pepper. Drizzle the chicken breasts with olive oil, then sprinkle the seasoning mix generously over both sides. Don’t be shy!
- Sear for Sizzle: Carefully remove your hot oven-safe skillet (or heat a regular skillet over medium-high heat on the stovetop). Add a tiny bit more oil if needed. Place the seasoned chicken breasts in the hot pan and sear for **3-4 minutes per side** until they’re beautifully golden brown. That crust is where all the flavor lives!
- Finish in the Oven: Transfer the skillet (with the chicken in it) to the preheated oven. Bake for **8-12 minutes**, depending on the thickness of your chicken. The real magic number you’re looking for is an internal temperature of **165°F (74°C)**.
- Rest, You Deserve It: Once cooked, remove the skillet from the oven and transfer the chicken to a cutting board. Let it rest for **5-10 minutes**. This allows the juices to redistribute, keeping your chicken juicy and tender. Don’t skip this step, it’s vital!
- Slice and Serve: Slice your perfectly cooked chicken against the grain, garnish with fresh herbs if you’re feeling fancy, and serve! Bravo, chef!
Common Mistakes to Avoid
We’ve all made these, so no judgment, but let’s try to dodge them for maximum deliciousness:
- The Cardinal Sin of Overcooking: Dry chicken is sad chicken. And frankly, a crime. **Invest in a meat thermometer!** It’s the best $15 you’ll ever spend on your cooking journey. Pull that chicken at 160-162°F, knowing it will carry overcook to 165°F during resting.
- Not Patting Your Chicken Dry: Rookie mistake! Wet chicken steams; dry chicken sears beautifully. You want crispy, not soggy.
- Not Seasoning Enough: Remember my rant about bland food? Chicken breast needs a flavor punch! Don’t be timid with the spices.
- Crowding the Pan: If you’re cooking more than two breasts, use two pans or cook in batches. A crowded pan lowers the temperature and leads to steaming, not searing. We want sizzle, not mush.
- Skipping the Rest: You just worked so hard! Let the chicken chill for a few minutes after cooking. It makes all the difference in juiciness.
Alternatives & Substitutions
Feeling adventurous? Or just realized you’re out of paprika (gasp!)? No worries, here are some easy swaps:
- Spice Blends: Don’t have all the individual spices? Use a tablespoon of a pre-made blend like Italian seasoning, Cajun seasoning, lemon pepper, or even just some good old “chicken seasoning.” Whatever tickles your fancy!
- Herbs: Swap dried oregano for dried thyme, rosemary, or a mix of “herbs de Provence.” Fresh herbs like minced parsley or cilantro can be added at the end for a pop of freshness.
- Citrus Kick: A squeeze of fresh lemon juice over the finished chicken is always a good idea. It brightens everything up!
- Chicken Thighs: Want something a little more forgiving (and maybe a touch juicier)? Chicken thighs work great! Just increase the cooking time in the oven by a few minutes until they reach 175°F (80°C) – thighs are tastier at a slightly higher temp.
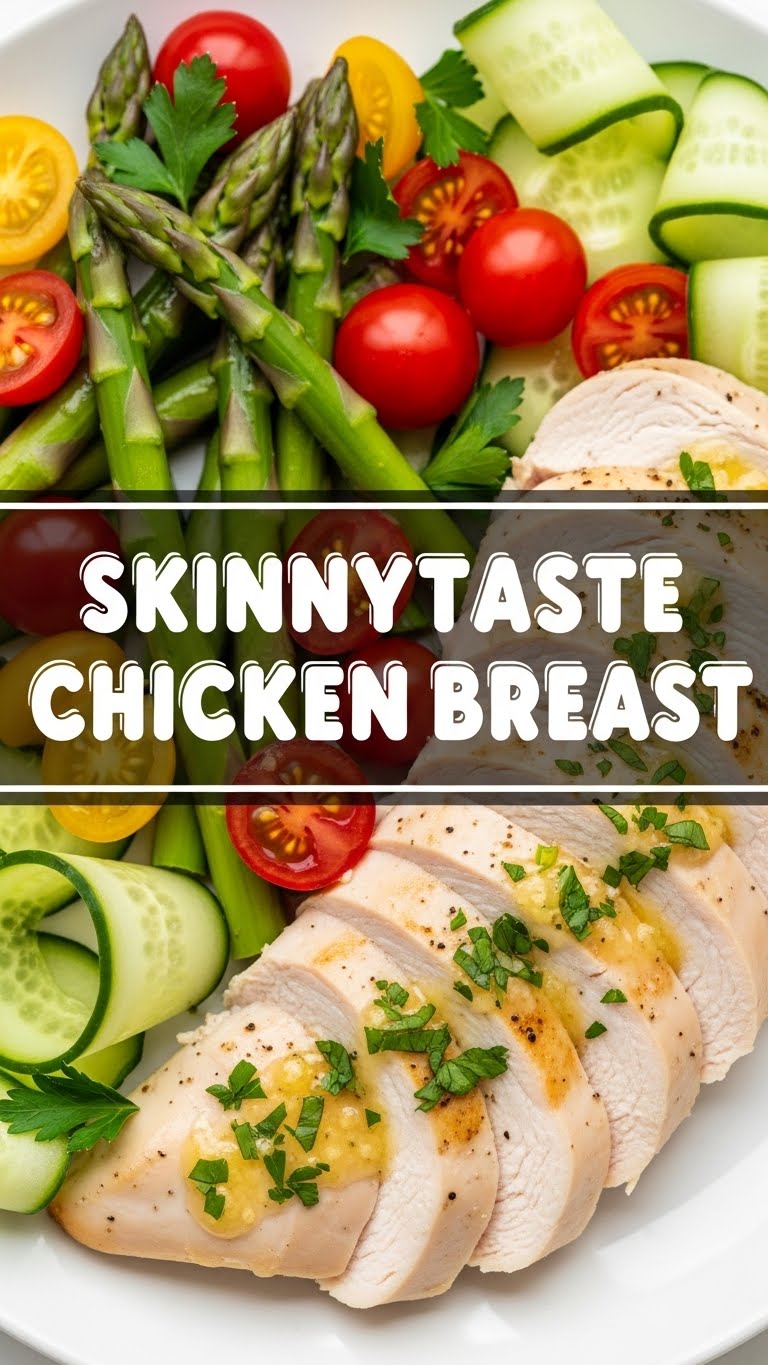
- Veggies: Want a full meal in one pan? Toss some chopped broccoli, asparagus, or bell peppers with a little olive oil, salt, and pepper into the pan during the last 10 minutes of cooking. Instant side dish!
FAQ (Frequently Asked Questions)
Got questions? I’ve got answers! (Mostly.)
- Can I use frozen chicken breasts?
Well, technically yes, but you MUST thaw them completely first! Trying to cook them from frozen will lead to uneven cooking and likely dry spots. Be patient, my friend.
- What if I don’t have an oven-safe skillet?
No sweat! Sear the chicken in a regular skillet on the stovetop as directed, then transfer the seared chicken to a baking sheet lined with parchment paper to finish in the oven. Easy peasy!
- How do I know when the chicken is fully cooked?
Again, a **meat thermometer is your best friend here!** Insert it into the thickest part of the chicken (avoiding bone if applicable). You’re looking for 165°F (74°C). If you don’t have one, cut into the thickest part – the juices should run clear and the meat should be opaque white.
- Can I make this ahead of time for meal prep?
Absolutely! Cook it, let it cool completely, then store it in an airtight container in the fridge for up to 3-4 days. It’s fantastic sliced cold on salads or reheated gently. FYI, reheating can sometimes dry it out a bit, so go low and slow.
- Any tips for reheating?
To keep it from drying out, reheat in the microwave with a splash of water or broth, or tent it loosely with foil and warm it in a low oven (300°F/150°C) until just heated through.
- Can I make this spicy?
Oh, heck yeah! Add a pinch of cayenne pepper, a dash of red pepper flakes, or a good hot sauce to the seasoning mix. Spice it up to your heart’s content!
Final Thoughts
See? Told you it was easy! And now you’re armed with the knowledge to conquer those chicken breasts like a pro. No more dry, sad chicken for you! This Skinnytaste recipe is a game-changer for healthy, flavorful weeknight meals.
Now go impress someone—or just yourself, because you totally deserve it—with your new culinary skills. You’ve earned those bragging rights (and that delicious meal!). Enjoy!