So you’re craving something tasty but too lazy to spend forever in the kitchen, huh? Same. And honestly, who isn’t? Life’s too short for complicated recipes when your stomach is rumbling louder than a hungry bear. Good news, my friend! I’ve got your back with a recipe so easy, it practically makes itself. We’re talking Baked BBQ Chicken Breast – minimal fuss, maximum flavor, and totally worth the tiny effort.
Why This Recipe is Awesome
Okay, real talk. This recipe is your new best friend for several reasons. First, it’s idiot-proof. Seriously, if I can do it without setting off the smoke alarm (which is a common occurrence, FYI), you totally can too. Second, it’s quick. We’re talking less actual ‘active cooking’ time than it takes to decide what to watch on Netflix. Third, it’s ridiculously versatile. Dinner for one? Boom. Feeding a small army? Double it up! And finally, because who doesn’t love the sticky, sweet, smoky goodness of BBQ sauce without having to actually fire up a grill in the rain? Exactly.
Ingredients You’ll Need
- Chicken Breasts: Boneless, skinless, about 4 of ’em. The blank canvas for our masterpiece.
- Your Favorite BBQ Sauce: About 1 cup. Don’t cheap out here! This is the star of the show. If it’s got a fancy name and makes you drool just thinking about it, that’s the one.
- Olive Oil: A drizzle, just to get things started. Or whatever oil you have lurking in your pantry.
- Salt & Black Pepper: To taste, duh. Don’t be shy, but don’t overdo it either. It’s a delicate balance, my friend.
- Garlic Powder (optional but highly recommended): Half a teaspoon. Because garlic makes everything better, fight me on it.
- Onion Powder (optional): Another half teaspoon. A little extra flavor without the tears.
Step-by-Step Instructions
- Preheat the Party: Crank your oven to 400°F (200°C). Don’t skip this, it’s crucial for even cooking. Line a baking sheet with foil for easy cleanup, because nobody likes scrubbing.
- Prep the Poultry: Pat those chicken breasts dry with a paper towel. This helps the seasoning stick and gives you a better “oven sear.” Drizzle them with a little olive oil, then sprinkle with salt, pepper, garlic powder, and onion powder. Give ’em a little massage – they deserve it.
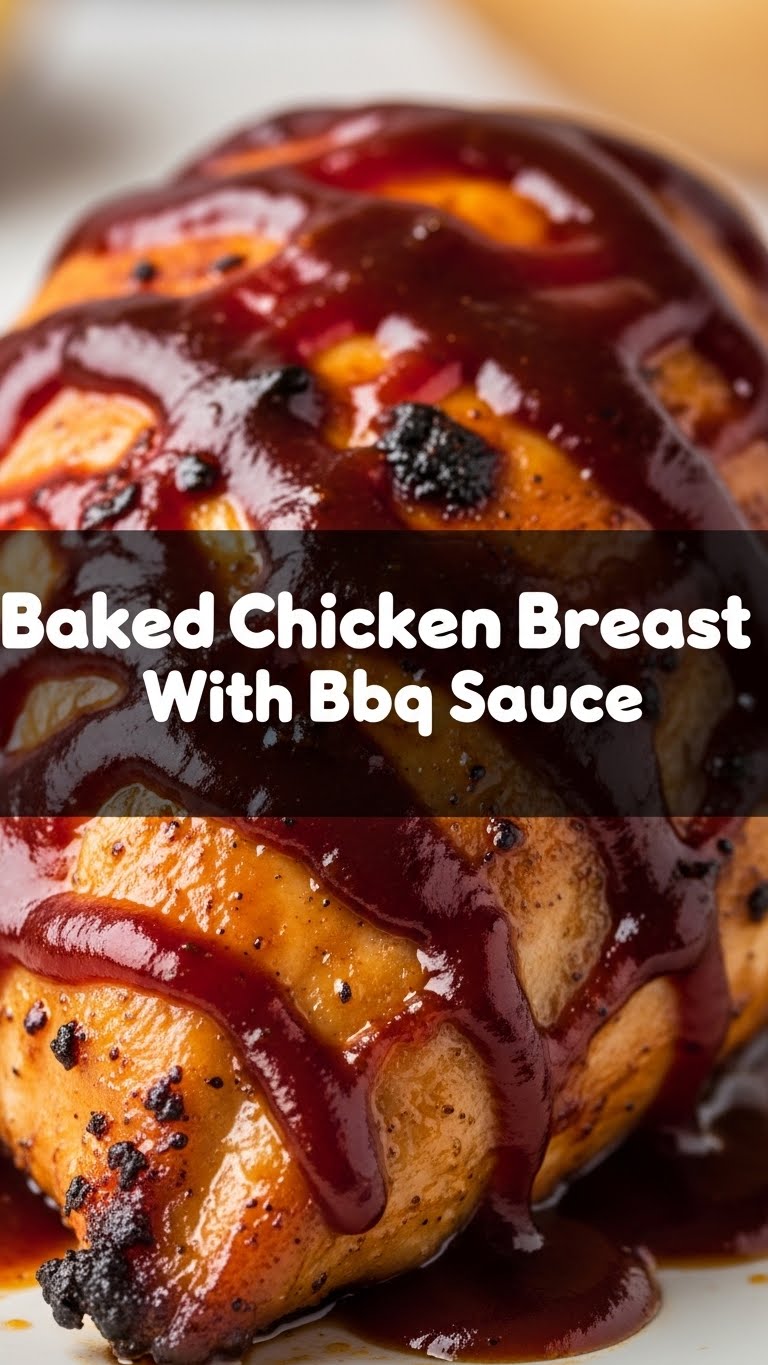
- Sauce ‘Em Up: Place the seasoned chicken breasts on your prepared baking sheet. Now, grab that glorious BBQ sauce and slather it all over. Don’t be shy! We want a good, thick coating.
- Bake It Till You Make It: Pop that tray into your preheated oven. Bake for about 20-25 minutes. The important part here: chicken needs to reach an internal temperature of 165°F (74°C). Grab a meat thermometer – it’s your best friend for juicy chicken, trust me.
- Rest & Serve: Once cooked, take the chicken out of the oven. Let it rest for 5-10 minutes before slicing or serving. This allows the juices to redistribute, keeping your chicken moist and happy. Seriously, don’t skip the rest!
Common Mistakes to Avoid
- Forgetting to preheat the oven: Rookie move! This messes with cooking times and can result in unevenly cooked (or worse, dry) chicken.
- Not patting the chicken dry: This isn’t just for fancy chefs; it genuinely helps seasoning stick and prevents a steamy, sad chicken situation.
- Eyeballing the doneness: Unless you’re a chicken whisperer, get a meat thermometer. Undercooked chicken is a no-go, and overcooked chicken is a crime against humanity (dry and rubbery).
- Skipping the rest: I know you’re hungry, but patience, young Padawan! Resting the chicken is the secret to juiciness.
- Using too much or too little sauce: Too little and it’s just sad chicken. Too much and it might get watery. Find your happy medium! (About 1/4 cup per breast is a good starting point for a nice coating).
Alternatives & Substitutions
- Chicken Thighs instead of Breasts: Absolutely! Just adjust the cooking time; they usually take a bit longer and can handle a higher temperature (like 425°F for 25-30 mins). They’re often juicier, IMO.
- Different Sauces: Not feeling BBQ? Try teriyaki, a good buffalo sauce, or even a honey mustard. The world is your oyster… or, well, your chicken.
- Spice It Up: Want a kick? Add a pinch of cayenne pepper or a dash of hot sauce to your BBQ sauce. My personal fave is a smoky chipotle BBQ. Yum!
- Veggies on the Side: Throw some chopped bell peppers or onions on the baking sheet with the chicken during the last 10-15 minutes of cooking. Instant side dish!
FAQ (Frequently Asked Questions)
- Can I use frozen chicken breasts? Technically yes, but you absolutely need to thaw them completely first. Trying to bake frozen chicken is a recipe for disaster (uneven cooking, potential food safety issues). Plan ahead!
- What if I don’t have a meat thermometer? Well, you should *really* get one. But if you’re in a pinch, cut into the thickest part. If the juices run clear and the meat is opaque white, it’s probably done. But seriously, get a thermometer.
- How do I prevent the BBQ sauce from burning? Good question! Baking at 400°F generally works well, but if your sauce is super sugary, you might want to brush on half the sauce at the start and the other half halfway through cooking. Keep an eye on it!
- Can I prep this ahead of time? You bet! You can season the chicken and even slather it with BBQ sauce a few hours before or even the night before and keep it in the fridge. Just pull it out to come to room temp for 15-20 mins before baking for best results.
- My chicken always comes out dry, what am I doing wrong? Probably overcooking it! Or not letting it rest. Remember: 165°F internal temperature and then REST! Don’t be tempted to cook it “just a little longer” for good measure.
- What do I serve with this? Oh, the possibilities! Rice, mashed potatoes, a simple side salad, roasted veggies, corn on the cob. My personal go-to is mac and cheese. Just saying.
Final Thoughts
See? I told you it was easy! Now you’ve got a fantastic, flavorful meal that didn’t demand your entire evening or make you question your life choices in the kitchen. Go on, pat yourself on the back! You just created some seriously tasty baked BBQ chicken. Now go impress someone – or just yourself, because you deserve it – with your new culinary skills. You’ve earned it, chef!