So, you’re staring at that packet of chicken breast in the fridge, wondering if it’s going to spend another week doing nothing but chilling? Or maybe you just brought it home, full of good intentions, but now the “what do I *do* with it?” panic is setting in. Relax, friend. We’re about to turn that raw potential into dinner magic without breaking a sweat, because let’s be real, some nights ‘effort’ feels like a four-letter word.
Why This Recipe is Awesome
Okay, let’s be honest, cooking chicken breast can feel a bit like a high-stakes game of “will it be dry and flavorless, or juicy and delicious?” This recipe? It tips the scales firmly into the “juicy and delicious” camp, even if your last cooking adventure involved ordering takeout *after* burning water. Seriously, it’s pretty much **idiot-proof**. It’s quick, uses minimal dishes (score!), and is ridiculously versatile. Plus, you get to feel like a culinary genius without actually having to *be* one. You’re welcome.
Ingredients You’ll Need
Gather ’round, fellow non-fancy chefs. Here’s what you need to make your chicken breast dreams come true. No obscure spices, I promise.
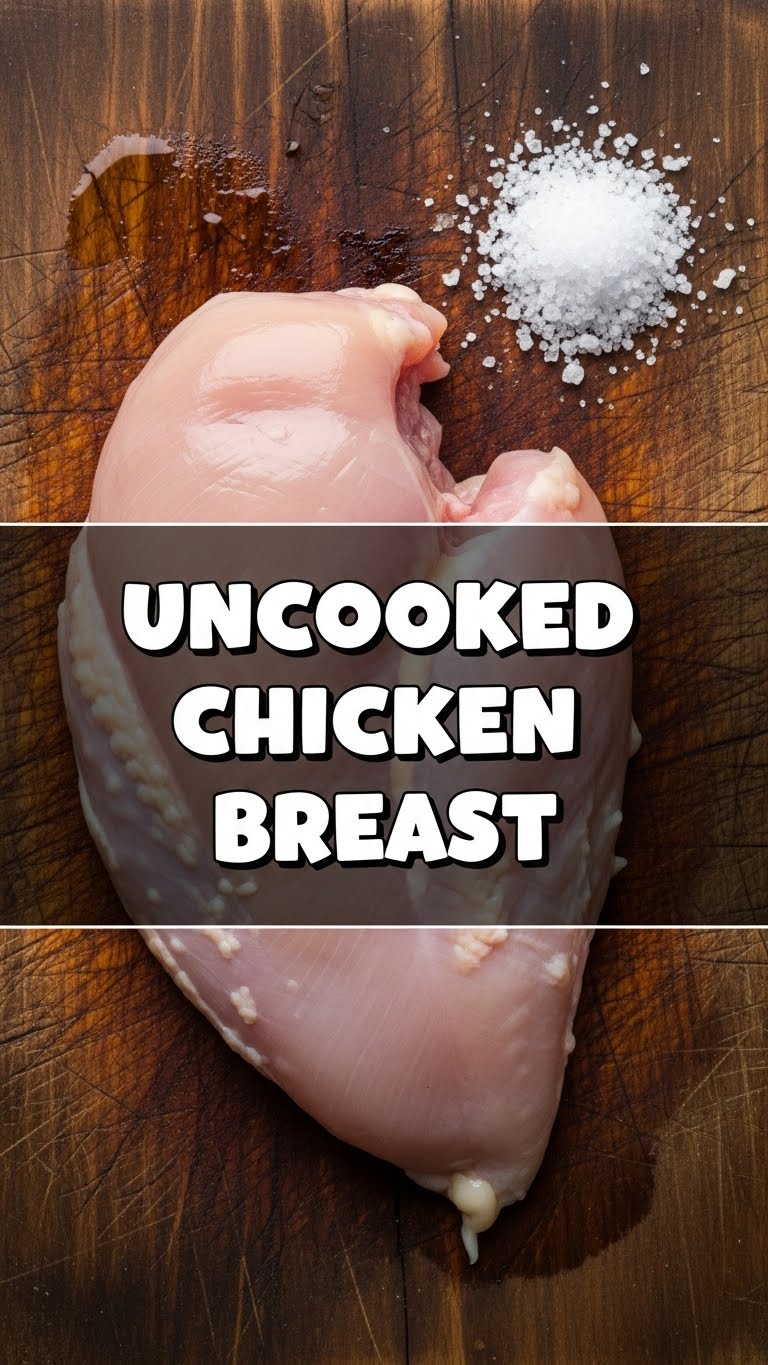
- Uncooked Chicken Breast: The star of our show, probably still in its packaging, looking a bit lost. (1-2 breasts, or however many you’re cooking for)
- Olive Oil: Your trusty sidekick for everything. Or any oil, really. We’re not picky. (1-2 tablespoons)
- Salt & Freshly Ground Black Pepper: The OG flavor duo. Don’t skip these, unless you like bland food (who does?). Be generous!
- Garlic Powder: Because fresh garlic is effort, and we’re avoiding that, remember? (1 teaspoon, or to taste)
- Smoked Paprika: For a little razzle-dazzle and color. Makes it look like you tried harder than you did. (1 teaspoon, or to taste)
- Optional: Dried Herbs (Oregano, Thyme): If you’re feeling fancy. About a ½ teaspoon.
- Optional: Lemon Wedge: For a fresh squeeze at the end, if you’re into that bright, zesty vibe.
Step-by-Step Instructions
Ready? Let’s get this chicken party started!
- Prep Your Chicken: First things first, get that chicken out of its package. Using a paper towel, **pat it super dry**. This is key for a good sear, trust me. If your breasts are super thick, you can slice them in half horizontally to make thinner cutlets. They’ll cook faster and more evenly.
- Season Generously: Drizzle your chicken breasts with olive oil. Now, sprinkle them liberally with salt, pepper, garlic powder, and smoked paprika (and any other dried herbs you’re using). Make sure to get both sides! Don’t be shy; chicken can take it.
- Heat the Pan: Grab your favorite skillet (cast iron or stainless steel works best here) and place it over medium-high heat. Add another tablespoon of olive oil. Let it get nice and shimmering, almost smoking, but not quite.
- Sear for Gold: Carefully place your seasoned chicken breasts into the hot pan. Don’t overcrowd the pan – if you have more than two, cook them in batches. Let them sear undisturbed for about **3-5 minutes per side**, until they’re beautifully golden-brown and crispy.
- Finish the Cook: Once both sides are seared, reduce the heat to medium-low. You can put a lid on the pan to help it cook through, or if your pan is oven-safe, pop it into a preheated 375°F (190°C) oven for an extra 5-8 minutes. The goal is an internal temperature of 165°F (74°C) at the thickest part.
- Rest, You Deserve It: Once cooked, transfer the chicken to a cutting board. **This is crucial:** let it rest for at least 5 minutes before slicing into it. This allows the juices to redistribute, keeping your chicken moist and delicious. Don’t skip this step!
Common Mistakes to Avoid
We’ve all been there, staring at a culinary disaster thinking, “What went wrong?” Here are a few pitfalls to dodge:
- Not Patting Dry: Thinking you can skip the paper towel step? Rookie mistake! Wet chicken steams instead of searing, meaning no glorious golden crust.
- Overcrowding the Pan: No, really, give those chicken pieces some personal space. Too many in one pan drops the temperature, leading to grey, sad chicken instead of beautifully browned deliciousness. Cook in batches, trust.
- Under-Seasoning: Chicken is a blank canvas. If it tastes bland, you probably didn’t use enough salt and pepper. Don’t be shy with the spices!
- Cooking It Into Oblivion: Dry chicken is sad chicken. You want it cooked through, not petrified. If you’re nervous, get yourself a meat thermometer – 165°F (74°C) is the magic number.
- Skipping the Rest: Letting it rest is NOT optional. It lets the juices redistribute and keeps your chicken moist. Don’t be a monster and slice into it immediately!
Alternatives & Substitutions
Feeling a little rebellious? Want to mix things up? I got you.
- Spice Swap: Not a fan of paprika? No problem! Swap it for chili powder, Italian seasoning, Cajun spice, or just about any other dry rub you love. Your kitchen, your rules.
- Cooking Method Mayhem: Don’t have a skillet? You can totally bake these! Preheat your oven to 400°F (200°C), place seasoned chicken on a baking sheet, and cook for 20-25 minutes, or until 165°F (74°C) internal temp. Grilling? Air frying? Go for it! Same seasoning, just adjust cook times.
- Flavor Boosters: A quick marinade (30 mins to overnight) in something like Italian dressing, soy sauce, or a yogurt-based blend can add tons of flavor and tenderness. Or, after it’s cooked, add a dollop of pesto or a sprinkle of fresh parsley!
- Add-ins: Slice up some onions, bell peppers, or mushrooms and throw them in the pan alongside the chicken during the last 5-7 minutes of cooking for an instant veggie side.
FAQ (Frequently Asked Questions)
Because let’s face it, we all have questions.
- Do I *really* need to pat the chicken dry? Yes, yes, a thousand times yes! Unless you’re aiming for steamed chicken (which we’re not), dry chicken means better contact with the hot pan, leading to that glorious, flavorful crust.
- Can I use frozen chicken? Please, for the love of good food, defrost it first. Thawing is your friend here. Cooking from frozen takes way longer and often results in unevenly cooked (and sometimes rubbery) chicken.
- How do I know it’s cooked without a thermometer? You can cut into the thickest part. If the juices run clear and there’s no pink, you’re probably good. But **IMO**, a meat thermometer is a small investment for peace of mind and perfectly cooked food every single time.
- What if I don’t have olive oil? Any high-heat cooking oil works – avocado, canola, vegetable, or even a bit of butter if you’re feeling indulgent. No biggie.
- Can I add veggies to the same pan? Totally! Add tougher veggies like bell peppers or onions a few minutes *before* the chicken, or softer ones like spinach right at the end for a quick wilt. One-pan wonders, am I right?
Final Thoughts
See? That wasn’t so scary, was it? You just conquered the mighty uncooked chicken breast and turned it into something delicious, juicy, and impressive. Go forth and bask in the glory of your perfectly cooked creation! Serve it with a side salad, rice, some roasted veggies, or just eat it straight off the cutting board – no judgment here. You’ve earned it!