So you’re staring at that jumbo pack of chicken breasts, wondering how to make them last longer than your last Netflix binge, huh? Same. Or maybe you just scored a killer deal and now your fridge is groaning under the weight of poultry perfection. Either way, you’re in the right place, my friend. We’re about to dive into the super chill (pun intended!) world of freezing chicken breasts, making your future self *extremely* grateful.
Why This Recipe is Awesome
Okay, “recipe” might be a strong word here, but hear me out. This isn’t just about sticking chicken in a freezer; it’s about unlocking a cheat code for life. Seriously. Imagine this: a busy Tuesday evening, you’re exhausted, and then BAM! You remember you have perfectly portioned, ready-to-thaw chicken breasts just waiting for their moment in the spotlight. No more frantic ‘what’s for dinner?’ existential crises. It’s like future-you giving present-you a high-five, a pat on the back, and maybe even a small, well-deserved cocktail. Plus, you save major $$$ by buying in bulk. It’s practically adulting on autopilot, and frankly, it’s idiot-proof—even I didn’t mess it up.
Ingredients You’ll Need
Spoiler alert: the ingredient list isn’t exactly groundbreaking. But sometimes, the simplest things are the most magical!
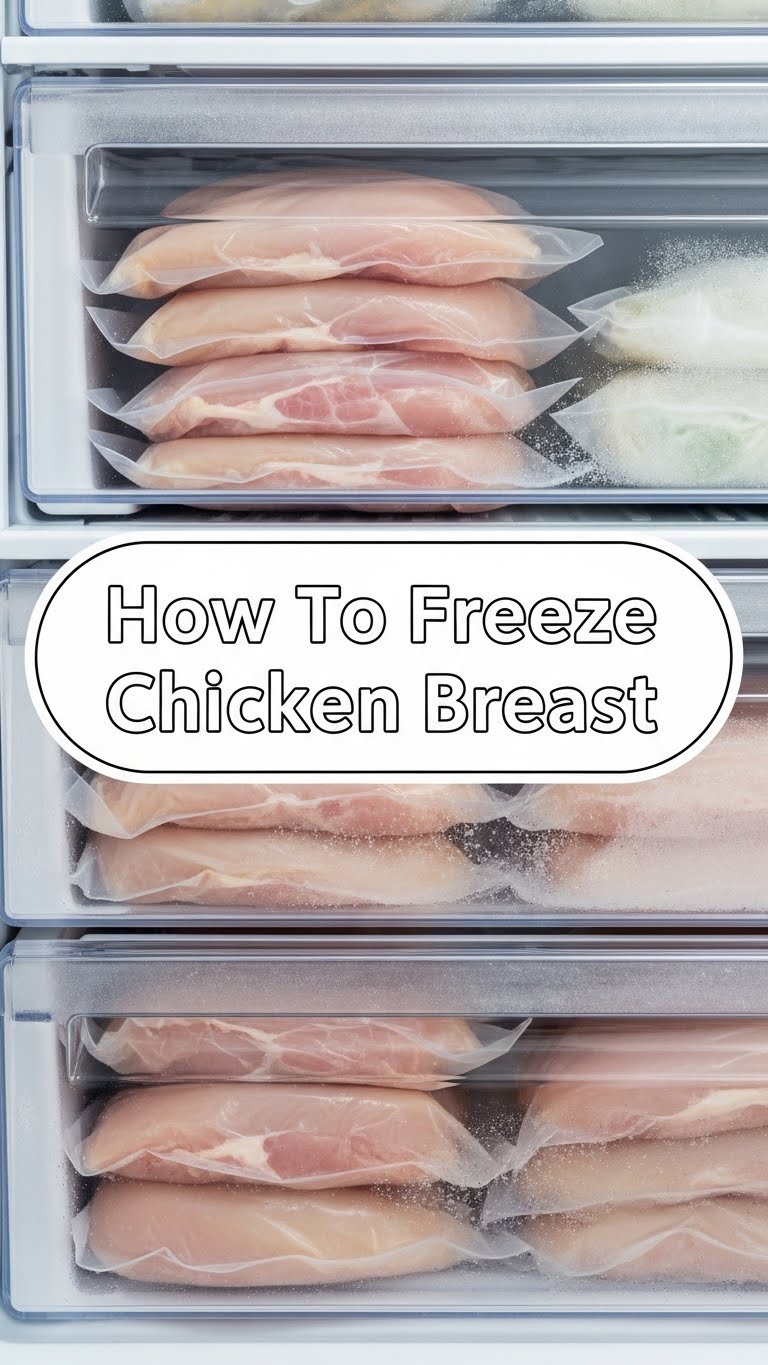
- Chicken Breasts: The star of our show, obviously. Fresh, raw, and ready for their cold slumber.
- Freezer Bags: The sturdy, thick-walled kind. Don’t skimp here; flimsy bags are a one-way ticket to freezer burn city, and nobody wants that.
- Plastic Wrap (Optional, but highly recommended): For an extra layer of protection, because we care about our chicken.
- Permanent Marker: For labeling, unless you enjoy playing “mystery meat roulette” every time you open the freezer. (Pro tip: you don’t.)
- Paper Towels: For patting things dry. Moisture is the enemy, remember?
Step-by-Step Instructions
Alright, let’s get down to business. This is so simple, you’ll wonder why you ever bought those tiny, overpriced packs before!
- Prep Your Chicken Like a Pro: First things first, grab your chicken breasts. Give them a quick rinse if you feel fancy, but honestly, it’s not strictly necessary (and sometimes even discouraged by food safety experts, FYI). The critical step here is to pat them super, super dry with paper towels. Moisture leads to ice crystals, and ice crystals lead to freezer burn. We’re aiming for a frost-free future! Trim off any extra fat or weird bits you don’t want.
- Wrap ‘Em Up (Your Future Self Will Thank You): This step is optional but a game-changer for easy thawing. Take each individual chicken breast and wrap it tightly in plastic wrap. This creates a protective barrier, prevents them from sticking together, and makes it a breeze to grab just one or two later without having to chisel a block of frozen poultry.
- Bag It Up, Smartly: Now, carefully place your wrapped (or unwrapped, if you’re a rebel) chicken breasts into your heavy-duty freezer bags. Try not to overcrowd the bag. We want enough space to do the next crucial step: getting rid of the air.
- Evacuate the Air (The Freezer Burn Battle): This is arguably the most important step for long-term storage. You want to remove as much air as possible from the freezer bag before sealing it. You can do this by squeezing the air out with your hands, using a straw to suck out the remaining air (don’t judge, it works!), or if you’re fancy, a vacuum sealer. Less air means less freezer burn. **This is key!**
- Label Like a Boss: Seriously, don’t skip this. Grab your permanent marker and clearly write the contents (e.g., “Chicken Breast”) and the date you froze them. Trust me, three months from now, you won’t remember if that unlabeled blob is chicken, pork, or a petrified potato.
- Freeze with Confidence: Lay the sealed, labeled bags flat in your freezer. This helps them freeze faster and stack more efficiently. Once they’re solid, you can rearrange them however your freezer feng shui dictates.
Common Mistakes to Avoid
We all make mistakes, but when it comes to preserving precious protein, let’s try to dodge these common blunders!
- The “Wet Chicken” Debacle: Freezing chicken without thoroughly drying it first. Hello, ice crystals and freezer burn! Don’t be that person.
- The Mystery Meat Challenge: Forgetting to label your bags. Seriously, what *is* that rock-hard thing from last July? Your dinner shouldn’t be a guessing game.
- The Air Bubble Fiesta: Not removing enough air from the bag. Air is the enemy of frozen food, promoting freezer burn and off-flavors. Fight it!
- The “Just Shove It In” Technique: Overpacking your freezer bags or just tossing them in haphazardly. This makes thawing a pain and can prevent even freezing.
- The Flimsy Bag Fiasco: Using thin, cheap sandwich bags instead of proper freezer bags. They’ll rip, tear, and expose your chicken to the elements. Not cool.
Alternatives & Substitutions
While freezing raw chicken breasts is pretty straightforward, you’ve got options, my friend!
- Airtight Containers vs. Bags: If you’re not a fan of plastic bags or just prefer a more structured approach, sturdy, freezer-safe airtight containers work beautifully. Just make sure they’re genuinely airtight.
- Portioning for Instant Gratification: Instead of freezing a giant block, consider freezing chicken in meal-sized portions (1-2 breasts per bag/container). This way, you only thaw what you need, reducing waste and speeding up prep time.
- Marinade Before You Freeze: Want to be a meal prep MVP? Marinate your chicken breasts *before* freezing them! Place the chicken and your favorite marinade into the freezer bag, remove air, label, and freeze. When you’re ready to cook, thaw the chicken in the fridge, and it’ll marinate as it thaws, resulting in incredibly flavorful, ready-to-cook chicken. Genius, right?
FAQ (Frequently Asked Questions)
Got questions? I’ve got (casual, humorous) answers!
- How long can I actually freeze chicken breasts?
Officially, up to 9 months for best quality, but personally, I try to use them within 3-6 months. After that, they’re still safe, but the quality might start to decline a bit. Don’t push it too far, unless you’re into historic poultry.
- Do I need to wash chicken before freezing?
Nope! Actually, most food safety experts say it’s best *not* to wash raw chicken. It can splash bacteria around your sink and kitchen. Just pat it dry, and you’re good to go.
- Can I refreeze chicken that’s already been thawed?
Only if it was thawed safely in the refrigerator and *not* left at room temperature. Even then, it’s best to cook it first before refreezing. Think of it as a one-way trip to the freezer, then a one-way trip to your plate.
- What’s the best way to prevent that dreaded freezer burn?
Ah, the archenemy! **Dry the chicken thoroughly, remove all the air from your freezer bag, and consider wrapping each piece individually in plastic wrap** for an extra layer of protection. That’s your best defense!
- Should I thaw frozen chicken on the counter or in the fridge?
Always, always, ALWAYS thaw in the fridge! Or use the defrost setting on your microwave, or even in a cold water bath (changing the water every 30 mins). Leaving chicken on the counter is a big no-no; it enters the “danger zone” where bacteria multiply rapidly. Nobody wants a side of salmonella with their dinner.
- Can I freeze chicken breasts if they’re already cooked?
Absolutely! The process is similar, but make sure they’re completely cooled before freezing. Freezing cooked chicken is a fantastic way to have ready-made meal components for salads, sandwiches, or quick weeknight dinners.
Final Thoughts
And there you have it, my culinary comrade! You’ve officially mastered the noble art of freezing chicken breasts. No more sad, neglected poultry languishing in the fridge or last-minute grocery store dashes. You’re now a meal-prep superhero, a budget-saving guru, and generally, just a very smart cookie. Now go forth and impress someone—or yourself, which is arguably more important—with your new chicken-freezing prowess. You’ve earned it!