So you’re craving something tasty but too lazy to spend forever in the kitchen, huh? Same. Trust me, we’ve all been there, staring blankly into the fridge, wishing a Michelin-star chef would just materialize and whip something up. Well, I can’t summon a chef (yet!), but I *can* show you how to make baked chicken breast so good, you’ll think you did! And the best part? It’s ridiculously easy. We’re talking minimal effort, maximum flavor. Let’s get clucking!
Why This Recipe is Awesome
Okay, buckle up buttercup, because this isn’t just *another* chicken recipe. This is THE chicken recipe for when you want something satisfying, healthy-ish, and truly delicious without feeling like you just ran a culinary marathon. It’s practically idiot-proof. Seriously, I’ve had days where I could barely find my keys, and I *still* managed to nail this. It’s perfect for meal prep, a quick weeknight dinner, or when you just want to feel fancy without, you know, being fancy. Plus, it’s super versatile – consider it your delicious blank canvas.
Ingredients You’ll Need
Gather ’round, my aspiring kitchen wizard! Here’s what you’ll need for your culinary masterpiece. Don’t worry, it’s nothing you can’t find with your eyes closed (probably).
- Boneless, Skinless Chicken Breasts: 2-4 pieces. These are your main event, your blank canvas for deliciousness. Choose decent-sized ones.
- Olive Oil: About 1-2 tablespoons. The magic lubricant that helps everything stick and get gloriously golden.
- Salt: To taste. Don’t be shy! Chicken loves salt.
- Freshly Ground Black Pepper: To taste. Because pre-ground pepper is a crime (just kidding, but fresh is better!).
- Garlic Powder: 1 teaspoon. The unsung hero, giving you all the garlicky goodness without the chopping fuss.
- Onion Powder: 1/2 teaspoon. Garlic’s best friend, adding depth to the flavor party.
- Smoked Paprika: 1 teaspoon. This is where the magic happens, folks. It adds a beautiful color and a smoky, earthy warmth. Don’t skip it!
- Optional additions: A pinch of dried thyme or oregano, or a squeeze of lemon juice after baking. Because sometimes you just need a little extra pizzazz.
Step-by-Step Instructions
Alright, let’s get cooking! Follow these simple steps and prepare to be amazed by your own skills. You’ve got this!
-
Preheat Your Oven & Prep Your Pan: First things first, get that oven hot! Preheat it to 400°F (200°C). While it’s warming up, line a baking sheet with parchment paper or foil for easy cleanup. Trust me, future you will thank present you.
-
Pat Those Chickens Dry: Grab your chicken breasts and pat them down with paper towels. I know, it sounds weird, but this is a crucial step! Removing excess moisture helps the chicken brown beautifully and gives you a much better texture. Think crispy edges, not soggy sadness.
-
Season Like a Pro: Drizzle the olive oil evenly over both sides of the chicken breasts. Now for the flavor bomb! In a small bowl, mix your salt, pepper, garlic powder, onion powder, and smoked paprika. Sprinkle this seasoning mix generously over both sides of each chicken breast. Don’t be afraid to really rub it in there – give it a good massage!
-
Get Them on the Sheet: Place the seasoned chicken breasts in a single layer on your prepared baking sheet. Make sure they’re not touching each other too much. We want individual tanning beds for each breast, not a chicken pile-up. Overcrowding can lead to steaming instead of baking, and nobody wants steamed chicken!
-
Bake ‘Em Till Golden: Pop that baking sheet into your preheated oven. Bake for approximately 20-30 minutes. The exact time depends on the thickness of your chicken. You’re looking for an internal temperature of 165°F (74°C) when checked with an instant-read thermometer at the thickest part. Don’t guess here, use that thermometer! It’s your best friend against dry chicken.
-
Let ‘Em Rest (It’s Important!): Once cooked, remove the chicken from the oven and transfer it to a cutting board or a plate. Cover it loosely with foil and let it rest for 5-10 minutes. This step is super important! It allows the juices to redistribute throughout the meat, keeping your chicken moist and tender. Cut into slices, dice it up, or serve whole. Enjoy!
Common Mistakes to Avoid
Listen, we’ve all made these boo-boos. But now you know better! Steer clear of these common pitfalls for perfect chicken every time:
- Forgetting to Preheat the Oven: Rookie mistake! Throwing chicken into a cold oven means uneven cooking and a longer cook time. It’s like trying to run a marathon without warming up – just sets you up for failure (and bland chicken).
- Not Patting the Chicken Dry: Moisture is the enemy of browning. If your chicken is wet, it will steam instead of getting that glorious golden crust. You want delicious caramelization, not a sad, pale piece of poultry.
- Overcrowding the Pan: Give your chicken some space! If the pieces are too close, they’ll steam each other rather than bake evenly. This leads to that dreaded rubbery texture.
- Skipping the Thermometer: “Eyeballing it” is a recipe for disaster, my friend. Undercooked chicken is a health risk, and overcooked chicken is dry and sad. An instant-read thermometer is your secret weapon for perfectly cooked chicken every single time. Don’t play chicken with chicken!
- Not Resting the Chicken: You just put all that effort in, don’t ruin it by cutting into it immediately! Resting allows the juices, which have been pushed to the center during cooking, to redistribute throughout the meat. This means a juicier, more flavorful bite. Patience, grasshopper!
Alternatives & Substitutions
Feeling adventurous? Or maybe you’re just out of paprika? No worries, my friend, we can adapt! Here are some ways to switch things up:
- Spice Blends: Ditch the individual spices and go for a pre-made blend! Cajun, Italian seasoning, Lemon Herb, or even a spicy chili powder blend can completely transform your chicken. IMO, a good quality pre-made blend is a total time-saver.
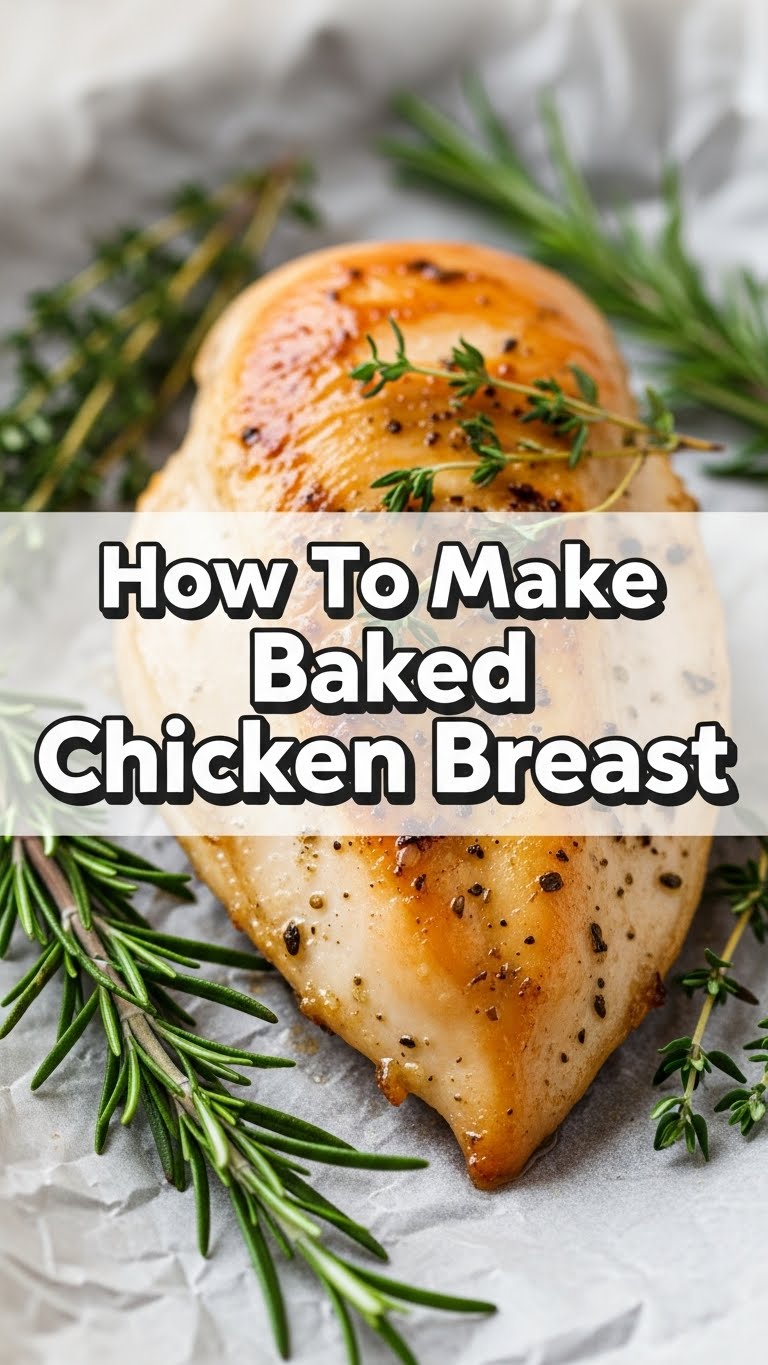
- Fresh Herbs: If you’re feeling fancy, swap dried herbs for fresh. A few sprigs of fresh rosemary or thyme baked alongside the chicken add an amazing aroma and flavor. Just lay them right on the baking sheet!
- Citrus Zest: Grate some lemon or orange zest over the chicken before baking for a bright, zesty kick. A squeeze of fresh lemon juice after it rests is also chef’s kiss.
- Garlic Lover’s Dream: If you *really* love garlic, mince a clove or two and mix it directly with the olive oil before coating the chicken. Fresh garlic definitely hits different!
- Add Veggies: Want a one-pan wonder? Toss some chopped broccoli, bell peppers, or asparagus with a little olive oil, salt, and pepper, and bake them on the same sheet alongside your chicken. Easy peasy meal!
FAQ (Frequently Asked Questions)
Got questions? I’ve got answers (mostly humorous, but still helpful!).
-
How do I know when my chicken is actually cooked through? Don’t guess, use a meat thermometer! Insert it into the thickest part of the breast, and when it reads 165°F (74°C), you’re golden. No thermometer? Cut into the thickest part; if the juices run clear and the meat is opaque white, it’s likely done. But seriously, get a thermometer.
-
My chicken always comes out dry, what am I doing wrong? Chances are, you’re overcooking it. Again, the thermometer is your best friend here. Also, make sure you’re letting it rest after baking. FYI, cutting into chicken immediately after it comes out of the oven is like squeezing all the juice out of a sponge – no bueno!
-
Can I use bone-in chicken breasts? Absolutely! Just be aware that bone-in chicken will take a bit longer to cook, usually around 30-40 minutes, depending on size. Still aim for that 165°F internal temp.
-
Can I marinate the chicken instead of just seasoning it? You betcha! A good marinade can add even more flavor and moisture. Just make sure to reduce or omit the dry rub spices if your marinade is already packed with flavor. Marinate for at least 30 minutes, or up to 4 hours in the fridge.
-
What if I don’t have smoked paprika? Can I use regular? Yes, you can! Regular paprika will still give you a nice color, but you’ll miss out on that lovely smoky depth. If you have it, a tiny pinch of cayenne pepper can add a little kick in its place, but sparingly!
-
How long do leftovers last? Cooked chicken breast can be stored in an airtight container in the fridge for 3-4 days. It’s awesome for salads, sandwiches, or even quick wraps!
-
Can I freeze baked chicken breast? Yes, you absolutely can! Let it cool completely, then wrap individual breasts tightly in plastic wrap and then foil, or place in a freezer-safe bag. It’ll keep for 2-3 months. Thaw in the fridge overnight before reheating.
Final Thoughts
And there you have it, folks! Your very own perfectly baked, juicy chicken breast. Who knew being a culinary genius could be this easy? You just leveled up your cooking game without breaking a sweat. Now go impress someone—or yourself—with your new culinary skills. You’ve earned it! High five, chef!