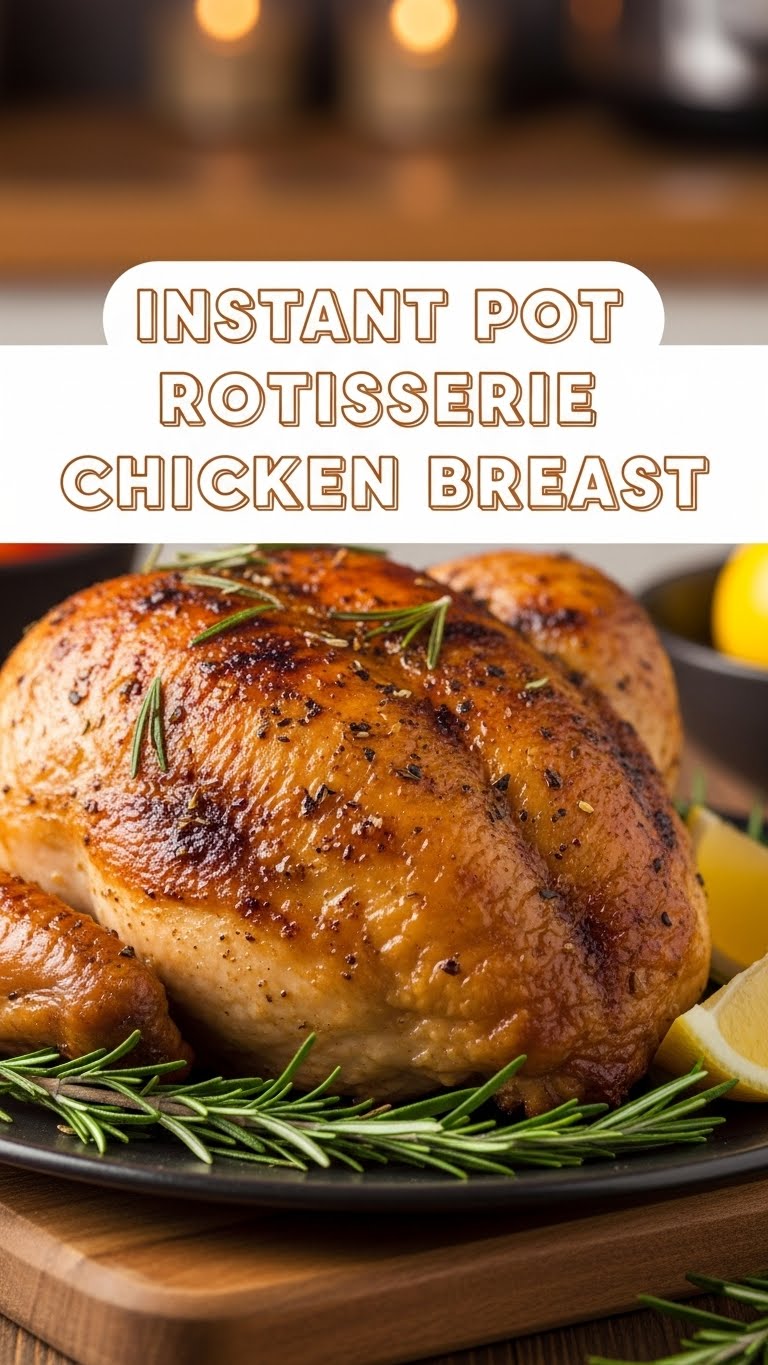
So you’re dreaming of that perfectly seasoned, juicy rotisserie chicken but, let’s be real, you don’t own a giant spit, and driving to the grocery store for *their* rotisserie bird feels like too much effort today, right? Or maybe you just prefer chicken breast because carving a whole bird is, like, a whole thing. Honey, I feel you. And guess what? Your Instant Pot is about to become your new best friend for achieving that glorious flavor without the fuss. Get ready for Instant Pot Rotisserie Chicken Breast!
Why This Recipe is Awesome
Okay, let’s break down why this isn’t just *another* chicken recipe. This bad boy is:
- Stupidly Easy: Seriously, it’s idiot-proof. Even I didn’t mess it up, and my kitchen skills sometimes peak at microwaving popcorn.
- Crazy Fast: We’re talking less than 30 minutes active time. Dinner on the table faster than you can decide what to binge-watch next.
- Juicy AF: The Instant Pot works its magic, locking in all those glorious juices. Say goodbye to dry, sad chicken breast forever.
- Flavor Bomb: That rotisserie seasoning gets all up in there, giving you maximum deliciousness with minimal effort. It’s like a flavor party, and everyone’s invited.
- No Awkward Carving: Just perfectly cooked breast meat. No bones, no fuss, just pure, unadulterated chicken glory.
Basically, it’s a weeknight hero, a meal prep champion, and your answer to “what’s for dinner?” when you’re feeling lazy but still want something amazing. You’re welcome.
Ingredients You’ll Need
Gather ’round, my culinary comrades! Here’s what you’ll need for this masterpiece. Don’t worry, it’s nothing fancy.
- 2-3 Boneless, Skinless Chicken Breasts: About 1.5-2 lbs total. Because we’re not about that bone-picking life today.
- 1 tbsp Olive Oil (or Grapeseed, Avocado, etc.): Just a little slick for searing. Whatever oil is currently living in your pantry will do.
- 1-2 tbsp Rotisserie Chicken Seasoning Blend: This is where the magic happens! Use your favorite store-bought blend, or scroll down for a DIY option if you’re feeling extra fancy.
- 1 cup Chicken Broth (or Water): The Instant Pot needs a little liquid to do its thing. Broth adds more flavor, but water works in a pinch if your pantry is looking sparse.
Step-by-Step Instructions
Alright, apron on (optional, but makes you feel legit), let’s get cooking!
- Prep Your Chicken: Pat those chicken breasts super dry with paper towels. This is a key step for getting a good sear! Drizzle them with the olive oil, then generously rub that rotisserie seasoning all over. Don’t be shy; get it in every nook and cranny.
- Sear for Flavor: Hit the “Sauté” button on your Instant Pot and set it to “Normal” or “More.” Once it says “Hot,” add your seasoned chicken breasts. Sear for 3-4 minutes per side, until they’re beautifully golden brown. You’re building flavor layers, my friend! Remove the chicken and set it aside.
- Deglaze the Pot: Pour in your chicken broth (or water). Use a wooden spoon or spatula to scrape up all those delicious browned bits from the bottom of the pot. This is super important to prevent a “Burn” notice and adds even more flavor.
- Pressure Cook Time! Carefully place your seared chicken breasts back into the Instant Pot, nestled in that liquid. Secure the lid, make sure the venting knob is sealed, and select “Pressure Cook” (or “Manual”). Set the time for 8-10 minutes on High Pressure. For thicker breasts, lean towards 10 minutes.
- Natural Release is Your Friend: Once the cooking cycle is complete, let the pressure naturally release for 5 minutes. This helps keep the chicken incredibly juicy. After 5 minutes, quick release any remaining pressure by carefully turning the venting knob.
- Rest & Serve: Carefully remove the chicken from the pot. If you want a little extra crisp (highly recommended!), you can pop it under the broiler for a few minutes. Let the chicken rest for 5 minutes before slicing or shredding. This allows the juices to redistribute, ensuring maximum tenderness.
Common Mistakes to Avoid
We all make ’em, so let’s laugh at them together and learn from our past culinary missteps, shall we?
- Not Patting Chicken Dry: Rookie mistake! Wet chicken steams, it doesn’t sear. And we want that glorious golden crust, remember?
- Forgetting to Deglaze: Oh, the dreaded “Burn” notice. It’s like the Instant Pot yelling at you. Don’t skip scraping those flavorful browned bits; they’re precious and prevent burning!
- Under-Seasoning: This isn’t a bland chicken contest, people. Be generous with that seasoning! You want flavor in every bite.
- Overcrowding the Pot: Don’t play Tetris with your chicken. If you have too many breasts for a single layer, cook them in batches during the searing step.
- Skipping the Rest Time: Patience, grasshopper. Letting the chicken rest for 5 minutes after cooking is crucial for juicy results. Don’t cut into it immediately unless you like dry chicken.
Alternatives & Substitutions
Feeling adventurous? Or just lacking an ingredient or two? No stress, we’ve got options!
- Seasoning Swap: Don’t have rotisserie seasoning? No worries! Mix your own: 1 tsp paprika, 1 tsp garlic powder, 1 tsp onion powder, ½ tsp dried thyme, ½ tsp dried oregano, ½ tsp salt, and ¼ tsp black pepper. Boom, DIY magic! You could also go Italian, Cajun, or lemon-pepper – your kitchen, your rules.
- Oil Alternatives: Butter instead of olive oil for searing? Yes, please! Just watch your heat so it doesn’t burn.
- Broth Boost: For extra depth, use white wine instead of some of the broth. Or, if you’re really in a pinch, water is totally fine.
- Chicken Thighs: Want dark meat? Boneless, skinless chicken thighs work beautifully too! Adjust cooking time slightly, usually 10-12 minutes for thighs.
FAQ (Frequently Asked Questions)
Got questions? I’ve got (casual) answers!
- Can I use frozen chicken breasts? Well, technically yes, but why make things harder for yourself? You’ll need to add a few more minutes to the pressure cooking time (maybe 12-15 mins) and skip the searing altogether, which means less flavor. IMO, it’s worth thawing for better results.
- How do I know if my chicken is fully cooked? Get yourself a meat thermometer, my friend! It should read 165°F (74°C) at the thickest part. It’s the only way to be truly sure and avoid sad, undercooked chicken.
- Can I skip the searing step? You *can*, but please don’t! That golden crust from searing adds so much amazing flavor and texture. It’s an extra 5-7 minutes that’s totally worth it.
- Why do you recommend natural pressure release for 5 minutes? It’s a gentle way to finish cooking and allows the chicken to relax, preventing it from seizing up and becoming tough. It helps keep your chicken incredibly juicy.
- My Instant Pot says “Burn.” What happened? Likely you didn’t deglaze the pot thoroughly enough after searing. Make sure you scrape up *all* those browned bits from the bottom before adding the chicken and sealing the lid.
- What can I do with leftover chicken? Oh, the possibilities! Slice it for salads, shred it for sandwiches, tacos, quesadillas, or mix it into pasta. It’s super versatile!
Final Thoughts
See? Told ya it was easy! You just whipped up some seriously delicious, juicy rotisserie-style chicken breast with minimal effort, thanks to your trusty Instant Pot. You’re basically a kitchen wizard now, and you didn’t even break a sweat. Now go impress someone—or just yourself, which is equally important—with your new culinary skills. You’ve earned it!