So you’re staring at a chicken breast, wondering if it’s going to turn into a dry, sad puck or a juicy masterpiece, huh? Been there, done that, accidentally eaten the puck. But today, my friend, we’re making masterpieces without the culinary tears!
Why This Recipe is Awesome
Why is this the best way to bake chicken breast at 350°F? Because it’s literally foolproof. Like, even if you usually manage to burn water, you’ve got this. It’s quick, it’s healthy (ish, depending on your butter choices), and it turns boring chicken into “OMG, did YOU make this?!” chicken. Plus, it frees up your brain for more important things, like what to binge-watch next on your favorite streaming service. This method ensures tender, juicy chicken every single time. No more guessing games, no more tough, chewy disappointments!
Ingredients You’ll Need
- Boneless, Skinless Chicken Breasts: The undeniable star of our show. Grab 2-4, depending on how many hungry mouths you’re feeding (or how many leftovers you want, no judgment).
- Olive Oil (or any neutral oil): A drizzle, not a swimming pool. Helps with browning and keeps things from sticking. Don’t use motor oil, obviously.
- Salt & Black Pepper: The OGs of seasoning. Don’t skimp, but don’t overdo it either. It’s a fine line, my friend.
- Your Favorite Seasoning Blend (optional, but highly recommended): Paprika? Garlic powder? Onion powder? Italian seasoning? Taco seasoning? Be a rebel, mix it up! This is where you inject personality.
- Aluminum Foil or Parchment Paper: For lining your baking sheet. Because who likes scrubbing?
Step-by-Step Instructions
- **Preheat Your Oven:** Set that baby to 350°F (175°C). Yes, really. Don’t skip this step; a cold oven is a sad oven.
- **Pat ‘Em Dry:** Take those chicken breasts and give ’em a good pat-down with a paper towel. Think of it as a tiny spa treatment. This removes surface moisture, which helps them get a nice sear instead of steaming.
- **Pound ‘Em Out (Optional but Genius):** If your chicken breasts are super thick and uneven, place them between two sheets of plastic wrap and lightly pound them with a meat mallet (or a rolling pin, or a heavy pan—whatever you got!). Aim for an even thickness, about 1 inch. This ensures **even cooking** and prevents dry spots.
- **Drizzle & Rub:** Drizzle a little olive oil over the chicken breasts. Just enough to coat them lightly. Then give them a quick rub to spread the love.
- **Season Generously:** Now for the fun part! Sprinkle your salt, pepper, and chosen seasoning blend all over both sides of the chicken. Don’t be shy, but remember what I said about the fine line!
- **Bake ‘Em Up!** Place the seasoned chicken breasts on your foil- or parchment-lined baking sheet. Pop them into your preheated oven.
- **The Magic Time:** Bake for approximately 20-30 minutes. The exact time depends on the thickness of your chicken. Thinner breasts will be closer to 20 minutes, thicker ones closer to 30.
- **Check for Doneness:** This is the most crucial step! Use a meat thermometer to check the internal temperature. It should read 165°F (74°C) at the thickest part. Don’t guess! A thermometer is your best friend here.
- **Rest, You Magnificent Chef!** Once they’re cooked, take them out of the oven and let them rest on a cutting board or plate for 5-10 minutes. Cover them loosely with foil if you want. This resting period is critical; it allows the juices to redistribute throughout the meat, keeping it super tender and moist. Trust me on this one.
Common Mistakes to Avoid
- Thinking You Don’t Need to Preheat: Rookie mistake. Your oven isn’t a microwave; it needs time to get to temperature.
- Skipping the Pat-Dry Step: Wet chicken = steamed chicken, not beautifully browned, flavorful chicken. Embrace the paper towel.
- Overcrowding the Pan: Give your chickens some personal space! If they’re too close, they’ll steam each other instead of baking nicely. Work in batches if you need to.
- Eyeballing Doneness: Please, for the love of all that is holy, get a meat thermometer. It costs like $10 and saves you from dry chicken and, y’know, food poisoning. Seriously, get one!
- Not Letting It Rest: This is a cardinal sin. If you cut into the chicken immediately, all those lovely juices will leak out onto your cutting board, leaving you with dry chicken. Be patient!
Alternatives & Substitutions
Feeling adventurous? Here are some ways to shake things up:
- Different Oils: Avocado oil, canola oil, even melted butter for extra richness. Whatever you’ve got on hand that won’t make your kitchen smell like a refinery.
- Seasonings Galore: Lemon pepper, Cajun seasoning, curry powder, ranch seasoning… the world is your oyster! Or, you know, your chicken.
- Add-ins: In the last 5-10 minutes of baking, you can add a slice of your favorite cheese on top. Or sauté some onions and peppers and serve them over the finished chicken.
- Marinades: If you’ve got time, marinating your chicken for 30 minutes to overnight in a flavorful liquid (like Italian dressing, lemon herb, or a soy-ginger blend) will take it to the next level of juiciness and flavor.
FAQ (Frequently Asked Questions)
- “My chicken breasts are super thick, what then?” If you didn’t pound them out (see step 3!), you might need to add an extra 5-10 minutes to the cooking time. Always check with that trusty meat thermometer!
- “Can I use bone-in chicken?” Well, technically yes, but the cooking time will definitely increase, and this recipe is optimized for boneless. Stick to boneless for this one, IMO.
- “What if I don’t have a meat thermometer?” Get one. Seriously, stop reading and order one right now. It’s the best investment for perfectly cooked meat. Until then, you can cut into the thickest part to check for pinkness, but it’s less reliable and lets out juices.
- “Can I add veggies to the pan?” Absolutely! Toss some broccoli florets, asparagus spears, bell pepper strips, or sliced onions with a little oil and seasoning, and bake them right alongside the chicken. Sheet pan dinners are the best!
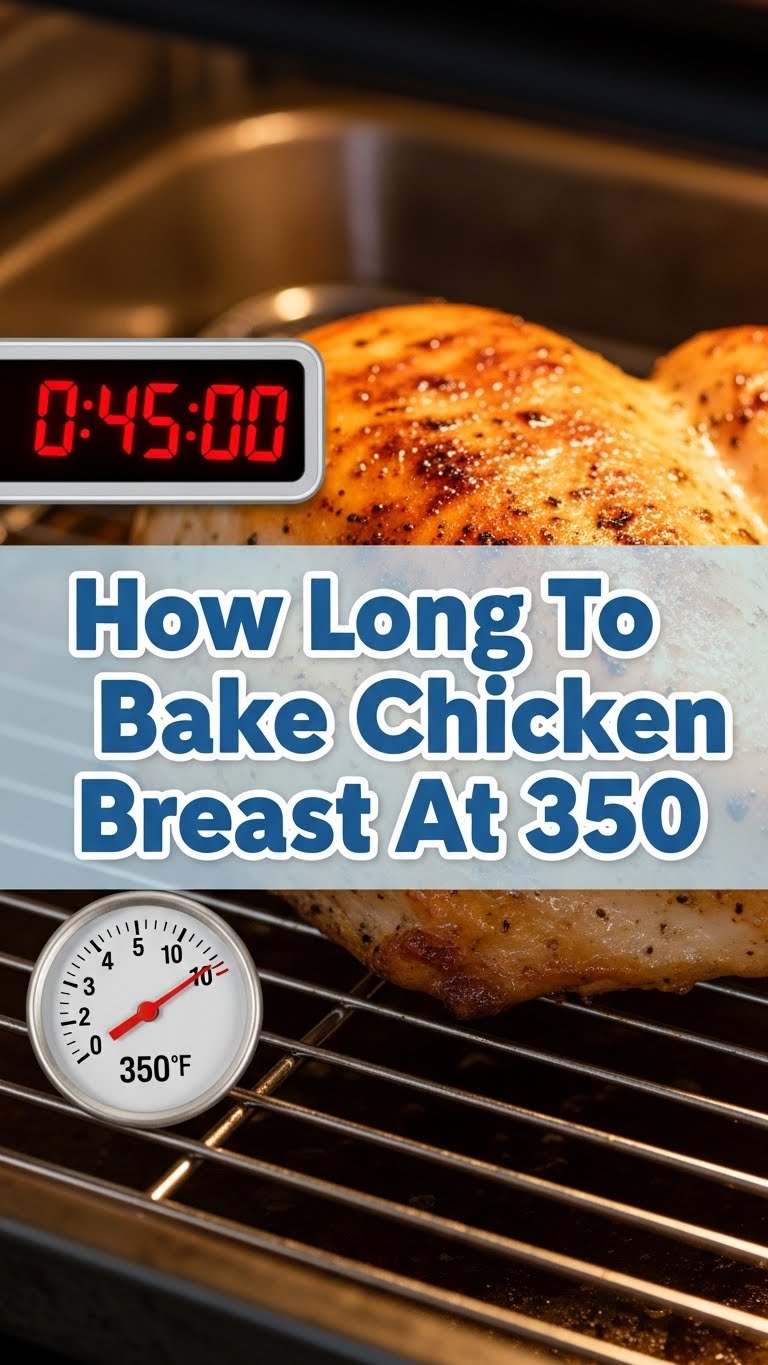
- “Why 350°F? Why not higher or lower?” 350°F is a sweet spot for chicken breasts. It allows the chicken to cook through evenly without drying out too quickly on the outside. Higher temps can char the exterior before the inside is done, while lower temps take forever.
- “How do I know when it’s rested enough?” 5-10 minutes is usually good. It’s just long enough to whip up a quick side dish, set the table, or ponder the meaning of life.
Final Thoughts
See? You just baked chicken like a pro, and probably only broke a sweat deciding what to watch on Netflix. This method is your new secret weapon for juicy, delicious chicken every time. Now go impress someone—or yourself—with your new culinary skills. You’ve earned it, you magnificent kitchen wizard!