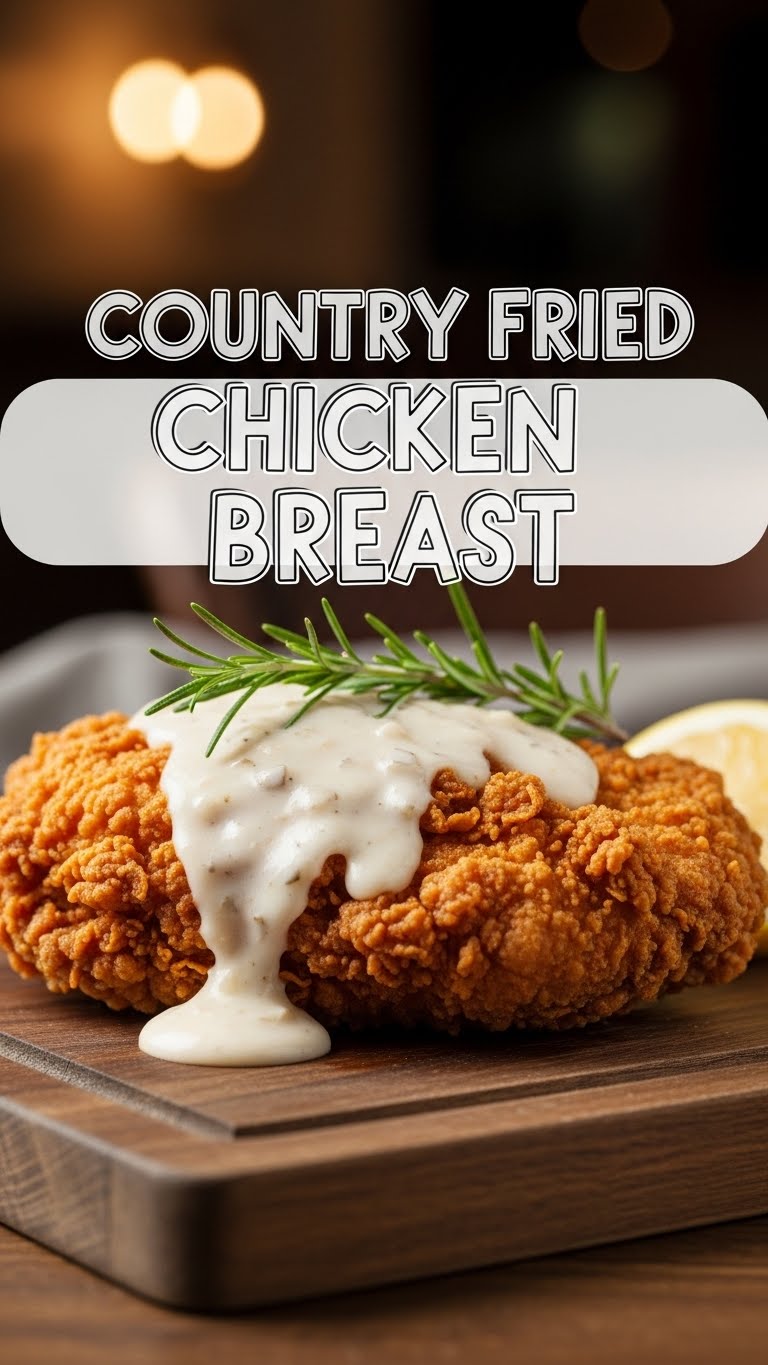
So you’re craving something tasty but too lazy to spend forever in the kitchen, huh? Same. We’ve all been there, staring into the fridge, wondering if a cheese stick counts as dinner (it totally does sometimes, no judgment). But today, my friend, we’re leveling up with minimal fuss and maximum flavor: Country Fried Chicken Breast!
Why This Recipe is Awesome
Because let’s be real, who doesn’t love a good, crispy, tender piece of fried chicken? But not the kind that leaves you feeling like you just wrestled a greased pig. This recipe brings all the comfort food vibes without needing a deep fryer, a culinary degree, or even more than 30 minutes of your precious time. It’s a hug on a plate, practically **idiot-proof** (even I didn’t mess it up!), and uses ingredients you probably already have. Plus, it’s ridiculously satisfying. Seriously, your taste buds will send you a thank-you note.
Ingredients You’ll Need
- Chicken Breasts: 2 boneless, skinless. The star of our show, obviously. Aim for medium size so they cook evenly.
- All-Purpose Flour: 1 cup. Your soon-to-be crispy, golden coating.
- Buttermilk: 1/2 cup. The secret to super tender chicken! Don’t skip it unless you’re using the cheat (see Alternatives).
- Eggs: 1 large. Our binding agent, the glue that holds all that deliciousness together.
- Spices:
- 1 tsp Paprika (smoked if you’re feeling fancy)
- 1 tsp Garlic Powder
- 1/2 tsp Onion Powder
- 1 tsp Salt (or to taste, you’re the boss!)
- 1/2 tsp Black Pepper (freshly ground, if possible, because you’re worth it)
- Vegetable Oil (or Canola/Peanut Oil): About 1/2 inch in a skillet. For that perfect shallow fry, creating all those crispy bits.
Step-by-Step Instructions
- Get Your Chicken Ready: Place each chicken breast between two sheets of plastic wrap (or inside a large zip-top bag). Pound them gently with a meat mallet (or a rolling pin, or even a heavy can) until they’re about 1/2 inch thick. This ensures even cooking and max tenderness!
- Set Up Your Dredging Stations: In a shallow dish, whisk together the buttermilk and egg. In another shallow dish, combine the flour with all the spices (paprika, garlic powder, onion powder, salt, pepper). Mix ’em real good.
- Coat That Chicken: Take one pounded chicken breast, dip it completely into the buttermilk mixture, letting any excess drip off. Then, transfer it to the seasoned flour, **pressing firmly** on both sides to make sure every nook and cranny is coated. Seriously, press it down. Shake off any excess flour. Repeat with the other chicken breast.
- Heat the Oil: Pour your chosen oil into a large skillet (cast iron works beautifully here!) until it’s about 1/2 inch deep. Heat it over medium-high heat until it shimmers and a tiny flick of flour sizzles instantly when dropped in.
- Fry Time!: Carefully place the coated chicken breasts into the hot oil. **Don’t overcrowd the pan** – cook one at a time if your skillet isn’t huge. Fry for about 4-6 minutes per side, or until they’re beautifully golden brown and cooked through (internal temperature should be 165°F / 74°C).
- Rest & Serve: Once golden and glorious, remove the chicken from the skillet and place it on a wire rack set over a baking sheet (this keeps it crispy!). Let it rest for a few minutes before serving. This step is crucial for juicy chicken!
Common Mistakes to Avoid
- Not Pounding the Chicken: Rookie mistake! Uneven thickness means uneven cooking. You’ll end up with dry edges and raw centers. Nobody wants that.
- Skipping the Buttermilk Soak: This is a tenderizing superpower. Without it, your chicken might be less juicy. Don’t do it!
- Under-Seasoning the Flour: Thinking the chicken itself will do all the heavy lifting? Nah. The flour *needs* flavor. Bland coating = bland chicken.
- Overcrowding the Pan: This drops the oil temperature faster than you can say “soggy.” The result? Greasy, sad chicken instead of crispy perfection. Cook in batches, friend.
- Pulling It Off Too Soon (or Too Late): Use your eyes, feel, and a thermometer! **Don’t guess!** Undercooked is dangerous, overcooked is dry. Aim for that perfect 165°F / 74°C.
Alternatives & Substitutions
Life’s too short for rigid rules, right? Here are some tweaks:
- No Buttermilk? No Problem! Mix 1/2 cup milk with 1/2 tablespoon lemon juice or white vinegar. Let it sit for 5 minutes. Boom, instant buttermilk substitute. You’re a wizard!
- Chicken Thighs: Dark meat lovers, unite! Chicken thighs work fantastically here, often staying even juicier. Adjust cooking time slightly as they can be thicker.
- Spice It Up: Want a kick? Add a pinch of cayenne pepper to your flour mixture. Feeling herby? A dash of dried thyme or oregano can totally change the game.
- Gluten-Free Flour: Yes, you absolutely can! Use your favorite GF all-purpose blend. The texture might be slightly different, but still delicious.
- Air Fryer / Oven Method: For the health-conscious (or just trying to avoid oil splatter), you can bake or air fry these. Lightly spray with oil after coating and bake at 400°F (200°C) for 15-20 minutes, flipping halfway, or air fry at 375°F (190°C) for 12-15 minutes. It won’t be quite the same level of crispy magic as pan-fried, but still tasty, IMO.
FAQ (Frequently Asked Questions)
Because great minds (and hungry bellies) ask alike:
Do I *have* to pound the chicken? Well, technically no, but why make life harder? Pounding ensures even cooking and makes the chicken super tender. It’s a quick step that makes a huge difference, FYI.
Can I use a different type of oil? Yep! Vegetable, canola, peanut, or even grapeseed oil are all good choices. They have high smoke points, which is what we need for frying. Olive oil isn’t ideal for this high heat.
My coating is falling off! Help! You probably didn’t **press firmly enough** when coating in the flour, or you’re overcrowding the pan. Also, make sure your oil is hot enough!
How do I know the chicken is cooked through? The best way is with a meat thermometer: it should read 165°F (74°C) in the thickest part. If you don’t have one, cut into the thickest part – there should be no pink remaining and the juices should run clear.
Can I make this ahead of time? It’s truly best enjoyed fresh off the skillet for peak crispiness. However, leftovers are still pretty fab! Store them in an airtight container in the fridge for up to 3 days and reheat gently in a skillet or oven.
What if I want gravy? Oh honey, that’s a whole other love story! But yes, you totally can make a quick pan gravy using the drippings in the skillet. Sauté a tablespoon of flour in the remaining oil/drippings, then whisk in a cup of milk or chicken broth until thickened. Season to taste!
Final Thoughts
Alright, superstar! You’ve just created a masterpiece of crispy, juicy comfort food. Pat yourself on the back, because you totally deserve it. Now go impress someone—or yourself—with your new culinary skills. You’ve earned it!