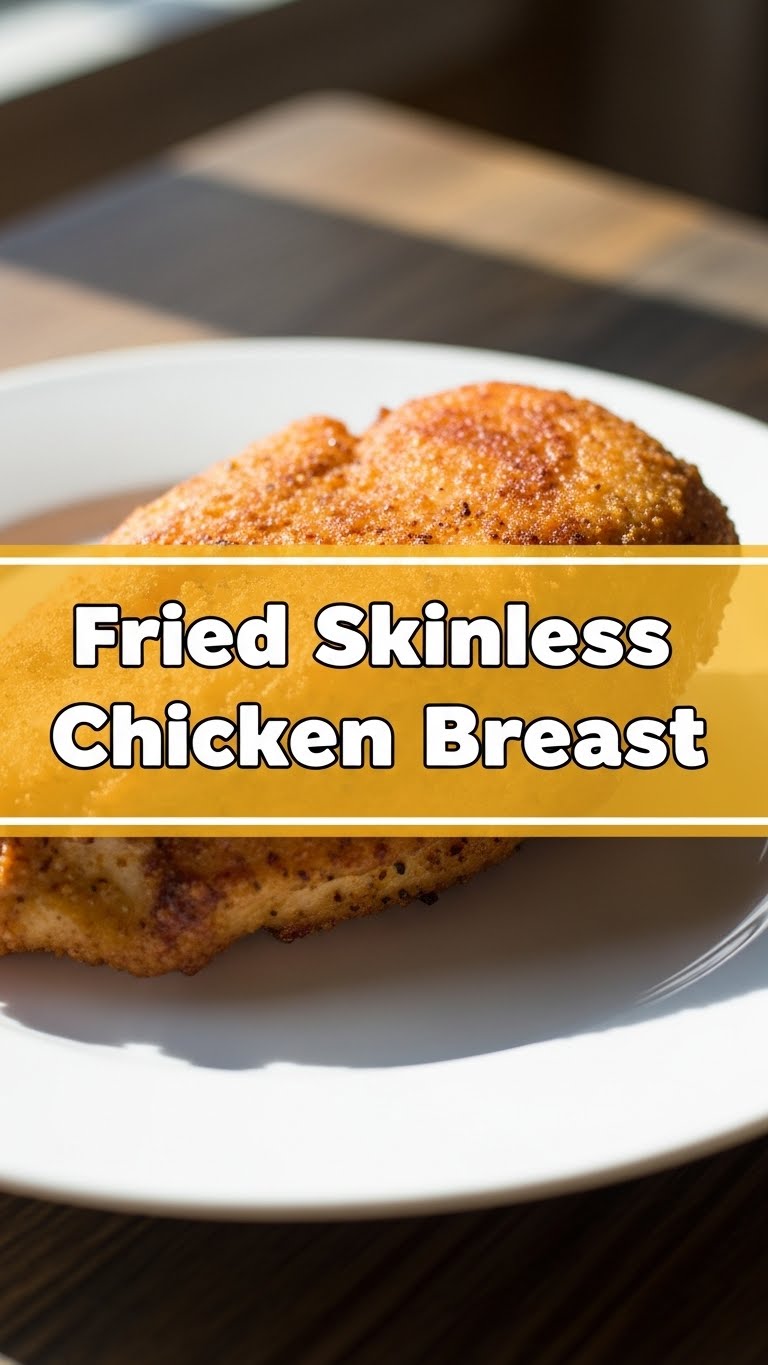
So you’re staring into the fridge, contemplating another sad, flavorless piece of chicken, but also too lazy to spend forever in the kitchen, huh? Same, friend, *same*. We’ve all been there – wanting something delicious, satisfying, and maybe a little bit crispy, without turning our kitchen into a warzone or requiring a culinary degree. Well, strap in, buttercup, because today we’re tackling the humble, often-misunderstood fried skinless chicken breast. Get ready for a weeknight hero!
Why This Recipe is Awesome
Let’s be real: skinless chicken breast can be a bit… meh. Dry, bland, just generally underwhelming. But not today, my friend! This recipe isn’t just “good,” it’s a game-changer. It’s the kind of recipe that makes you go, “Wait, *I* made this?!” It’s **idiot-proof**, honestly. Even if your culinary skills are usually limited to microwaving leftovers, you’re gonna nail this. It’s fast, uses super common ingredients, and delivers that golden, crispy exterior with a juicy interior you’ve been dreaming of. Plus, it’s versatile. Throw it on a salad, make a sandwich, or just eat it straight off the plate while leaning over the counter (no judgment here!).
Ingredients You’ll Need
- **2 boneless, skinless chicken breasts:** The star of our show! Give them a little pat on the back for their service.
- **1/2 cup all-purpose flour:** Your basic white flour. No fancy stuff needed unless you’re feeling extra.
- **1 large egg:** Our binding agent, the glue that holds our delicious dreams together.
- **1 cup Panko breadcrumbs (or regular breadcrumbs):** Panko gives you extra crispiness, which, **IMO**, is always the right answer.
- **1 teaspoon salt:** Don’t skip this! It’s flavor’s best friend.
- **1/2 teaspoon black pepper:** Freshly ground if you’re feeling fancy, but pre-ground works too.
- **1/2 teaspoon paprika (smoked or regular):** For a little color and a flavor kick. Optional, but highly recommended.
- **1/4 cup vegetable oil (or canola, grapeseed, avocado):** Something with a high smoke point, please. This isn’t the time for olive oil’s delicate personality.
Step-by-Step Instructions
- **Prep Your Chicken:** Pat those chicken breasts super dry with paper towels. Seriously, this is key for crispiness! If they’re super thick (over an inch), slice them horizontally to create two thinner cutlets, or pound them gently to an even 1/2-inch thickness. This ensures even cooking.
- **Set Up Your Dredging Station:** Grab three shallow dishes.
Dish 1: Mix flour, salt, pepper, and paprika.
Dish 2: Whisk the egg until it’s uniform.
Dish 3: Pour in your Panko breadcrumbs. - **Coat ‘Em Up!** Take one chicken breast, dunk it in the flour mixture (shaking off any excess), then into the egg (letting excess drip off), and finally, into the Panko. **Press the breadcrumbs firmly** onto the chicken to make sure it’s fully coated. Repeat for the second breast.
- **Heat That Oil:** Pour your oil into a large skillet over medium-high heat. You’re looking for it to shimmer, maybe a tiny wisp of smoke, but not full-on smoking like a dragon. We’re aiming for about 350°F (175°C) if you’re fancy with a thermometer.
- **Fry Time!** Carefully place the chicken breasts into the hot oil. Don’t crowd the pan! You might need to do them one at a time if your pan is smaller.
- **Golden Perfection:** Cook for **3-5 minutes per side**, or until they’re beautifully golden brown and crispy. Flip only once! The internal temperature should reach 165°F (74°C).
- **Rest and Serve:** Transfer the cooked chicken to a plate lined with paper towels to drain any excess oil. Let them rest for a minute or two before slicing. This helps keep them juicy!
Common Mistakes to Avoid
- **Wet Chicken:** You ignored step 1, didn’t you? A wet chicken breast means soggy coating. Don’t be that person. **Pat it dry!**
- **Crowding the Pan:** Trying to squeeze both pieces into a small pan cools down the oil dramatically, leading to greasy, not crispy, chicken. Patience, young padawan!
- **Under-Seasoning:** A bland chicken breast is a sad chicken breast. Don’t be shy with the salt and pepper in your flour mix!
- **Oil Not Hot Enough (or Too Hot!):** Too cool, and your chicken absorbs too much oil and gets greasy. Too hot, and the outside burns before the inside cooks. Shimmering oil is your sweet spot.
- **Overcooking:** The ultimate sin! Dry chicken is unforgivable. Keep an eye on the clock and use a meat thermometer if you’re unsure. 165°F (74°C) is the magic number.
Alternatives & Substitutions
Feeling adventurous or missing an ingredient? No worries, we’re flexible here!
- **Spice It Up:** Add a pinch of garlic powder, onion powder, cayenne pepper, or your favorite all-purpose seasoning to the flour mix. Make it sing!
- **Gluten-Free Gang:** Swap out the all-purpose flour for a GF blend and use gluten-free breadcrumbs. Easy peasy.
- **No Panko? No Problem!** Regular breadcrumbs work just fine; they just won’t give you quite the same airy crunch. Crushed cornflakes or even crushed potato chips make for a fun, extra-crispy alternative if you’re feeling wild.
- **Less Frying, More Air Frying:** Want less oil? You can air fry these bad boys! Spray generously with cooking spray, then air fry at 375°F (190°C) for about 12-15 minutes, flipping halfway, until golden and cooked through.
- **Different Oils:** Canola, grapeseed, or avocado oil are all great for frying. Just avoid anything with a low smoke point like extra virgin olive oil for this specific purpose.
FAQ (Frequently Asked Questions)
Got questions? I probably do too, but here are some common ones that might be on your mind:
- **”Can I make this ahead of time?”** You can dredge the chicken a few hours in advance and keep it in the fridge, covered. But honestly, it’s best fried fresh for peak crispiness.
- **”What if I don’t have Panko?”** Did you read the “Alternatives” section? Tsk tsk! Regular breadcrumbs are fine, or get creative with crushed cornflakes!
- **”How do I know the chicken is cooked through without a thermometer?”** While a thermometer is your best friend, if you cut into the thickest part and the juices run clear (no pink!), you’re usually good. But for peace of mind and food safety, **get a thermometer, seriously!**
- **”Can I bake this instead of frying?”** Yep! Place on a lightly greased baking sheet, spray the tops with cooking spray, and bake at 400°F (200°C) for 20-25 minutes, flipping halfway, until golden and cooked through. It won’t be quite as crispy, but still tasty!
- **”What’s a good side dish for this?”** The world is your oyster! Mashed potatoes, a simple green salad, some roasted veggies, or even just a squeeze of lemon and a sprinkle of fresh parsley. Keep it simple!
Final Thoughts
And there you have it! A perfectly crispy, juicy, and utterly delicious fried chicken breast, brought to you by *you*! See? You’re a kitchen wizard! This isn’t just a recipe; it’s a stepping stone to culinary confidence. So go ahead, pat yourself on the back, and enjoy the fruits (or rather, the fried chicken) of your labor. Now go impress someone—or yourself—with your new culinary skills. You’ve earned it!