So you’re craving something tasty but too lazy to spend forever in the kitchen, huh? Same, friend. Same. We’re talking about that sweet spot where minimal effort meets maximum flavor, and guess what? Split chicken breasts in the oven are about to become your new weeknight superhero. Forget complicated culinary acrobatics; we’re going for delicious, easy, and impressive without breaking a sweat (unless it’s from turning on the oven, which, fair). Let’s get this cluckin’ party started!
Why This Recipe is Awesome
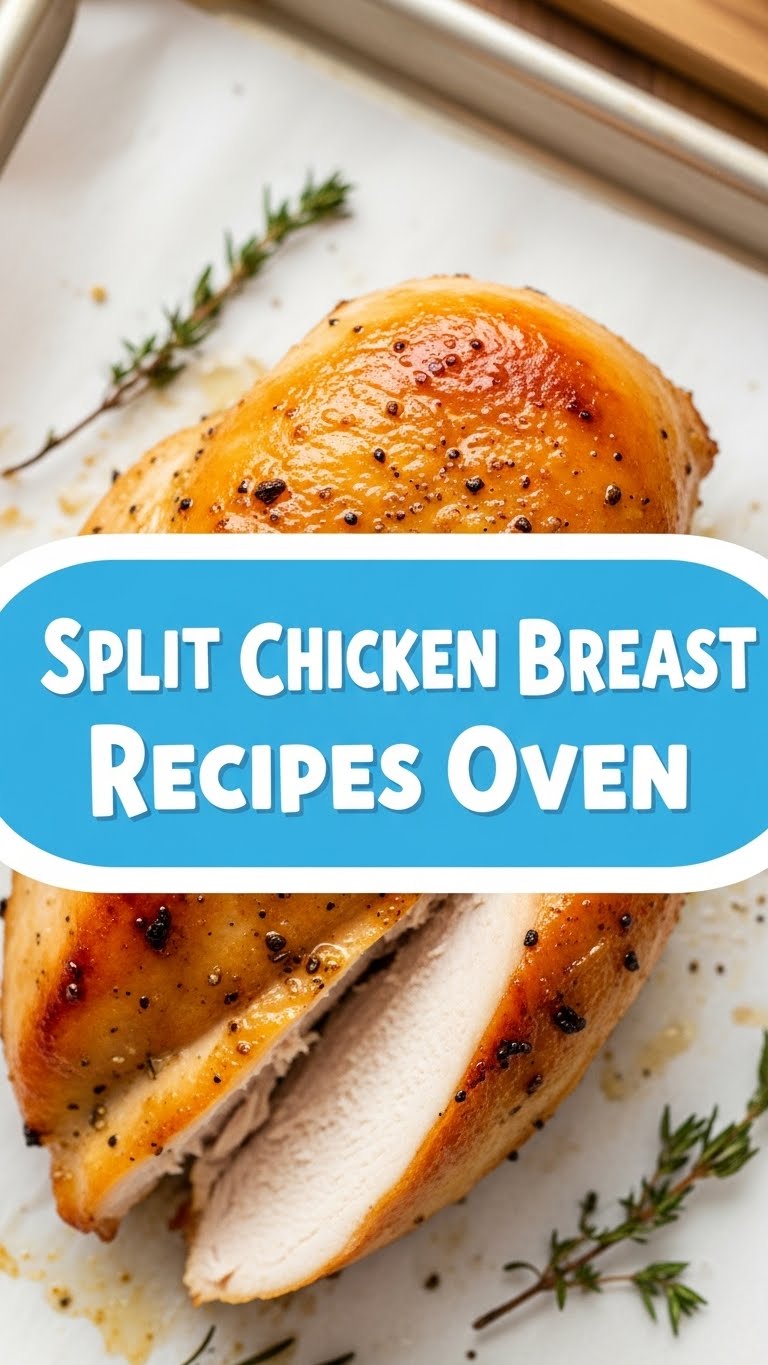
Honestly? It’s basically idiot-proof. Seriously, even I, a connoisseur of burning toast, can pull this off. It’s the kind of meal that screams, “Oh, this? I just whipped it up!” while secretly you were binging true crime documentaries. It uses simple ingredients you probably already have, requires minimal prep, and the cleanup? A breeze! Plus, bone-in, skin-on split chicken breasts roasted in the oven? They stay ridiculously juicy and flavorful, with skin that gets gloriously crispy. We love a good texture contrast, don’t we? It’s healthyish, satisfying, and looks like you actually tried. Win-win-win.
Ingredients You’ll Need
Gather ’round, my aspiring culinary wizard! Here’s what you’ll need for a fantastic, no-fuss chicken feast. Think of these as your flavor Avengers:
- 2-4 Split Chicken Breasts: The stars of our show! Bone-in, skin-on for maximum juicy goodness and crispy skin.
- 1-2 tablespoons Olive Oil: Your trusty sidekick for getting that skin golden and helping the seasonings stick.
- 1 teaspoon Salt: Don’t be shy! Flavor lives here.
- 1/2 teaspoon Black Pepper: Because salt needs its spicy bestie.
- 1 teaspoon Garlic Powder: All the garlicky goodness without the chopping. Bless.
- 1/2 teaspoon Onion Powder: The other half of the dynamic duo.
- 1 teaspoon Smoked Paprika: My personal favorite for a little smoky depth and gorgeous color. Sweet paprika works too if you’re not feeling adventurous.
- 1/2 teaspoon Dried Thyme or Oregano: For that herby, rustic vibe. Optional, but highly recommended.
- Optional: Lemon wedges or fresh herbs (like parsley) for serving: Because we’re fancy, but not *too* fancy.
Step-by-Step Instructions
- Preheat Your Oven (and your patience): Set that baby to a toasty 400°F (200°C). Give it ample time to get properly hot; this is key for crispy skin, folks.
- Pat ‘Em Dry (Seriously, Don’t Skip This!): Grab some paper towels and thoroughly pat down your chicken breasts. Drier skin means crispier skin. It’s science (and deliciousness).
- Season Like a Pro: In a small bowl, mix your salt, pepper, garlic powder, onion powder, smoked paprika, and dried herbs. Now, drizzle your chicken breasts with olive oil and rub it all over. Then, sprinkle your seasoning mix generously over both sides, massaging it in like you’re giving the chicken a spa day.
- Arrange and Conquer: Place the seasoned chicken breasts, skin-side up, in a single layer on a baking sheet. Don’t overcrowd the pan, or they’ll steam instead of roast, and nobody wants soggy chicken, IMO.
- Bake Until Golden: Pop that baking sheet into your preheated oven. Roast for about 35-45 minutes. Cooking time can vary depending on the size of your chicken, so keep an eye on it! You’re looking for an internal temperature of 165°F (74°C) at the thickest part. The skin should be beautifully golden brown and crispy.
- Let It Rest (The Hardest Part!): Once cooked, take the chicken out of the oven and transfer it to a cutting board or plate. Tent it loosely with foil and let it rest for 5-10 minutes. This magical resting period allows the juices to redistribute, ensuring every bite is super moist. Skipping this is a crime against deliciousness.
- Serve It Up: Garnish with lemon wedges or fresh parsley if you’re feeling fancy. Serve with your favorite side (roasted veggies, rice, or a simple salad are all fantastic choices!).
Common Mistakes to Avoid
Listen, we all make mistakes. But with a little heads-up, you can avoid these common chicken mishaps and achieve culinary glory!
- Not Preheating the Oven: Rookie mistake! A cold oven leads to sad, pale, flabby chicken skin. Give it time to heat up, people!
- Forgetting to Pat the Chicken Dry: We covered this, but it bears repeating. Wet skin = steamed skin = no crispy deliciousness. You want that crackle, right?
- Overcrowding the Baking Sheet: If your chicken breasts are spooning each other in the pan, they’re too close. Give them space to breathe (and crisp up).
- Not Seasoning Generously Enough: Bland chicken is a tragedy. Don’t be shy with the salt and spices! You’ll thank me.
- Skipping the Rest Period: I know, I know, you’re hungry. But waiting 5-10 minutes for the juices to settle back into the meat is what separates a good chicken breast from a *great* chicken breast. Trust me on this one.
Alternatives & Substitutions
Feeling a little wild? Want to spice things up (literally)? Here are some ideas to mix and match:
- Spice Blends Galore: Instead of my basic seasoning mix, try a pre-made Cajun blend, Italian seasoning, taco seasoning, or even just a dash of cayenne for a kick. Get creative!
- Herb It Up: Fresh rosemary sprigs or whole sage leaves tucked under the skin or scattered around the pan will infuse incredible aroma and flavor. FYI, fresh is always a winner.
- Citrus Zing: A few lemon slices placed on top of or under the chicken breasts as they roast will add a bright, zesty note. Orange or lime would also be fun!
- Add Some Veggies: Toss some chopped potatoes, carrots, onions, or Brussels sprouts with a little olive oil and the same seasoning, and roast them alongside your chicken. One-pan dinner, baby!
- Butter Lovers Unite: Swap out the olive oil for melted butter for an even richer flavor. Seriously, butter makes everything better.
FAQ (Frequently Asked Questions)
Got questions? I’ve got answers (and a little sass).
- What exactly IS a split chicken breast?
It’s basically a full chicken breast that’s been cut in half, usually with the bone and skin still on. It’s bigger than your average boneless, skinless breast, which is why it stays so juicy! - Can I use boneless, skinless chicken breasts instead?
Well, technically yes, but why would you want to miss out on that crispy skin and extra flavor from the bone? If you must, reduce the cooking time significantly (think 20-30 minutes) and keep an eye on the internal temp so you don’t end up with shoe leather. - How do I know when the chicken is truly cooked through?
The best way is to use a meat thermometer! Insert it into the thickest part of the chicken, avoiding the bone. You’re looking for 165°F (74°C). No thermometer? Cut into the thickest part; juices should run clear, and the meat should be opaque. - My chicken skin isn’t crispy! What gives?
Did you pat it dry? Did you preheat your oven properly? Was the pan overcrowded? All of these are culprits! Also, sometimes a quick blast under the broiler for 1-2 minutes at the very end (watch it like a hawk!) can help. - Can I marinate the chicken beforehand?
Absolutely! A good marinade (lemon-herb, buttermilk, whatever your heart desires) will only add more flavor and tenderness. Marinate for at least 30 minutes, or up to 4-6 hours for maximum impact. - What are good side dishes for this?
Roasted potatoes, a simple green salad, rice pilaf, mashed potatoes, or some steamed green beans are all solid choices. Basically, anything that soaks up those delicious chicken juices!
Final Thoughts
And there you have it, my friend! You’re officially equipped to conquer the mighty split chicken breast in your oven. See? Cooking doesn’t have to be a daunting task involving complicated techniques or a gazillion pots and pans. It can be easy, fun, and incredibly rewarding. Now go impress someone—or yourself, which is arguably more important—with your new culinary skills. You’ve earned it!