So, you’ve stared into the fridge abyss one too many times, huh? Dinner dilemma got you scrolling endless takeout menus again? Been there, done that, bought the oversized t-shirt. But what if I told you there’s a dish that sounds super fancy, tastes out-of-this-world, and is actually, truly, ridiculously easy to make? Grab your apron (or just a clean shirt, no judgment here), because we’re making Apple Stuffed Chicken Breast, and trust me, your taste buds are about to send you a thank-you note.
Why This Recipe is Awesome
Let’s be real, most “gourmet” recipes require a culinary degree and a kitchen full of gadgets you only use once a year. Not this one, my friend. This Apple Stuffed Chicken Breast is:
- **Seriously Idiot-Proof:** Even your friend who burns water can pull this off. No complex techniques, just good old stuffing and baking.
- **Impressive AF:** Tell your significant other/roommate/cat that you “whipped up” a stuffed chicken, and watch their jaws drop. They’ll never know how easy it was.
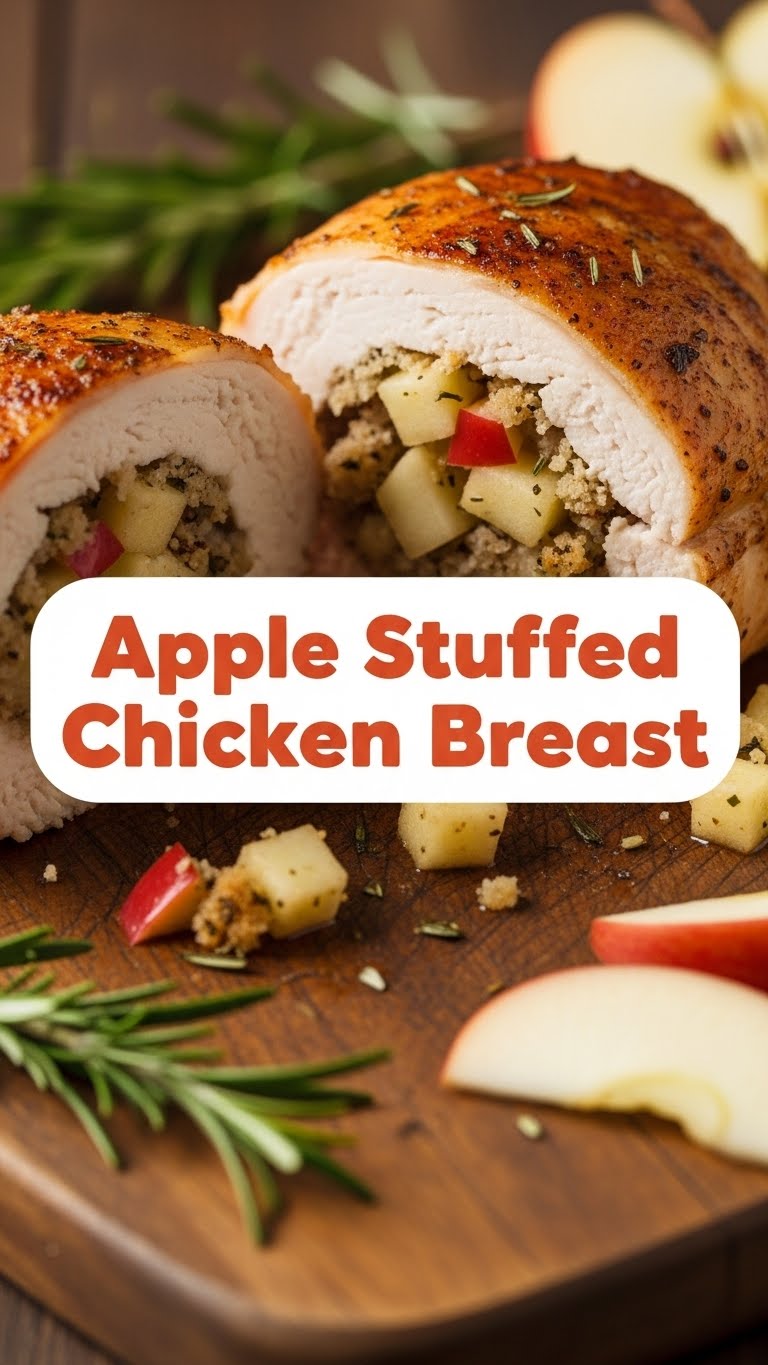
- **Sweet & Savory Magic:** The apple and chicken combo? It’s like a party in your mouth where everyone gets along. Plus, a little cheese never hurt anyone, right?
- **Quick Clean-Up (Mostly):** One pan, baby! Well, a pan and a cutting board. Still way better than a five-pot saga.
- **It’s Chicken, But Not Boring Chicken:** We’ve all had enough plain grilled chicken to last a lifetime. This injects some much-needed pizzazz into poultry night.
Ingredients You’ll Need
Gather ’round, my little chef-in-training! Here’s what you’ll need to make this magic happen. Think of it as a grocery list, but with sass.
- **2 large boneless, skinless chicken breasts:** The stars of our show. Try to get thicker ones, they’re easier to stuff.
- **1 small apple:** Granny Smith for tartness, or Honeycrisp for sweet-tart goodness. No mushy apples, please; we’re making dinner, not applesauce.
- **1/4 cup finely diced red onion or shallot:** For that subtle savory kick. Don’t skip it, it’s important.
- **1/2 cup shredded cheese:** I love sharp cheddar, Gouda, or even some creamy brie if you’re feeling fancy. Basically, whatever melty cheese makes your heart sing.
- **1 tablespoon fresh thyme or sage, chopped:** Or 1 teaspoon dried. These herbs are BFFs with apple and chicken.
- **1 tablespoon olive oil or butter:** For searing that beautiful golden crust.
- **Salt and freshly ground black pepper:** To taste. Don’t be shy, seasoning is key!
- **Optional: A pinch of cinnamon or nutmeg:** If you want to lean into that autumnal vibe a little more.
Step-by-Step Instructions
Okay, put on some tunes, grab a beverage, and let’s get cooking! These steps are so easy, you might even *gasp* enjoy yourself.
- **Prep the Chicken:** Pat your chicken breasts dry with paper towels (important for good searing!). Lay each breast flat on a cutting board. Carefully slice a pocket into the thickest side of each breast, making sure not to cut all the way through to the other side. You want a nice, deep pocket for our stuffing.
- **Make the Stuffing:** In a small bowl, combine the finely diced apple, red onion/shallot, shredded cheese, and fresh herbs. Season with a pinch of salt and pepper, and your optional cinnamon/nutmeg. Mix it all up until it’s evenly distributed.
- **Stuff ‘Em Up:** Gently spoon the apple and cheese mixture into each chicken pocket. **Don’t overstuff**! We’re not trying to make a chicken balloon here. If you have extra, just sprinkle it around the chicken in the pan. Secure the opening with a toothpick or two if you’re worried about the stuffing escaping.
- **Sear for Sizzle:** Heat the olive oil or butter in an oven-safe skillet (cast iron works great!) over medium-high heat. Once hot, carefully place the stuffed chicken breasts in the skillet. Sear for about 3-4 minutes per side, until they have a beautiful golden-brown crust. This step adds so much flavor, trust me.
- **Into the Oven It Goes:** Transfer the skillet to your preheated oven (set to 375°F / 190°C). Bake for 15-20 minutes, or until the internal temperature of the chicken reaches 165°F (74°C). This is where a meat thermometer is your absolute best friend.
- **Rest and Devour:** Once cooked, remove the skillet from the oven. Let the chicken rest in the skillet for 5 minutes before slicing. This allows the juices to redistribute, keeping your chicken moist and delicious. Don’t skip the rest, **patience is a virtue!**
Common Mistakes to Avoid
Listen, we’ve all had kitchen disasters. My personal record involved setting off the smoke alarm with toast. Learn from my (and others’) mistakes, so your chicken turns out perfect!
- **Overstuffing the Chicken:** You’re not making a Thanksgiving turkey. Too much stuffing will burst out, make a mess, and potentially cook unevenly. Less is more, friends.
- **Not Seasoning Enough:** Bland chicken is a tragedy. Salt and pepper are non-negotiables. Taste your stuffing mixture before you stuff, and adjust as needed.
- **Skipping the Sear:** I know, an extra step. But that golden-brown crust and extra layer of flavor? **Totally worth it.**
- **Overcooking the Chicken:** Dry chicken is the enemy! Use a meat thermometer. Pull it out when it hits 165°F (74°C). Period.
- **Forgetting to Rest the Chicken:** You just put all that effort into making juicy chicken, don’t ruin it by cutting into it immediately. Give it a few minutes to chill.
Alternatives & Substitutions
Feeling adventurous? Or maybe you just have different stuff in your fridge. No problem, this recipe is super flexible!
- **Different Apples:** Not an apple fan? Try diced pears or even dried cranberries for a different kind of sweetness.
- **Cheese Swaps:** Feta for a briny kick, goat cheese for tang, or provolone for super meltiness. Use what you love!
- **Herb Remix:** Rosemary or tarragon would also be fantastic with the apple. Or just stick to dried Italian seasoning in a pinch.
- **Spice it Up:** A pinch of cayenne pepper in the stuffing for a subtle heat? Yes, please!
- **Nutty Crunch:** Add a tablespoon of chopped walnuts or pecans to the stuffing for extra texture.
- **Veggies Too?** A tiny bit of finely chopped spinach or mushrooms could be a welcome addition to the stuffing.
FAQ (Frequently Asked Questions)
Got questions? I’ve got answers! (Mostly.)
Can I prep this recipe ahead of time? Absolutely! You can stuff the chicken breasts and keep them covered in the fridge for up to 24 hours. Just let them come to room temperature for about 15-20 minutes before searing and baking.
What kind of apple is best for stuffing? I prefer Granny Smith for a tart contrast to the chicken, or Honeycrisp if you like a balance of sweet and tart. Just make sure it’s a firm apple that won’t turn to mush when cooked.
My chicken breasts are super thin. What do I do? If they’re too thin to cut a pocket, you can try butterflying them (cutting almost all the way through, then opening them like a book), spreading the stuffing on one side, and folding the other side over. You might need to secure it with a few more toothpicks!
Can I use frozen chicken breasts? You can, but make sure they’re fully thawed before you start. And honestly, fresh is always best for texture and flavor, IMO.
How do I know for sure the chicken is cooked through? **Seriously, get a meat thermometer!** It’s the only way to be certain without overcooking. Insert it into the thickest part of the chicken (avoiding the stuffing if possible) and it should read 165°F (74°C).
What if I don’t have an oven-safe skillet? No problem! Sear the chicken in a regular skillet on the stovetop, then carefully transfer the seared breasts to a baking dish before putting them in the oven.
What can I serve with this? A simple green salad, roasted asparagus, mashed potatoes, or even some wild rice would be perfect. Keep it light, because the chicken is the star!
Final Thoughts
See? Told you it wasn’t hard! You just cooked a ridiculously delicious and impressive meal, probably with minimal stress and maximum swagger. Now go impress someone—or yourself—with your new culinary skills. You’ve earned it! Enjoy every single bite, and don’t forget to pat yourself on the back. Happy cooking, my friend!