You know those nights? When you’re craving something warm and comforting, but the thought of juggling multiple pots and pans makes you want to just order takeout? Yeah, me too. But what if I told you there’s a magical contraption that lets you cook a complete, delicious meal—chicken and rice—in *one pot*? And it’s so easy, your cat could probably do it (if it had opposable thumbs, that is). Welcome to the wonderful world of Instant Pot Chicken Breast and Rice!
Why This Recipe is Awesome
First off, it’s a **one-pot wonder**. That means less washing up, people! You’re welcome. Secondly, it’s ridiculously quick, thanks to our trusty Instant Pot. Seriously, you can whip this up faster than deciding what to binge-watch next. Plus, it’s a full, balanced meal without any fuss. Perfect for impressing your significant other, your kids, or just your hungry self after a long day.
And yes, it’s practically **foolproof** – even I, the queen of occasional kitchen mishaps, haven’t managed to screw this one up. Yet. It’s truly an “set it and forget it” kind of vibe, and honestly, who doesn’t love that?
Ingredients You’ll Need
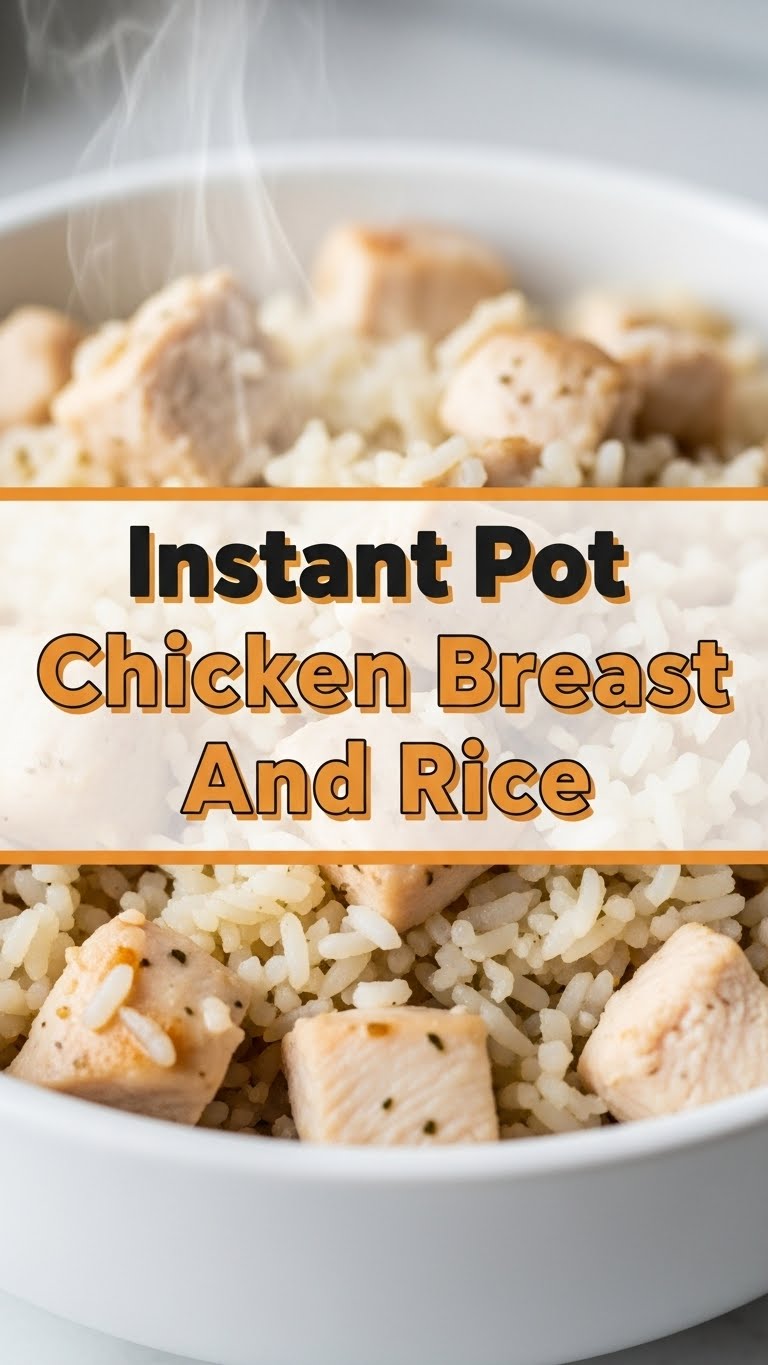
- Chicken Breasts: 1-1.5 lbs, boneless, skinless. Because who has time for bones and skin when you’re going for speed?
- Long-Grain White Rice: 1.5 cups. Stick to white rice for this one; brown rice is a whole different beast with different cooking times.
- Chicken Broth: 2 cups. Or water, but broth adds so much more pizzazz!
- Onion: 1 medium, diced. The OG flavor base, no tears allowed.
- Garlic: 2-3 cloves, minced. Because garlic makes everything better, duh.
- Olive Oil: 1 tablespoon, or whatever cooking oil you fancy.
- Seasonings: 1 teaspoon salt, ½ teaspoon black pepper, ½ teaspoon paprika (smoked paprika if you’re feeling fancy!). Feel free to get wild with Italian seasoning or a pinch of dried thyme.
- Optional: Frozen Veggies: ½ – 1 cup (peas, carrots, corn). For that extra health kick, or just for color.
Step-by-Step Instructions
- **Prep Time:** Cube those chicken breasts into bite-sized pieces. Dice your onion and mince your garlic. Get everything ready; mise en place, baby!
- **Sauté Sesh:** Hit the ‘Sauté’ button on your Instant Pot. Add a drizzle of olive oil. Once hot, toss in your cubed chicken and cook until it’s just lightly browned, about 3-4 minutes. You don’t need to cook it all the way through here, just get some color. Remove the chicken and set aside.
- **Flavor Base:** Add a little more oil if needed, then throw in your diced onion. Sauté until it softens and gets all fragrant, about 3-4 minutes. Now add the minced garlic and cook for another minute until you can really smell it. Don’t let it burn, okay? **Burnt garlic is a culinary tragedy.**
- **Deglaze Like a Boss:** Pour in about ½ cup of chicken broth. Use a wooden spoon or spatula to scrape up any browned bits from the bottom of the pot. This is important, peeps! It adds flavor and helps prevent the dreaded “Burn” notice.
- **Rice & Chicken Party:** Add the remaining 1.5 cups of chicken broth, then stir in your rice. Lay the browned chicken pieces on top of the rice. **Do NOT stir the chicken into the rice.** Seriously, resist the urge. This prevents the rice from getting gummy and helps it cook evenly. If you’re using frozen veggies, toss them on top now too.
- **Season Up:** Sprinkle in your salt, pepper, and any other seasonings you’re using.
- **Pressure Cook Magic:** Close the lid and make sure the vent is sealed. Select ‘Manual’ or ‘Pressure Cook’ on High pressure for **8 minutes**.
- **Natural Release (mostly):** Once it’s done, let it naturally release pressure for 5 minutes. After 5 minutes, carefully do a quick release of any remaining pressure by turning the vent knob.
- **Fluff & Serve:** Open the lid, give everything a gentle fluff with a fork, and behold your masterpiece! Give it a taste, adjust seasonings if needed, and serve it up hot.
Common Mistakes to Avoid
- **Stirring the Rice and Chicken:** I said it once, I’ll say it again: **DON’T STIR!** It can make the rice starchy and stick to the bottom, triggering a “Burn” notice. Keep ’em separate, like exes at a party.
- **Not Deglazing:** Skipping this step is asking for trouble. Those browned bits stuck to the bottom? They’re flavor gold, but also potential “Burn” notice triggers. Scrape ’em up!
- **Wrong Rice Ratio:** Using too much or too little liquid for your rice is a recipe for disaster. Stick to the 1:1 ratio for rice to liquid (after deglazing) for fluffy results. Our recipe uses 1.5 cups rice to 2 cups liquid (½ cup for deglazing, 1.5 for cooking).
- **Ignoring Natural Release:** While a full natural release is usually for larger cuts of meat, giving it at least 5 minutes helps the chicken stay tender and the rice finish cooking perfectly. Impatience can lead to dry chicken.
Alternatives & Substitutions
- **Veggies Galore:** Feel free to throw in some diced bell peppers or mushrooms with the onion. Just sauté them a bit until softened. Frozen corn is also a winner!
- **Spice it Up:** Want a kick? Add a pinch of red pepper flakes or a dash of cayenne with your other seasonings. Smoked paprika instead of regular paprika gives a lovely depth.
- **Herb Heaven:** Fresh parsley or cilantro stirred in at the very end adds a burst of freshness and color. Seriously, it brightens everything up!
- **Cheese Please:** A sprinkle of shredded cheddar or Parmesan over the top as you serve? Yes, please! It makes everything instantly more comforting.
FAQ (Frequently Asked Questions)
- **Can I use brown rice?** You *can*, but it cooks differently. Brown rice needs more liquid and a longer cooking time (around 20-22 minutes). So, for this specific recipe, stick to white rice, unless you want to do some math and risk uneven cooking. You’ve been warned!
- **My chicken came out dry! What gives?** Did you cook it too long on sauté? Did you skip the natural release phase? Overcooking is usually the culprit. Stick to the timing, friend!
- **”Burn” notice! Help!** Oh no! This usually means something is stuck to the bottom. Did you deglaze properly? Was there enough liquid? Next time, **really get those bits off the bottom** before adding the rice. It’s crucial!
- **Can I use chicken thighs instead of breasts?** Absolutely! Chicken thighs are more forgiving and usually stay juicier. The cooking time should remain the same. Go for it, you rebel!
- **How do I store leftovers?** Pop it in an airtight container in the fridge for up to 3-4 days. It reheats beautifully in the microwave or on the stovetop with a splash of broth or water.
- **Is this actually healthy?** Well, it’s homemade, packed with protein and carbs, and you control the ingredients. So, compared to most takeout? Heck yeah! Plus, it’s food for your soul, and that’s always healthy, IMO.
Final Thoughts
See? I told you it was easy! Now you’ve got a delicious, comforting meal that looks like you spent hours slaving away, but really, you just pressed a few buttons. Go on, pat yourself on the back. You’ve earned it. Now go impress someone—or just yourself—with your new culinary superpowers. And maybe invite me over next time? Just kidding (mostly). Happy cooking, you kitchen wizard!