So you’re staring at that chicken breast like it’s a blank canvas and your stomach’s rumbling for something crispy, but your energy levels are screaming ‘Netflix & Chill,’ not ‘Iron Chef,’ right? Same, friend, same. Don’t worry, your culinary fairy godmother (that’s me, duh) is here with a ridiculously easy, incredibly tasty recipe for **Breaded Chicken Breast that bakes in the oven**. Get ready for crispy, juicy perfection without the oily mess or the emotional baggage of deep frying. You’re welcome!
Why This Recipe is Awesome
Okay, let’s be real: who has time for complicated? Not us! This recipe is the MVP of weeknight dinners for a few glorious reasons:
- It’s practically **idiot-proof**. Seriously, even I didn’t mess it up, and my kitchen sometimes resembles a post-apocalyptic food fight.
- **Less oil, less mess!** We’re baking this beauty, not drowning it in a vat of hot oil. Your countertops (and your arteries) will thank you.
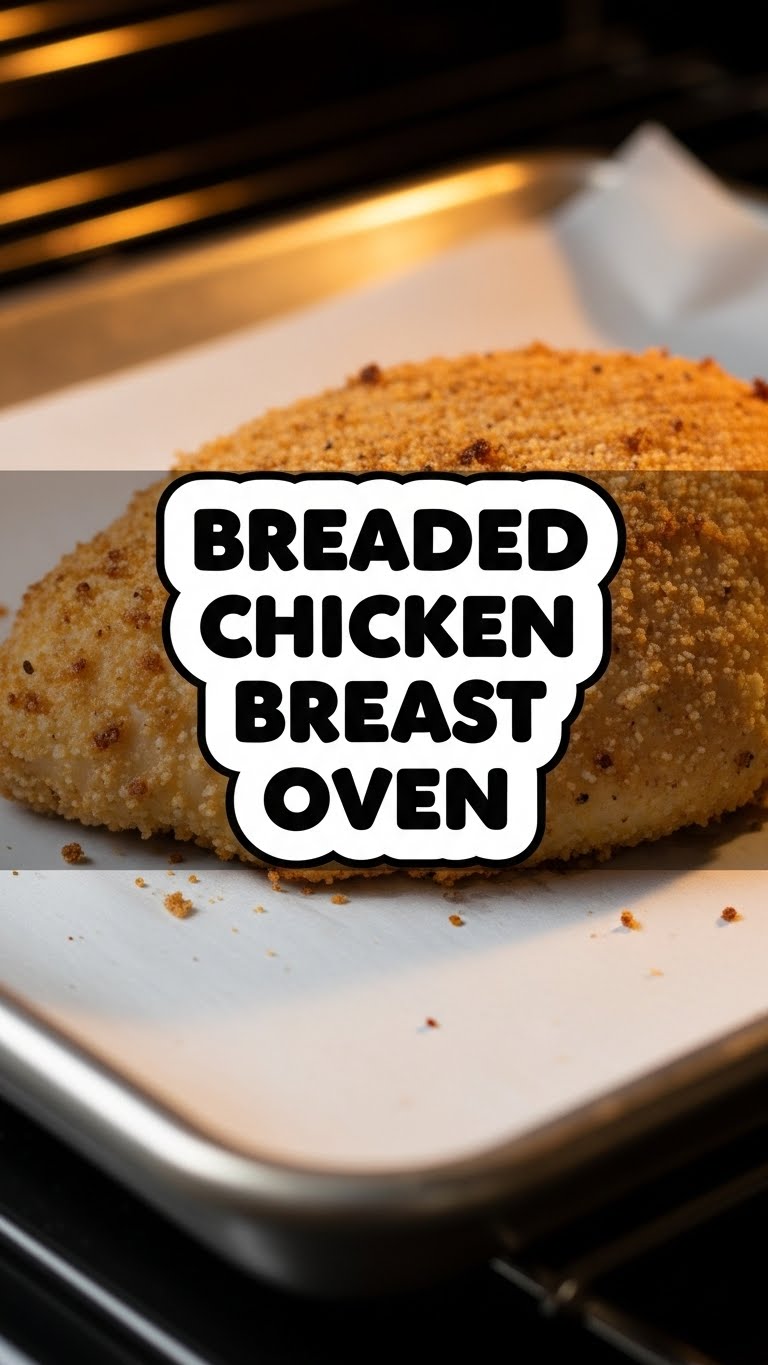
- **Crispy, crunchy perfection** without the guilt. The breading gets wonderfully golden and delightful in the oven.
- It’s a total crowd-pleaser. Got picky eaters? **This is your secret weapon.** Pair it with literally anything: pasta, salad, roasted veggies, or just eat it plain over the sink (no judgment here).
- **Minimal active cooking time.** Most of the magic happens while you’re busy… well, not cooking.
Ingredients You’ll Need
Gather ’round, my little chef-in-training! Here’s what you’ll need for this deliciousness. Don’t stress, it’s all super basic stuff you probably already have lurking in your pantry.
- **2 Boneless, Skinless Chicken Breasts:** The stars of our show. Try to get them roughly the same size for even cooking.
- **1/2 cup All-Purpose Flour:** Our initial hug for the chicken. Any plain flour will do.
- **2 Large Eggs:** The sticky middleman, aka the “glue.” Lightly beaten, please!
- **1 cup Panko Breadcrumbs:** **Non-negotiable for max crispiness!** If you only have regular breadcrumbs, it’ll still work, but Panko is next-level.
- **1/2 teaspoon Salt:** Essential flavor amplifier.
- **1/4 teaspoon Black Pepper:** A little kick never hurt anyone.
- **1/2 teaspoon Garlic Powder:** Because garlic makes everything better. Fight me.
- **1/4 teaspoon Paprika:** For a little color and warmth. Smoked paprika is also a fun twist!
- **2 tablespoons Olive Oil (or Avocado Oil):** For brushing, to help with that golden glow.
- **Optional Add-ins:** A sprinkle of Parmesan cheese (finely grated) in your breadcrumbs, or some dried herbs like oregano or thyme. Live a little!
Step-by-Step Instructions
Alright, apron on, good vibes only! Let’s get this chicken party started.
- **Preheat Your Oven:** Set it to a cozy **400°F (200°C)**. This is crucial, folks! Line a baking sheet with parchment paper or foil for easy cleanup, and place a wire rack on top if you have one. This helps air circulate and keeps the bottom crispy.
- **Prep the Chicken:** Pat your chicken breasts **super dry** with paper towels. This is key for the breading to stick. If they’re super thick, you might want to slice them horizontally to make two thinner cutlets, or gently pound them to an even 1-inch thickness. This ensures they cook evenly and quickly.
- **Season the Flour:** Grab a shallow dish and combine your flour with half the salt, pepper, garlic powder, and paprika. Give it a good whisk.
- **Egg Bath Time:** In another shallow dish, lightly beat your eggs.
- **Breadcrumb Bonanza:** In a third shallow dish, mix your Panko breadcrumbs with the remaining salt, pepper, garlic powder, and paprika (and any optional cheese/herbs). This is where the flavor magic happens!
- **The Dredging Dance (aka Assembly Line):** Now for the fun part!
- First, dredge each chicken breast in the **flour mixture**, shaking off any excess. It should have a light, even coating.
- Next, dip it into the **beaten egg**, letting any extra drip off.
- Finally, press it firmly into the **Panko breadcrumbs**, making sure it’s completely coated on all sides. Really press them in there!
- **Bake ‘Em Up:** Place the breaded chicken breasts on your prepared wire rack (or directly on the parchment if no rack). Drizzle or brush a little olive oil over the top of each chicken breast. This helps them get beautifully golden and crisp.
- **Cook to Perfection:** Bake for **18-25 minutes**, flipping halfway through, or until the chicken is golden brown and cooked through. The internal temperature should reach **165°F (74°C)**. Don’t just guess; use a meat thermometer if you have one!
- **Rest and Serve:** Once cooked, remove the chicken from the oven and let it rest for 5 minutes before slicing. This keeps it juicy. Then, dig in!
Common Mistakes to Avoid
Nobody’s perfect, but we can avoid some facepalm moments, right?
- **Not preheating the oven:** Rookie mistake! Your oven needs to be hot from the get-go for that crispy crust. Cold oven = sad, soggy chicken.
- **Skipping the pat dry step:** Wet chicken + breading = slippery, non-sticking mess. Always pat it dry!
- **Not seasoning the layers:** Thinking you can just season the chicken itself? Nah, fam. Season the flour, the breadcrumbs, everything! That’s how you build flavor.
- **Overcrowding the baking sheet:** Patience, grasshopper. If you cram too many chicken pieces on one sheet, they’ll steam instead of crisp. Give them space!
- **Not checking the internal temp:** Guessing if it’s done is a gamble. A meat thermometer is your best friend here. No one wants dry chicken or, worse, undercooked chicken.
Alternatives & Substitutions
Feeling a little rebellious? Go for it! This recipe is super flexible.
- **Different Breadcrumbs:** While Panko is king, you can totally use regular fine breadcrumbs, or even crush up some cornflakes or Ritz crackers for a fun twist! **FYI**, gluten-free breadcrumbs work beautifully too.
- **Cheese, Please!** Stir some finely grated Parmesan or Pecorino Romano into your Panko for a cheesy, nutty kick. Trust me, it’s amazing.
- **Spice It Up:** Add a pinch of cayenne pepper or chili powder to your breadcrumb mixture if you like a little heat.
- **Herb Garden:** Dried oregano, basil, thyme, or an Italian herb blend can all be mixed into the breadcrumbs for extra aromatic goodness.
- **Air Fryer Conversion:** Got an air fryer? You can totally make this! Air fry at **375°F (190°C)** for about 12-18 minutes, flipping halfway. Keep an eye on it as times vary by machine!
FAQ (Frequently Asked Questions)
You’ve got questions, I’ve got (casual) answers!
- **Q: Can I skip the flour?**
A: Technically, yes, but the flour creates a dry surface for the egg to stick better, and the egg helps the breadcrumbs stick. Skipping it might result in a less even coating. IMO, it’s worth the extra step! - **Q: How do I store leftovers?**
A: Pop ’em in an airtight container in the fridge for up to 3-4 days. Reheat gently in the oven or air fryer to maintain some crispness. Microwaving will make it sad and soggy, but hey, if you’re desperate! - **Q: Can I use chicken thighs instead of breasts?**
A: Absolutely! Chicken thighs are delicious and often stay juicier. Just keep in mind they might need a few extra minutes to cook through. - **Q: My breading isn’t sticking! What did I do wrong?**
A: Did you pat the chicken dry? Was your egg mixture thin enough (maybe add a tiny splash of water or milk)? Did you press the breadcrumbs firmly? These are usually the culprits! - **Q: What if I don’t have fresh eggs? Can I use an egg substitute?**
A: While fresh eggs are ideal for binding, some liquid egg substitutes might work in a pinch. However, the texture might be slightly different. For best results, stick with real eggs! - **Q: Can I make this ahead of time?**
A: You can bread the chicken a few hours in advance and keep it on a plate (uncovered, loosely covered with paper towel) in the fridge. Bake when ready! Breading too far in advance can make the crumbs soggy.
Final Thoughts
See? That wasn’t scary at all! You just created a perfectly crispy, juicy, and utterly delicious breaded chicken breast without a deep fryer in sight. Give yourself a pat on the back (or maybe just grab another piece of chicken). Now go impress someone—or yourself—with your new culinary skills. You’ve earned it!