So you’re craving something tasty but too lazy to spend forever in the kitchen, huh? Same. We’ve all been there: staring blankly into the fridge, one lonely boneless, skinless chicken breast staring back, whispering, “Make me delicious, but don’t make it hard.” And you know what? Today, we’re answering that call with a recipe so simple, so foolproof, it’s practically a magic trick. Get ready to elevate that humble chicken breast from “meh” to “MORE, PLEASE!”
Why This Recipe is Awesome
Let’s be real, boneless chicken breast often gets a bad rap for being dry, bland, or just… boring. But not today, my friend! This recipe takes all that negativity and slaps it with a flavor-packed, juicy makeover. Why is it awesome, you ask? Because it’s:
- Idiot-proof: Seriously, even I didn’t mess it up, and my kitchen has seen some things.
- Quick AF: From fridge to face in under 30 minutes. Perfect for those “oops, I forgot dinner” moments.
- Minimal cleanup: One pan, maybe a cutting board. Your dish-washing self will thank you.
- Flavor-flexible: It’s a blank canvas, ready for whatever spice mood you’re in.
- Healthy-ish: Lean protein, minimal fuss. You can totally pretend you’re being super virtuous.
Ingredients You’ll Need
Grab these basics. You probably have most of them already, because who even plans grocery lists these days?
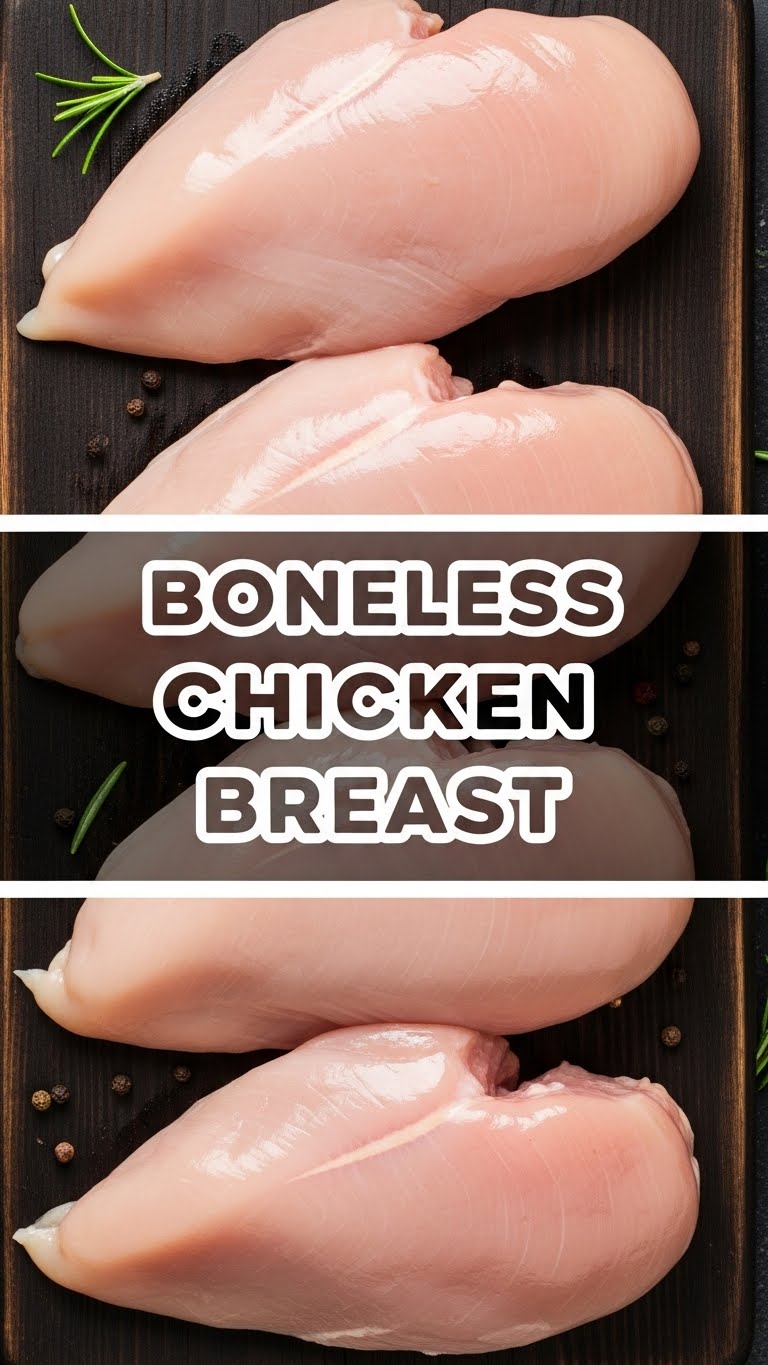
- Boneless, Skinless Chicken Breasts: 2-4 pieces, depending on how hungry you (or your crowd) are. The star of our show!
- Olive Oil: A good drizzle. Enough to make things happy in the pan.
- Salt & Black Pepper: Non-negotiables. Don’t skimp, folks!
- Garlic Powder: Because everything is better with garlic. Duh.
- Onion Powder: Garlic’s best friend. Adds that extra layer of “Mmm.”
- Paprika: Smoked or sweet, your call. For color and a little something extra.
- Dried Herbs (Optional but recommended): Think oregano, thyme, or a fancy Italian blend. They just make life better.
- Butter (Optional but highly encouraged): A tablespoon or two at the end. For that glossy finish and extra flavor punch. Don’t be shy!
Step-by-Step Instructions
- Pound it Out (Gently!): Place chicken breasts between two pieces of plastic wrap or parchment paper. Using a meat mallet or a heavy pan, gently pound them to an even thickness (about ½-¾ inch). This ensures even cooking and keeps them juicy. Don’t go all Hulk on them!
- Season Like a Pro: Drizzle both sides of the chicken with olive oil. In a small bowl, mix your salt, pepper, garlic powder, onion powder, paprika, and dried herbs. Generously sprinkle this magical blend over both sides of your chicken. Don’t be shy with the seasoning!
- Get Hot: Heat a large oven-safe skillet (cast iron is amazing here!) over medium-high heat with another drizzle of olive oil until it’s shimmering. We want a good sear, not a gentle simmer.
- Sear for Glory: Carefully place the seasoned chicken breasts in the hot skillet. Sear them for about 3-4 minutes per side, until they have a beautiful golden-brown crust. This is where the flavor party starts!
- Bake to Perfection: Transfer the skillet directly into a preheated oven at 400°F (200°C). Bake for 8-12 minutes, or until the internal temperature reaches 165°F (74°C). The exact time depends on the thickness of your chicken.
- Rest, You Deserve It: Once cooked, remove the skillet from the oven. If you’re using butter, add a pat or two on top of each chicken breast and let it melt. Loosely tent the chicken with foil and let it rest for 5-10 minutes. This is crucial for juicy chicken! Don’t skip it, or you’ll be sad.
- Slice & Serve: Slice against the grain and serve immediately with your favorite sides. Boom! You just made amazing chicken.
Common Mistakes to Avoid
We’ve all made them, so let’s laugh about them now and avoid them in the future. Future you will be grateful.
- Forgetting to Pound: If your chicken is thick on one end and thin on the other, it’ll cook unevenly. You’ll end up with a dry part and a still-raw part. Nobody wants that.
- Under-Seasoning: Bland chicken is a culinary crime. Don’t be afraid to give it a good rub-down with those spices.
- Crowding the Pan: If you put too many chicken breasts in a small pan, they’ll steam instead of sear. Give them space to get that glorious crust! Cook in batches if you need to.
- Not Preheating the Oven: Thinking you don’t need to preheat the oven—rookie mistake. Temperature consistency is key.
- Overcooking: The biggest sin of chicken breasts. Dry, rubbery chicken is the stuff of nightmares. Invest in a meat thermometer, seriously. 165°F (74°C) is your magic number.
- Skipping the Rest: You just worked hard (ish) to cook that chicken. Let it chill out for a bit so the juices can redistribute. Instant cutting means dry chicken.
Alternatives & Substitutions
Feeling fancy or missing an ingredient? No worries, we can totally improvise. That’s what real cooking is about, right?
- Spice Blend Swap: Not feeling the Italian vibe? Try chili powder and cumin for a Tex-Mex twist, or curry powder for an Indian-inspired meal. Lemon pepper is also a classic, IMO.
- Herbalicious Upgrade: Fresh herbs like chopped parsley, chives, or rosemary sprinkled on top after resting add an amazing burst of freshness.
- Zest it Up: A little lemon or lime zest added to your seasoning blend, or squeezed over the cooked chicken, brightens everything up.
- Pan-Fry Only: If you don’t have an oven-safe skillet or just can’t be bothered with the oven, you can cook them entirely on the stovetop. Just reduce the heat to medium after searing and cook, flipping occasionally, until 165°F. It might take a bit longer and you’ll need to watch it closely.
- Different Fat: No olive oil? Avocado oil or even a neutral vegetable oil will work for searing.
FAQ (Frequently Asked Questions)
Alright, let’s get down to brass tacks. You’ve got questions, I’ve got (casual) answers.
- Can I use frozen chicken breasts for this? Well, technically yes, but **please thaw them completely first!** Trying to cook them from frozen will result in uneven cooking and a potentially sad, dry outcome. Nobody needs that kind of negativity in their life.
- How do I know when the chicken is truly cooked? The best way is with a meat thermometer. Stick it into the thickest part of the chicken; it should read **165°F (74°C)**. If you don’t have one, cut into the thickest part – the juices should run clear, and the meat should be opaque. But seriously, get a thermometer.
- What if I don’t have an oven-safe skillet? No problem! Sear the chicken on the stovetop in any skillet, then transfer it to a baking sheet to finish in the oven. Easy peasy.
- Can I use margarine instead of butter for resting? Well, technically yes, but why hurt your soul like that? Butter just tastes better. It’s a fact.
- What are good side dishes for this chicken? Anything and everything! Steamed veggies, a simple salad, roasted potatoes, rice, quinoa… you name it. It’s so versatile, it plays well with everyone.
- My chicken always comes out dry, even if I hit 165°F. What am I doing wrong? A few things: Are you pounding it to even thickness? Are you resting it for long enough? Also, make sure your searing isn’t so aggressive that you’re drying out the outside before the inside cooks. And again, don’t skip the rest!
- Can I make a sauce for this? Absolutely! Pan sauces are your friend. Deglaze the pan with a splash of wine or chicken broth after removing the chicken, scrape up the browned bits, add a touch of cream or lemon juice, and simmer until slightly thickened. Chef’s kiss!
Final Thoughts
So there you have it, folks! No more dry, sad chicken for you. You’ve now mastered the art of the perfect boneless chicken breast—juicy, flavorful, and ridiculously easy. Go forth and conquer your dinner cravings. Now go impress someone—or yourself—with your new culinary skills. You’ve earned it!