So, you’re staring into the fridge, the clock’s ticking towards “hangry o’clock,” and the thought of another takeout meal makes your wallet weep? Been there, friend, many times. But what if I told you there’s a magical box sitting on your counter that can transform boring chicken breast into juicy, tender perfection in mere minutes, all while you scroll through cat videos? Enter your trusty Instant Pot and this ridiculously easy chicken breast recipe!
Why This Recipe is Awesome
Okay, let’s be real. We all want to eat healthy, but sometimes our ambition is inversely proportional to the amount of effort we’re willing to put in. This recipe? It’s basically **culinary witchcraft without the actual spell-casting.**
- **It’s Idiot-Proof:** Seriously. If you can push a button and count to seven (or ten, depending on chicken thickness), you’re golden. Even *I* didn’t mess this up, which is saying something.
- **Dinner in a Flash:** We’re talking 10-15 minutes of actual cook time, plus pressure build-up and release. That’s faster than most delivery services, and you don’t even have to put on pants to retrieve it. (Your secret’s safe with me.)
- **Versatility King (or Queen):** Once cooked, this chicken is your blank canvas. Tacos? Salads? Sandwiches? Pasta additions? The world (or at least your dinner plate) is your oyster.
- **Juicy AF:** No more dry, flavorless chicken hockey pucks. The Instant Pot traps all that moisture, ensuring every bite is succulent and delightful. Prepare to be amazed.
Ingredients You’ll Need
Get ready for a shocker… it’s not many! This isn’t one of those recipes where you need to raid a specialty store.
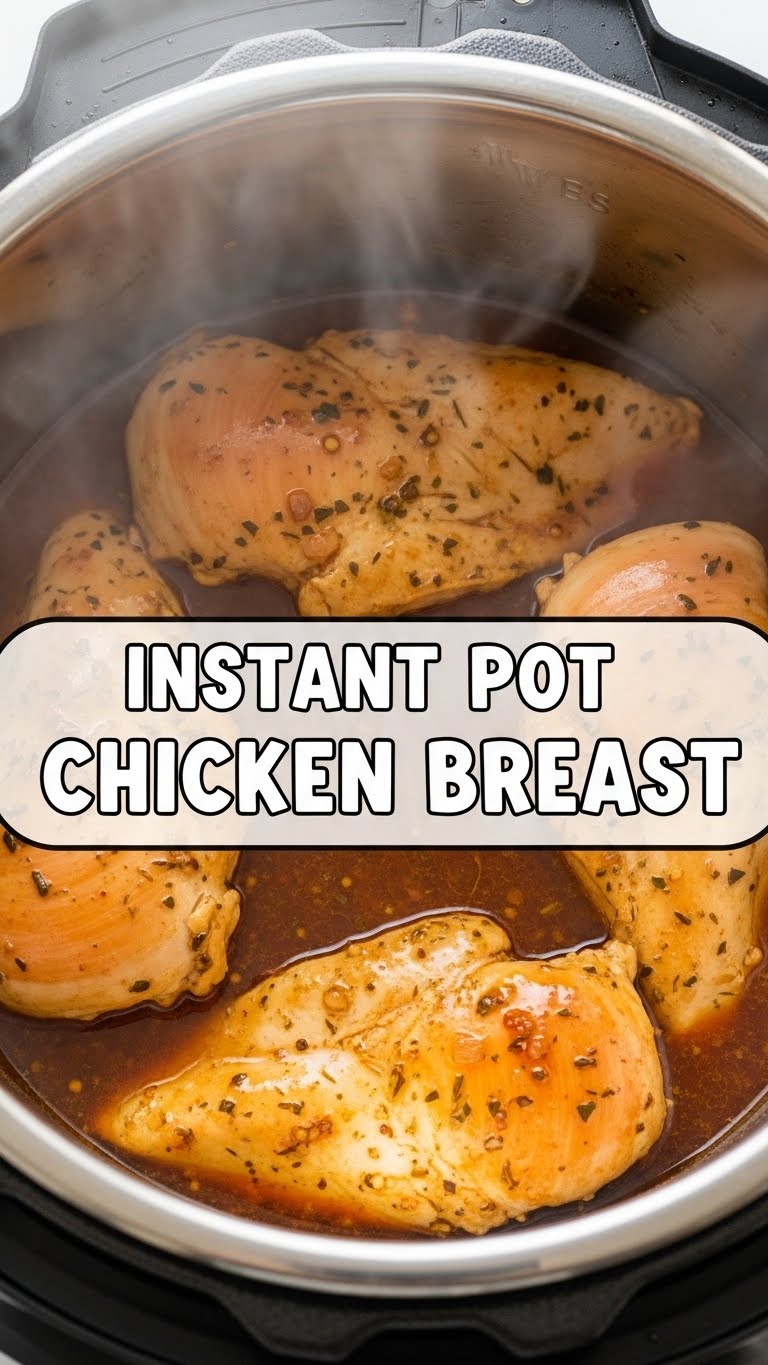
- **Chicken Breasts:** 1-2 lbs, boneless, skinless. Fresh or frozen (we’ll chat about frozen later, you rebel).
- **Chicken Broth (or water):** 1 cup. Broth adds more flavor, but water totally works in a pinch. It’s the liquid magic for that steam.
- **Salt & Black Pepper:** To taste, but don’t be shy! This is your flavor foundation.
- **Garlic Powder & Onion Powder (Optional, but recommended):** ½ tsp each. Think of them as your chicken’s best friends.
- **Your Favorite Seasoning Blend (Optional):** Italian seasoning, paprika, smoked paprika, taco seasoning – whatever tickles your fancy!
Step-by-Step Instructions
Right, let’s get down to business. You’ll be a chicken whisperer in no time!
- **Prep Your Chicken:** If using fresh chicken, pat it dry with paper towels. **This is key for good seasoning adhesion!** If it’s frozen, just toss it in.
- **Season Liberally:** Lay your chicken breasts in the Instant Pot. Sprinkle generously with salt, black pepper, garlic powder, onion powder, and any other seasonings you’re feeling. Don’t be afraid to give ’em a good rub down. We want flavor!
- **Add the Liquid:** Pour 1 cup of chicken broth (or water) into the pot. Make sure it goes *around* the chicken, not directly over your perfectly applied seasonings.
- **Seal the Deal:** Secure the lid on your Instant Pot and make sure the vent is set to “Sealing” (not “Venting,” unless you like steam parties).
- **Cook ‘Em Up!** Press the “Manual” or “Pressure Cook” button. Set the cook time based on the thickness of your chicken breasts:
- **Fresh/Thawed:** 7-10 minutes on High Pressure (7 for thinner breasts, 10 for thicker ones).
- **Frozen:** 10-12 minutes on High Pressure (10 for thinner, 12 for thicker).
The pot will take about 5-10 minutes to come to pressure, then the timer will start counting down.
- **Release the Pressure:** Once the cook time is up, you have two options:
- **Natural Release (NPR) for 5 minutes:** Let the pressure release naturally for 5 minutes, then carefully turn the vent to “Venting” for a Quick Release (QR) of any remaining pressure. **This is generally best for juicier chicken.**
- **Quick Release (QR):** Immediately turn the vent to “Venting” to release the pressure. Only do this if you’re in a super rush, but know it *might* make the chicken a tiny bit less tender.
Always use a kitchen towel or oven mitt to protect your hand from the steam! Safety first, folks.
- **Rest and Shred/Slice:** Carefully remove the chicken from the pot and place it on a cutting board. **Let it rest for at least 5 minutes!** This allows the juices to redistribute, making it super tender. Then, shred it with two forks or slice it against the grain.
Common Mistakes to Avoid
Even though this is mega-easy, there are a few rookie errors that can derail your journey to chicken enlightenment.
- **Forgetting the Liquid:** Seriously, this is a surefire way to get the dreaded “Burn” notice and a sad, dry chicken. Always add at least 1 cup of liquid.
- **Overcrowding the Pot:** Trying to squeeze in 10 chicken breasts when your pot can only comfortably fit 4? Not a good look. Cook in batches if you need more, or the chicken won’t cook evenly.
- **Skipping the Rest:** I know, you’re hungry. But pulling the chicken out and immediately hacking into it is a one-way ticket to dry-ville. **Patience, young padawan, for a few minutes will grant you much juiciness.**
- **Under-Seasoning:** Bland chicken is a culinary sin. Don’t be shy with the salt, pepper, and your chosen spices. You can always add more at the table, but you can’t take away lack of flavor!
- **Overcooking:** While the Instant Pot is forgiving, leaving it on for 20 minutes for a thin breast will still dry it out. Stick to the suggested times!
Alternatives & Substitutions
Got a rogue ingredient or want to spice things up? I got you!
- **Broth vs. Water:** Chicken broth is my go-to for extra flavor, but vegetable broth works too. Out of broth? Water is perfectly fine, just make sure you’ve seasoned your chicken well!
- **Different Seasonings:** Lemon-herb, Cajun, Mexican, or just a simple pinch of dried thyme and rosemary – get creative! This recipe is a fantastic base for whatever flavor profile you’re craving.
- **Frozen Chicken:** As noted above, you absolutely can use frozen chicken breasts. Just add 3-5 minutes to the cook time. **No need to thaw!** Just make sure they’re not giant frozen blocks stuck together.
- **Chicken Thighs:** Love dark meat? This method works great for boneless, skinless chicken thighs too! Cook them for about 8-10 minutes on high pressure, with a 5-minute natural release.
FAQ (Frequently Asked Questions)
Your brain is probably buzzing with questions. Let’s tackle a few!
- **”How much chicken can I cook at once?”** You can usually stack chicken breasts in an Instant Pot, but try not to go more than two layers deep. Just make sure the liquid can still circulate. For best results, a single layer is ideal.
- **”How do I know if it’s cooked through?”** The best way is always a **meat thermometer.** Insert it into the thickest part of the chicken; it should read 165°F (74°C). If it’s under, pop the lid back on (without adding more liquid) and cook for another 1-2 minutes.
- **”My chicken came out tough/dry, what happened?”** Most likely, it was overcooked or you skipped the resting step. The Instant Pot cooks efficiently, so those extra minutes really count! Always test with a thermometer.
- **”Can I add veggies to cook with the chicken?”** You can, but be careful! Softer veggies like broccoli or zucchini will turn to mush. Harder veggies like carrots or potatoes can be added, but they might need to be cut small or added halfway through the cooking process, which defeats the “easy” vibe a bit. My advice? Cook them separately or steam them quickly after the chicken is done.
- **”Do I need to sear the chicken first?”** Nope! The beauty of this recipe is its simplicity. No searing needed for juicy, tender results.
Final Thoughts
See? I told you it was easy! Now you’ve got perfectly cooked, super versatile Instant Pot chicken breast, ready for whatever culinary adventure you have planned (or, let’s be honest, just a quick protein boost for your salad). Go forth and conquer your dinner cravings, you magnificent kitchen wizard! Your fridge (and stomach) will thank you. Now go impress someone—or yourself—with your new culinary skills. You’ve earned it!